Bridging the Gap: The Cross as our Way into God's Presence
Let’s dive into an activity called Bridging the Gap. This experience allows students to step up and cross a cross bridge that spans the vast chasm between God and His people. It’s a unique opportunity to peek behind the tabernacle veil and enter the Holy of Holies. For many in the Old Testament, the veil and the tabernacle were like a brick wall with a "do not enter" sign, symbolizing the separation between God and His people.
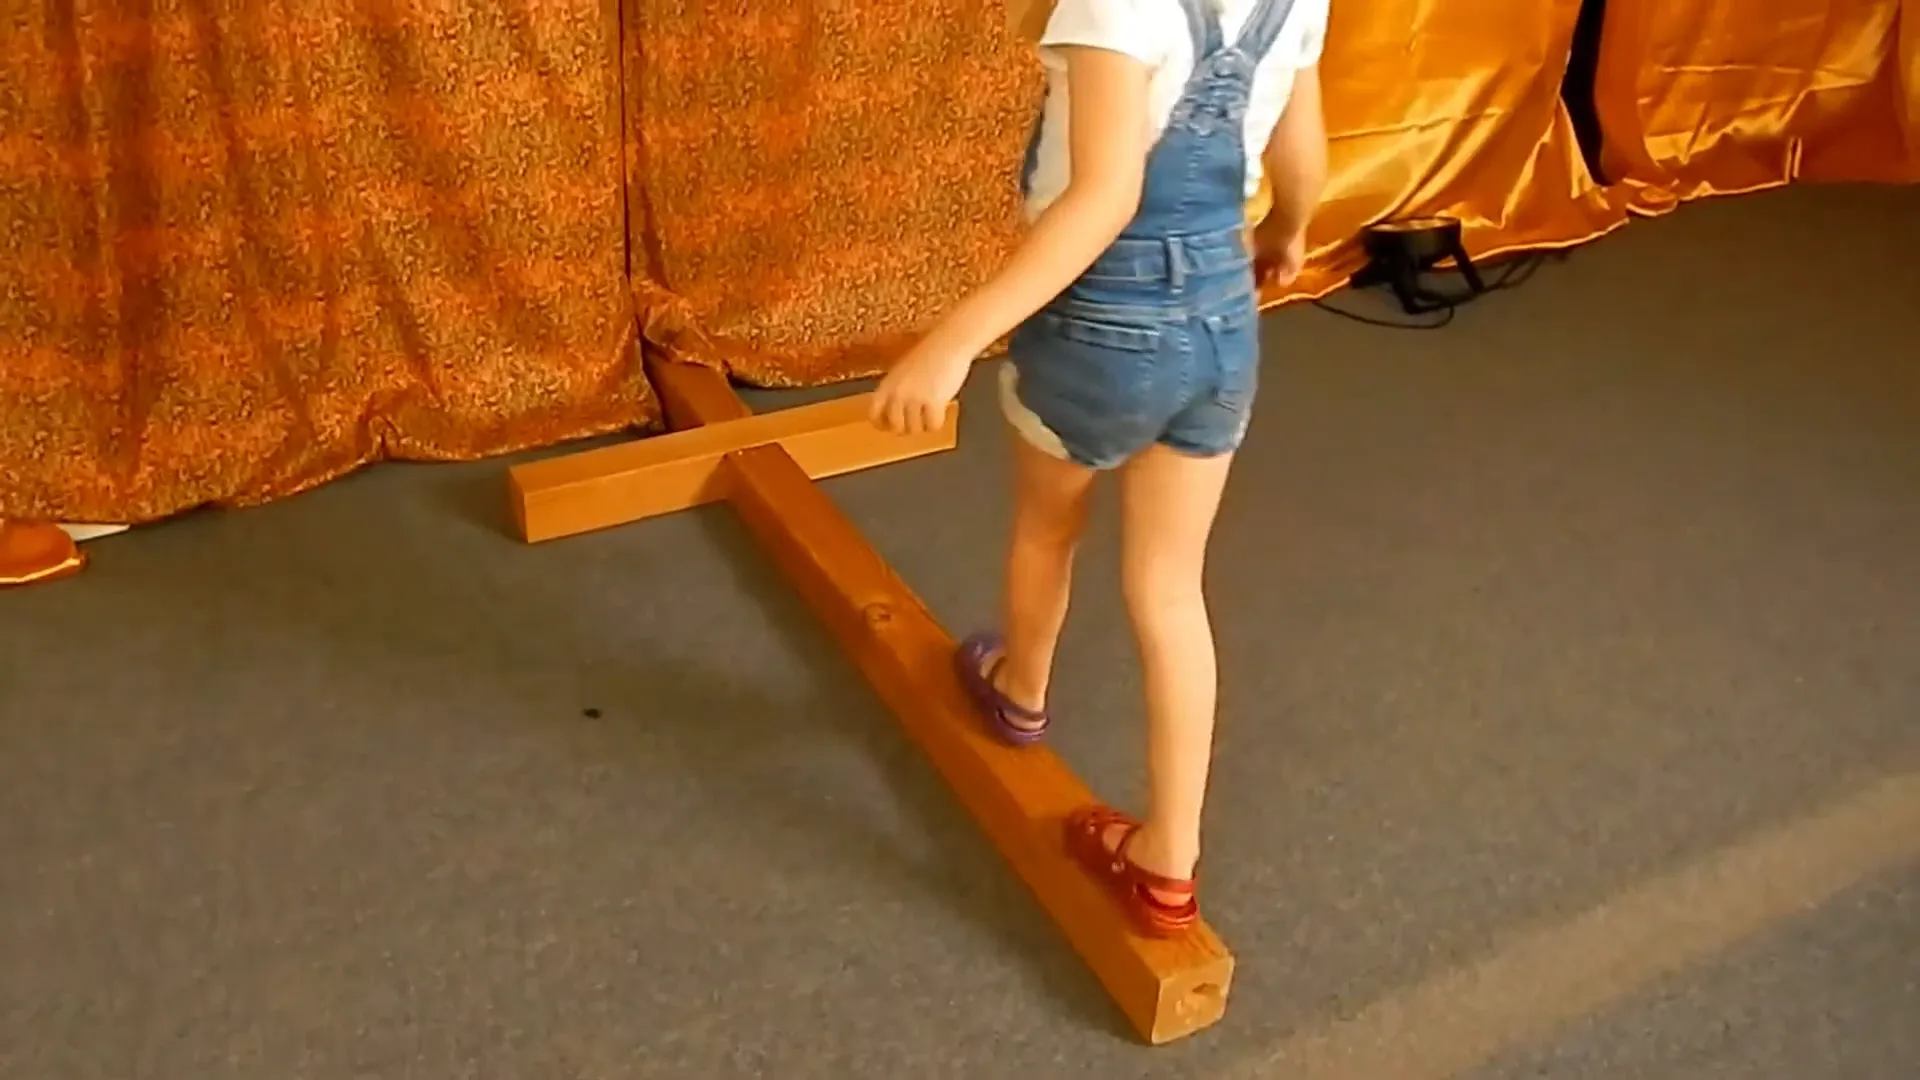
However, upon Jesus's death on the cross, that thick veil that separated the Holy of Holies tore from top to bottom. It announced to the world that Jesus's death had paid our sin-debt once and for all, granting us the freedom to enter into a relationship with God. Jesus is the Lamb of God, the perfect sacrifice and high priest who essentially pulls the veil open so that we can freely enter in.
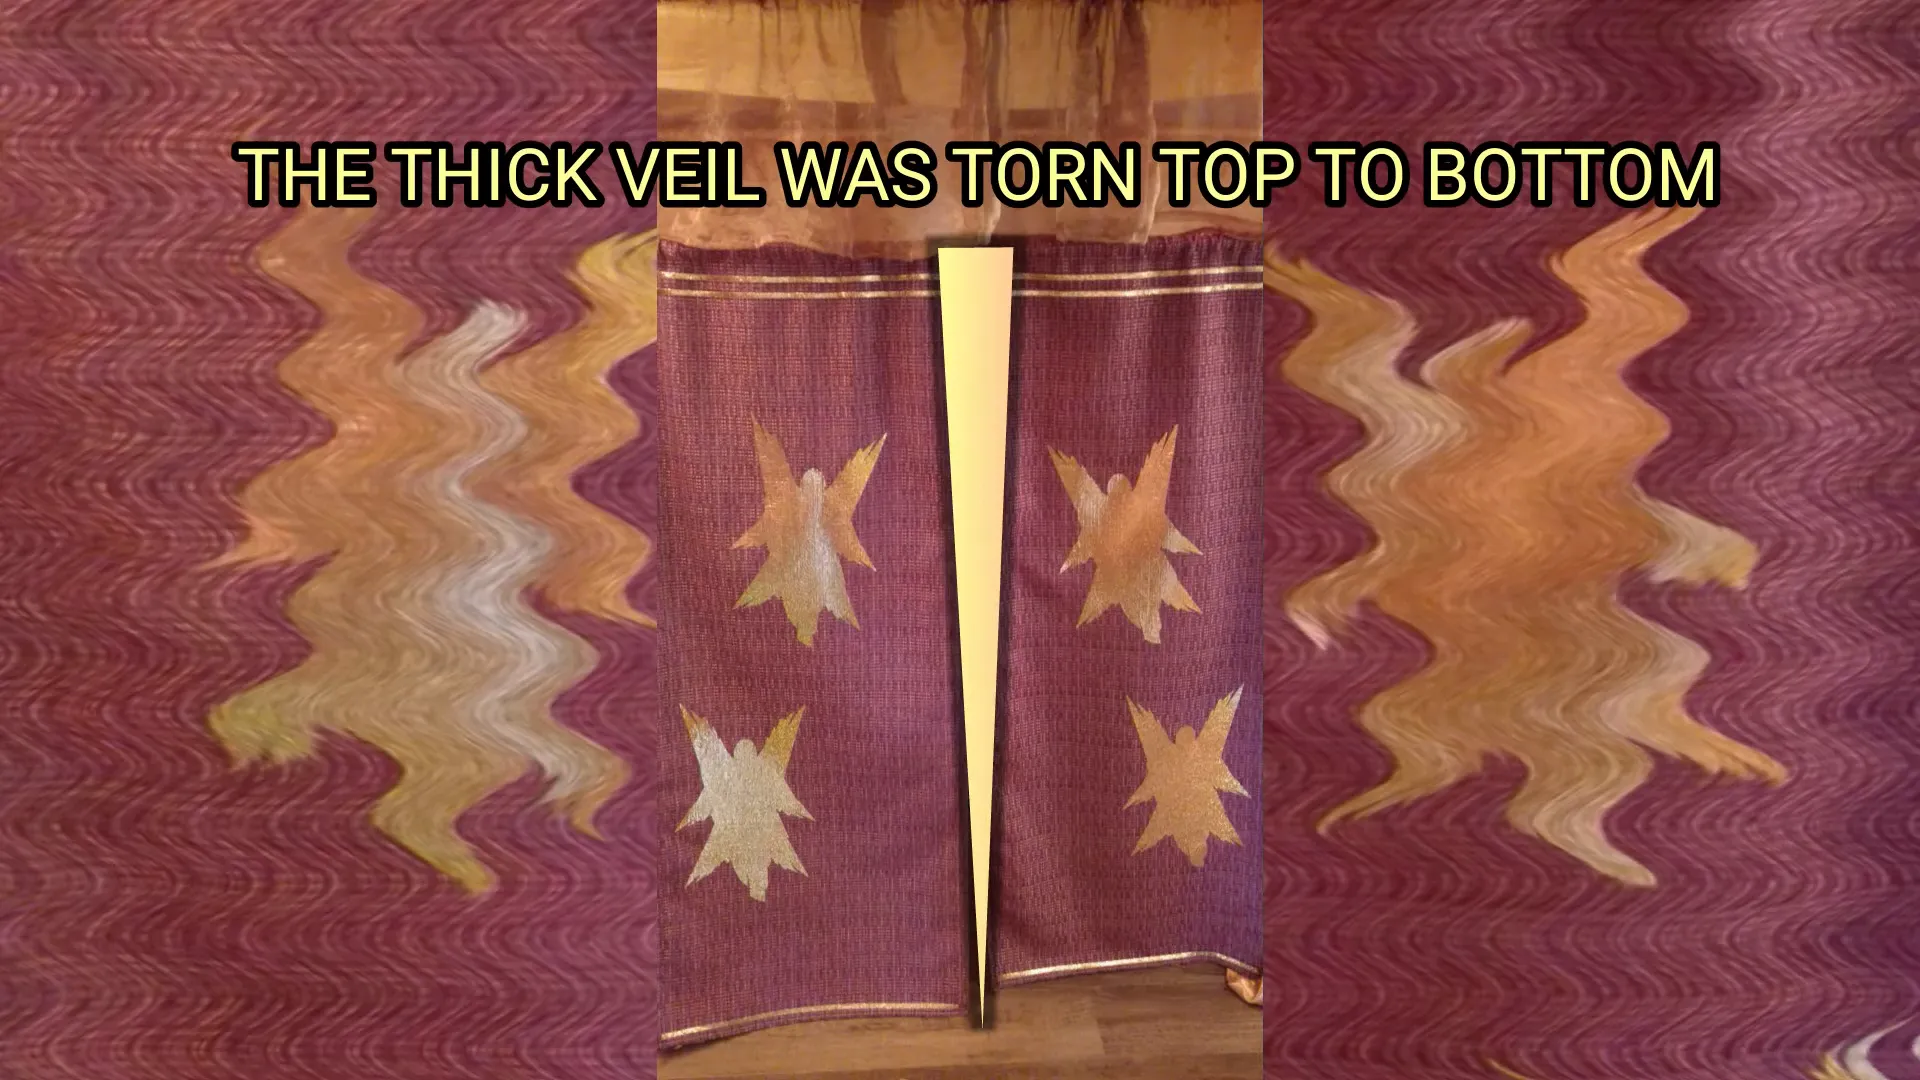
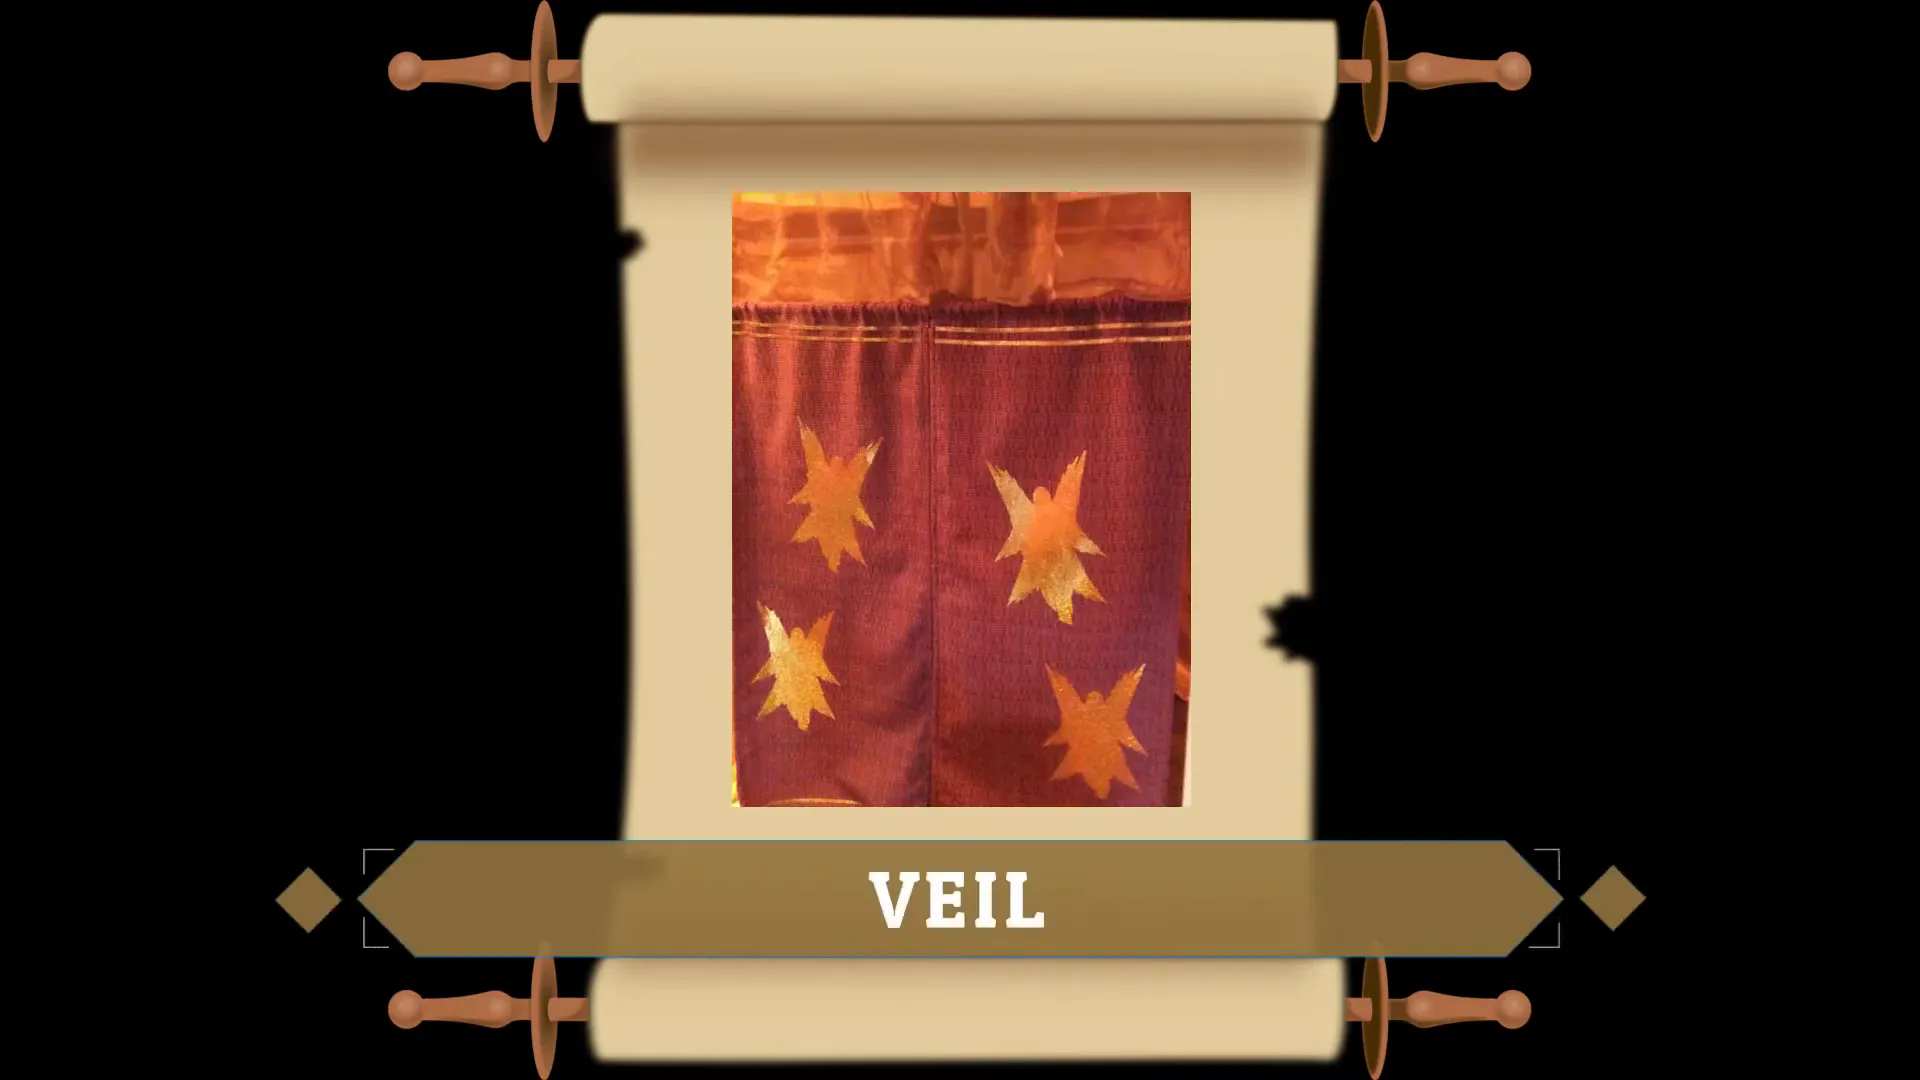
What You’ll Need for the Demonstration
For this demonstration, you will need three key items: a cross, a veil, and an Ark of the Covenant. If you're unsure how to create these, check out my previous posts and videos on how to make a tabernacle veil, how to make an Ark of the Covenant base, and a mercy seat.
Creating the Cross
Now, let’s focus specifically on creating the cross. You have several options here:
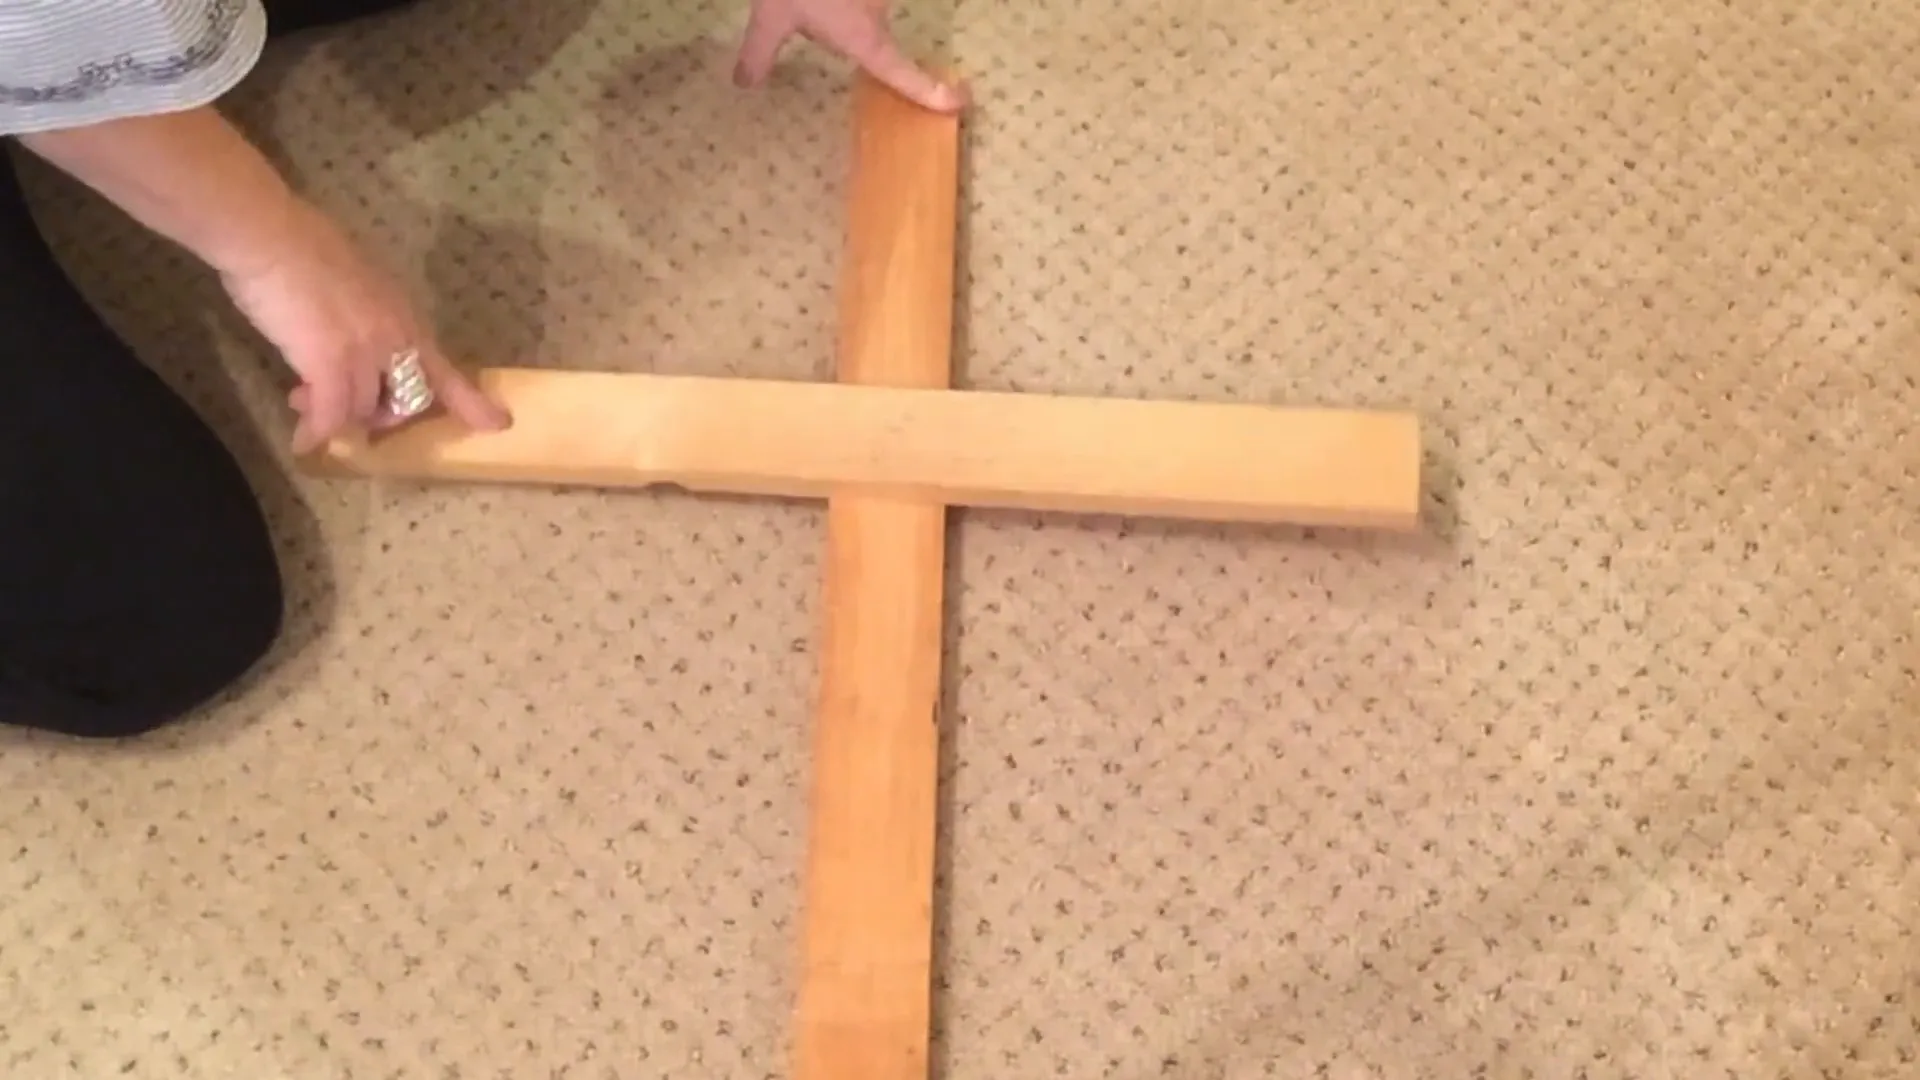
- If you want your students to step up and balance as they walk across the cross bridge, or if you foresee future lessons where students literally take up the cross and feel its weight, you might want to invest in a large wooden cross.
- This large wooden cross is made from wood that is three and a half inches square. Make sure to find high-quality wood that doesn’t easily splinter.
- You’ll need to make a minimum of two cuts: a top vertical section of twelve inches, a bottom vertical section of forty-four inches, and a middle horizontal section that measures 28 inches across. When assembled, the total height is 60 inches or five feet.
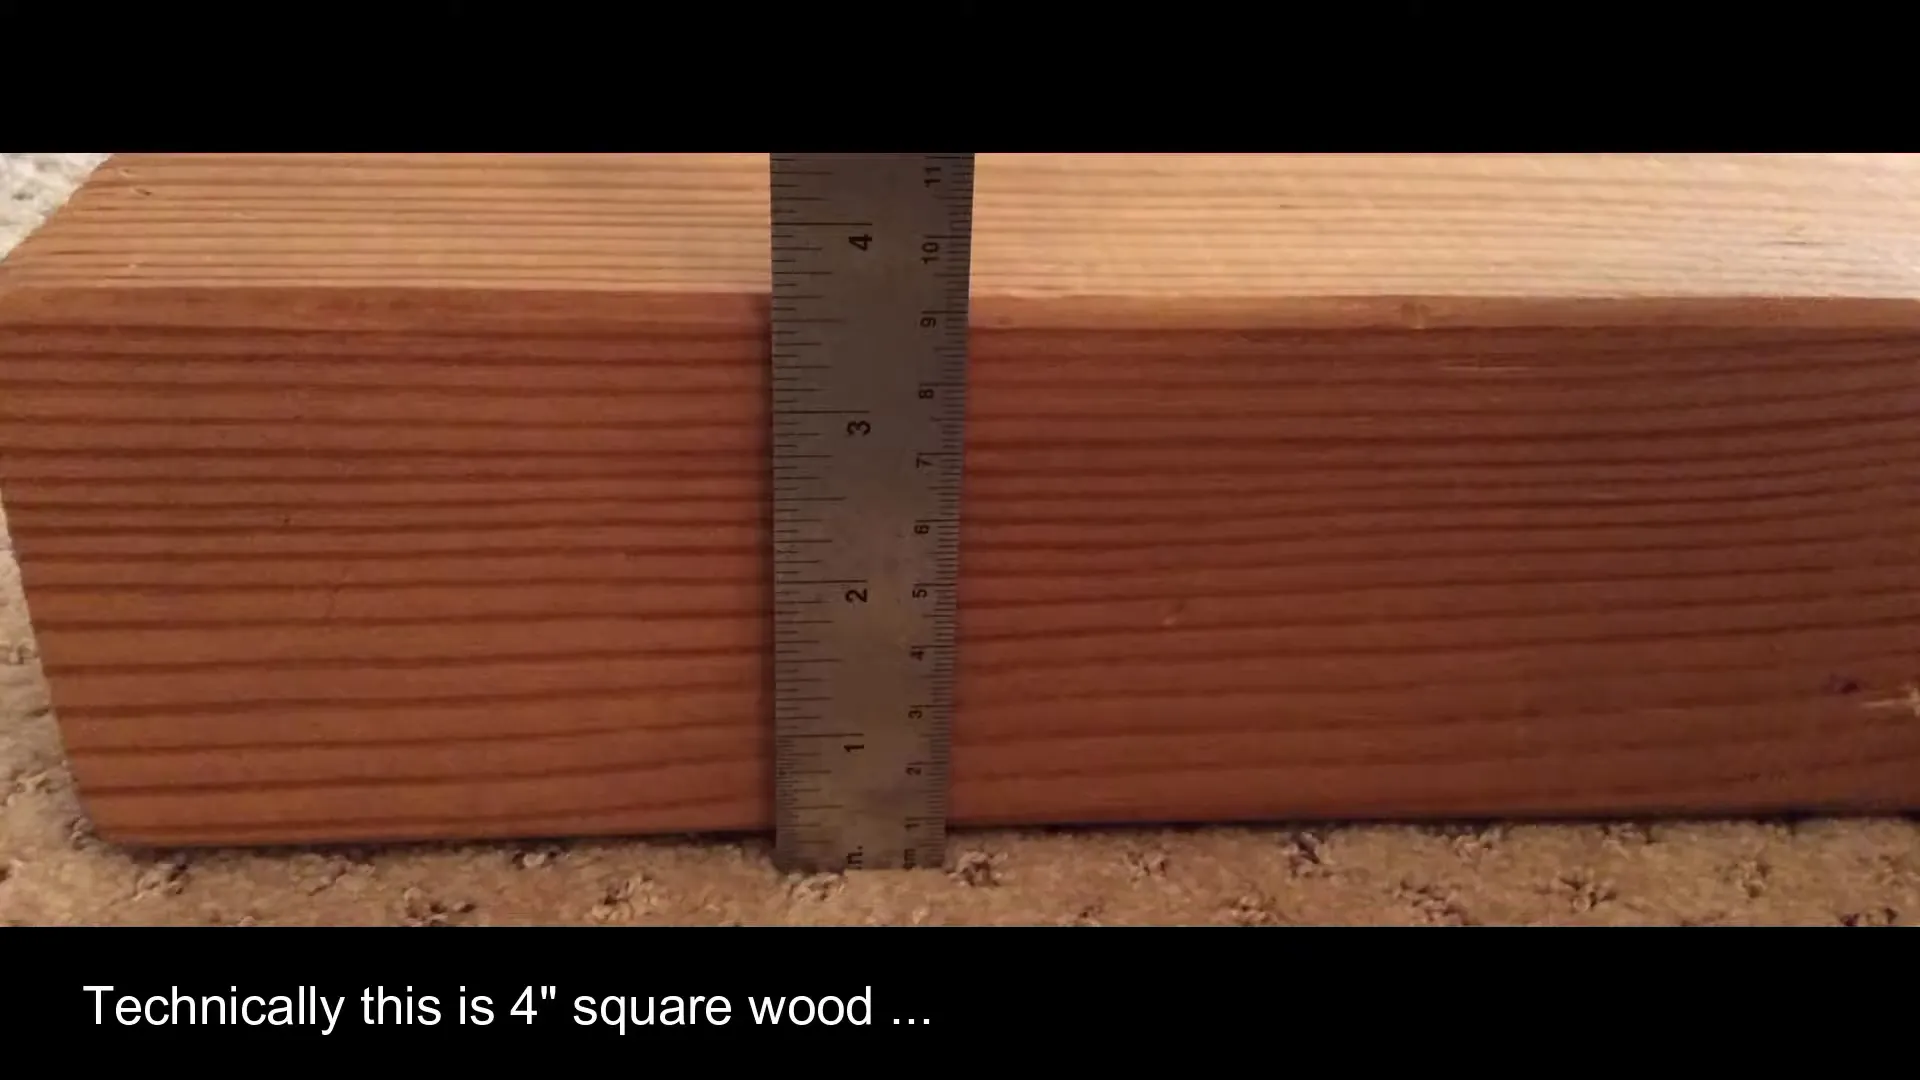
The pieces should be screwed together at an angle for maximum hold—there are about 10 screws holding this cross together. You can use wood filler in the holes, but here’s a heads up: when you have dozens of children walking across the cross bridge, there’s plenty of opportunity for loosening. It’s just as easy to leave them accessible so you can tighten them when needed.
Alternatively, you can create a smaller four-foot cross. This cross is made from wood but has a couple of advantages. First, the two and a half inch by three-quarter inch size is more cost-effective, and you might have a similar size in your garage or basement. Second, depending on the length of your wood, you might only need to make one cut: a vertical section of 48 inches and a horizontal section of 24 inches, and then simply nail them together.
Temporary Cross Options
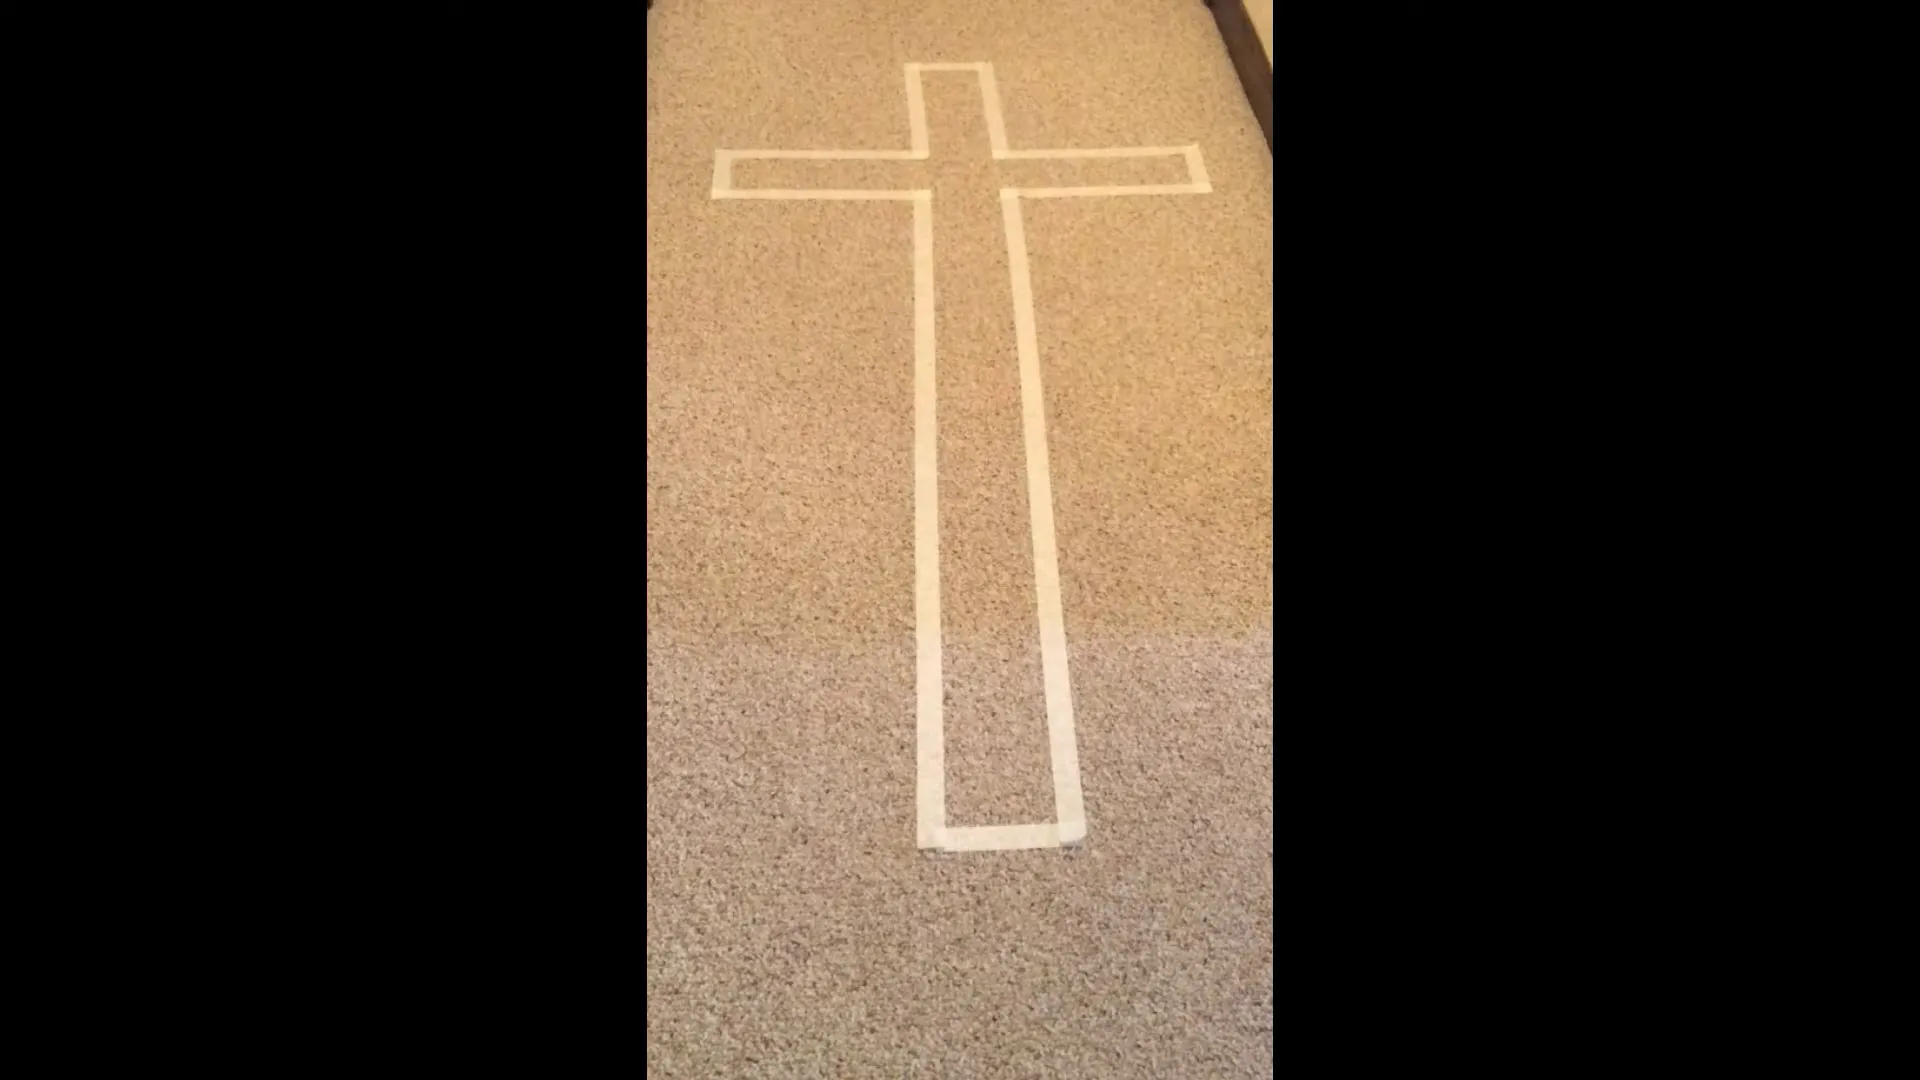
If you’re looking for a temporary option, consider making an outline of a cross on your floor using masking tape. Cut four four-and-a-half inch lengths, six twelve-inch lengths, and two forty-four inch pieces. Then, piece them together to make a cross. Just be sure to check the distances between parallel lines to ensure your cross doesn’t lean to one side.
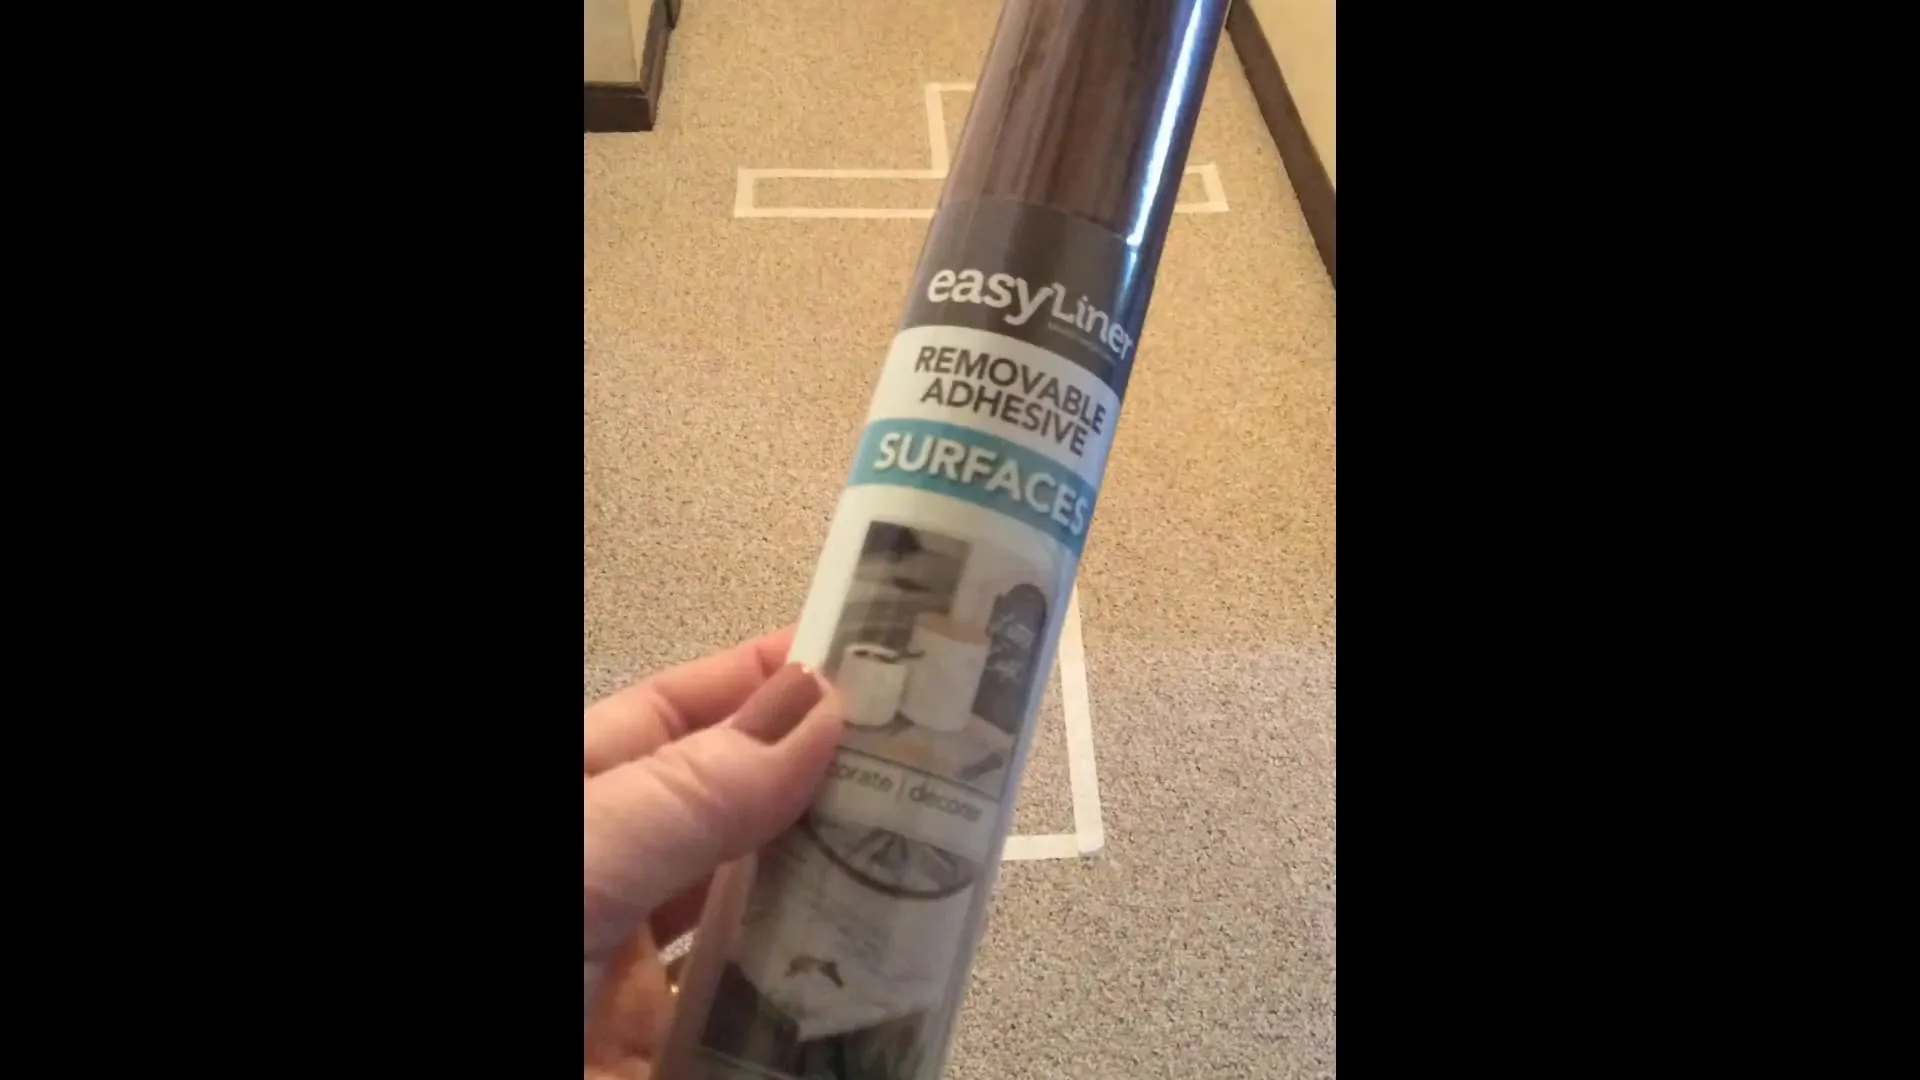
Spice up your masking tape cross by adding wood texture drawer line paper. Use a removable adhesive-backed paper unless you want a permanent cross on your floor. It’s much easier if you already have a masking tape outline; then you can cut and stick the paper to match the grain on your pieces. The closer it looks like one piece of wood, the more impressive it will be!
Incorporating the Activity into Your Curriculum
This Bridging the Gap demonstration is included in Day 5 of our curriculum for VBS, homeschool, Sunday School, and church for 4th-6th graders. It’s an exciting privilege as a teacher to guide your students as they make a choice to cross the cross bridge, go behind the veil, and see for the very first time the Ark of the Covenant, symbolizing the throne of God.
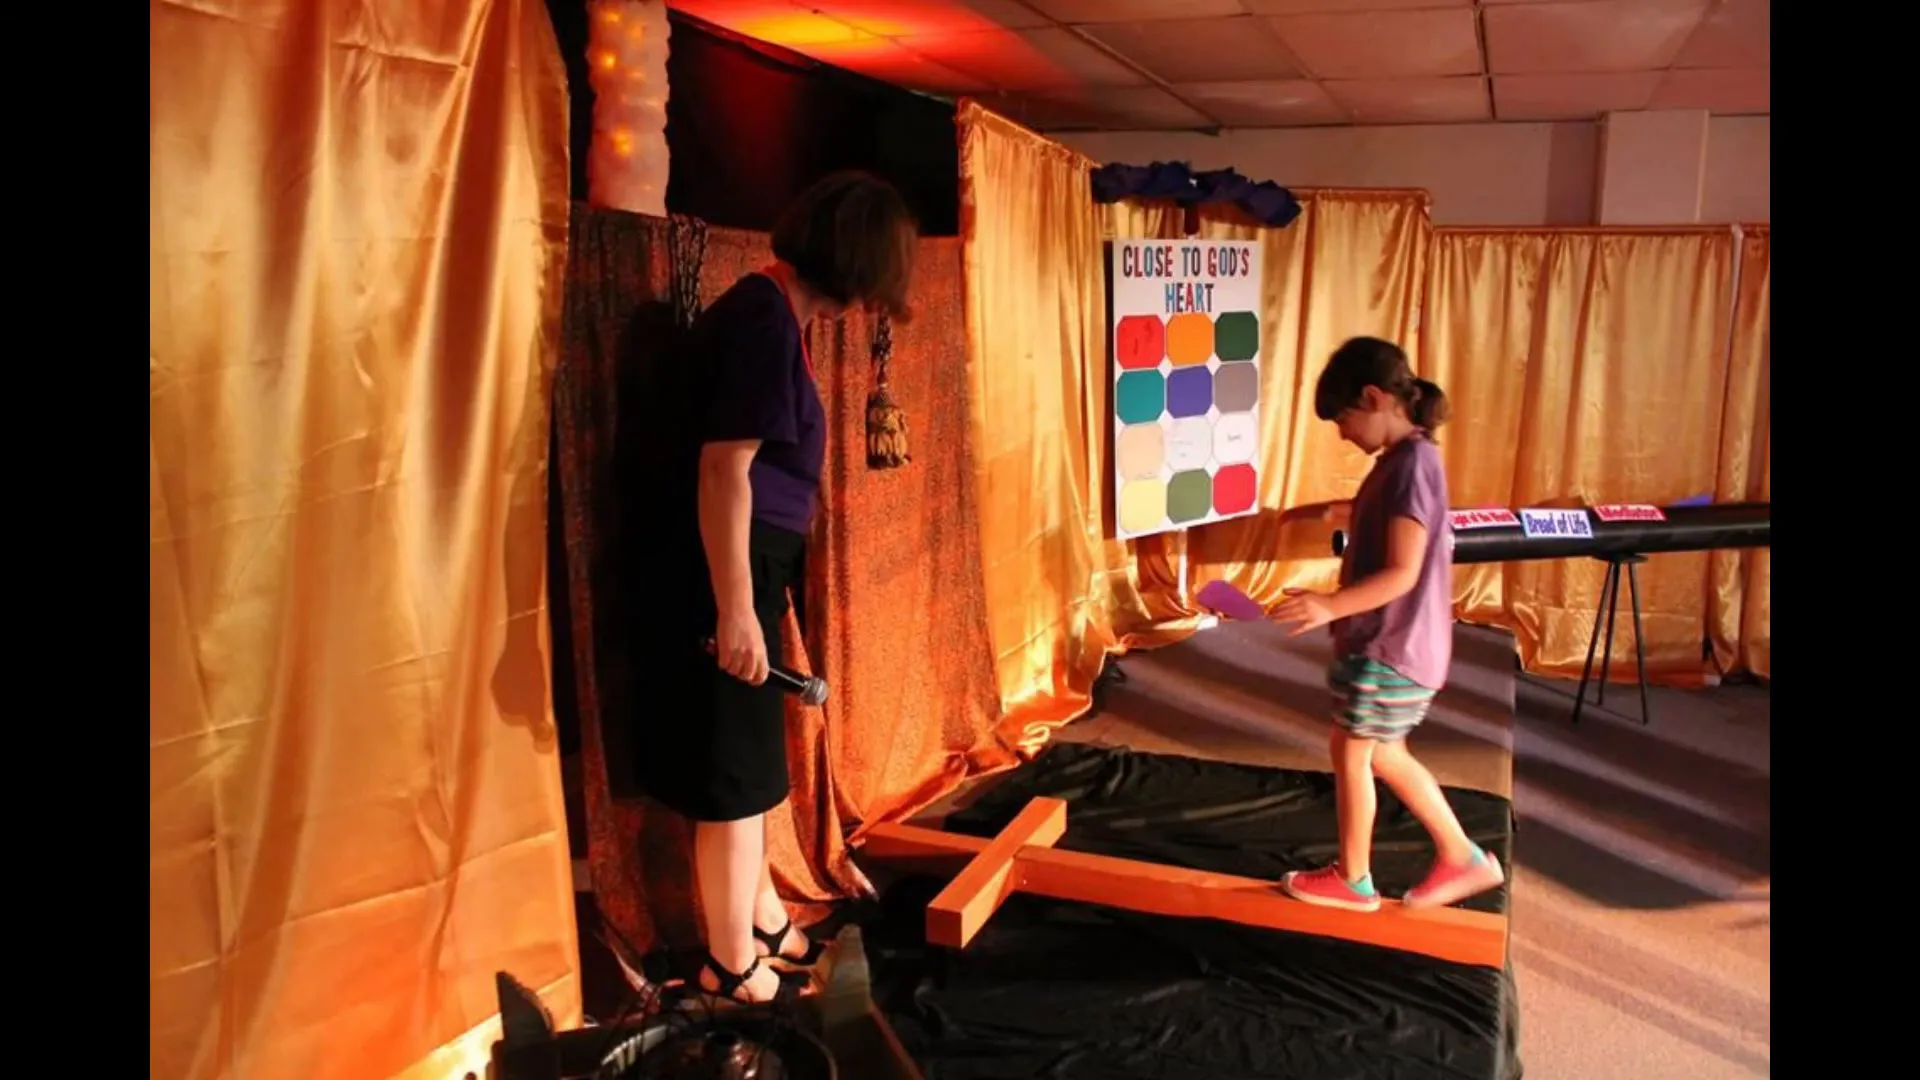
What tenderness and comfort we give to our students when we remind them that they have full access to God any day, any time, and any place!
"Walking Alongside Jesus" Curriculum
This curriculum series endeavors to imagine what Jesus might have said about Himself through all the major stories of the Old Testament which is why each lesson in this series ends with the same question: What did I learn about Jesus today?
Find Curriculum