Make a Giant High Priest Breastplate for Your Classroom
This giant four-foot tall high priest breastplate can be a unique learning activity for your students as well as provide a focal centerpiece in your classroom. The high priest of the Old Testament wore a breastplate with 12 gemstones representing the twelve sons of Israel. God's people were constantly on the high priest's heart, literally and figuratively. Certainly, Jesus as our great high priest has God's people on His heart as well.
Choosing a Board
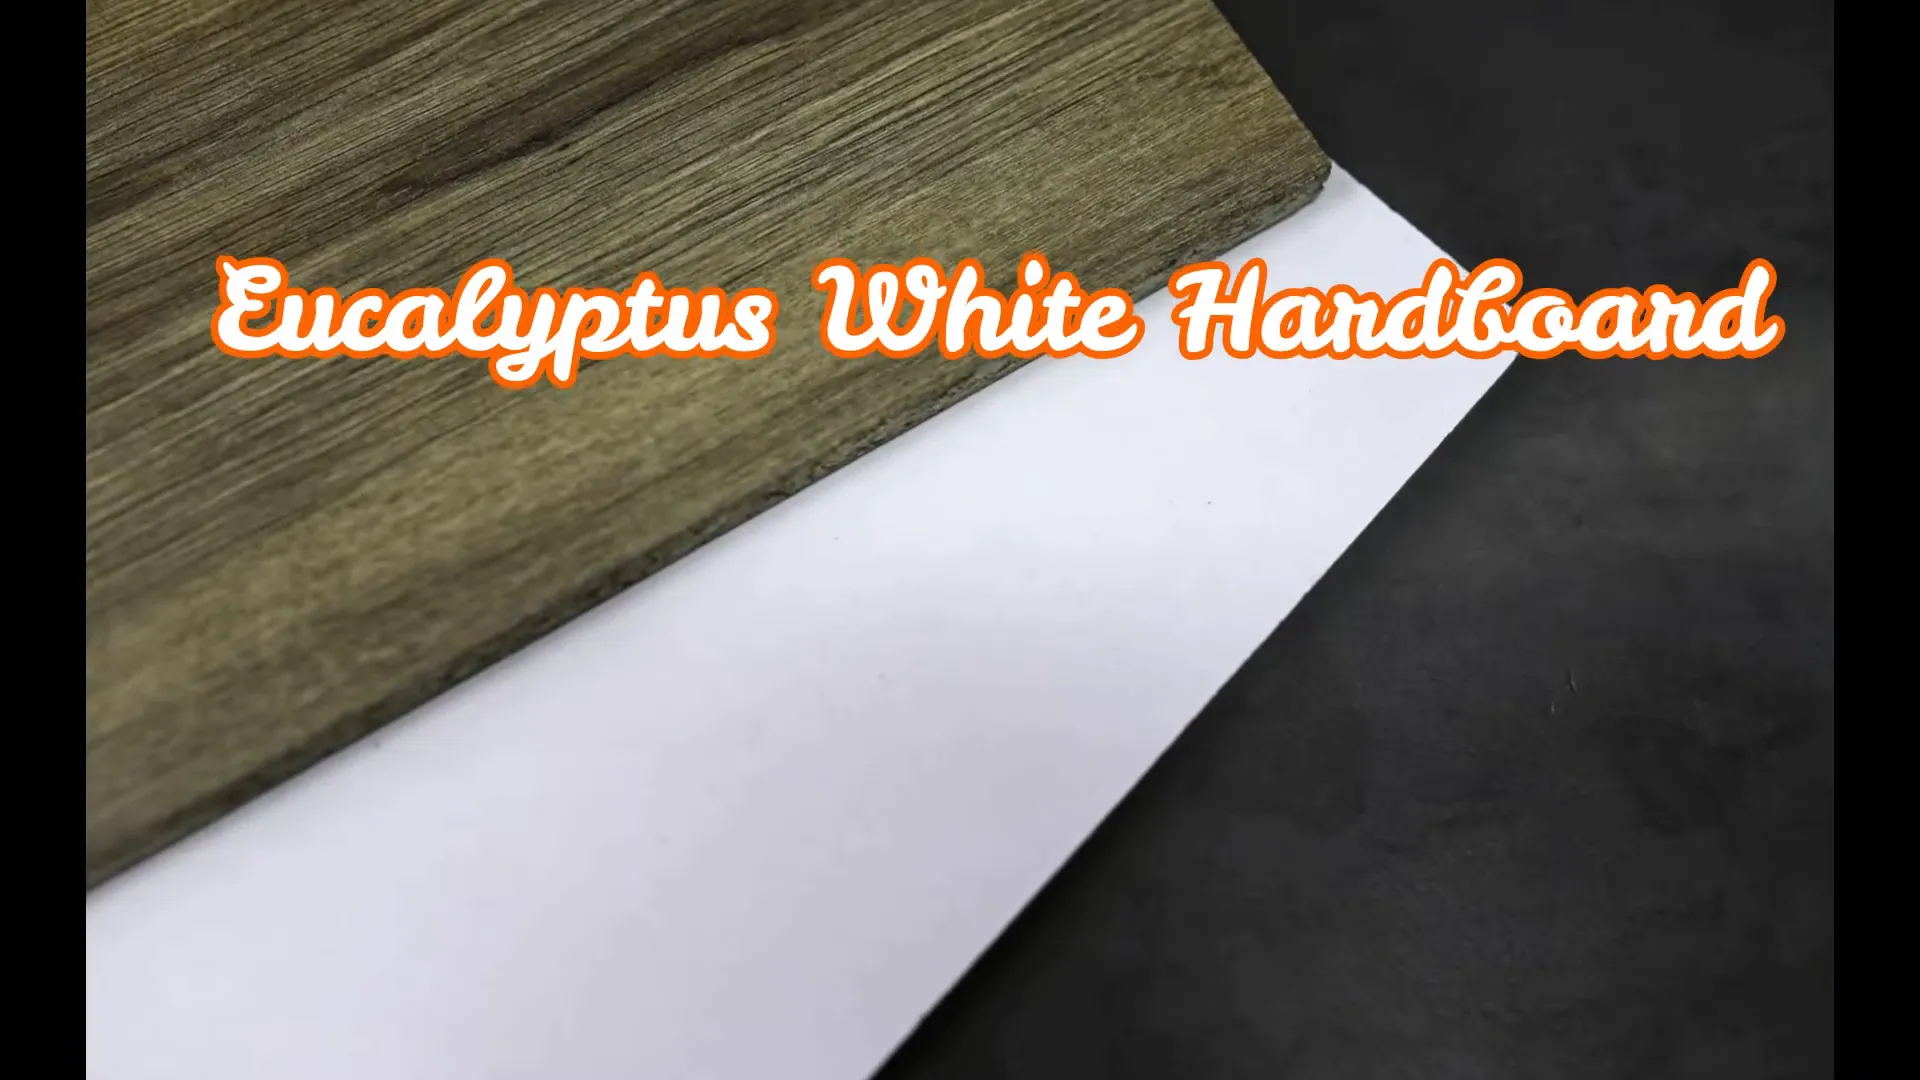
The first step is to choose a board size and type. A quick trip to your home improvement store will yield options aplenty! For this project, I chose a board that is 48 inches tall, 36 inches wide, and an eighth of an inch thick. I opted for eucalyptus white hardboard because it has rigidity and smoothness—a great combination for this project. However, you could certainly use a dry erase board, foam board, or white particle board.
Creating Paper Gemstones
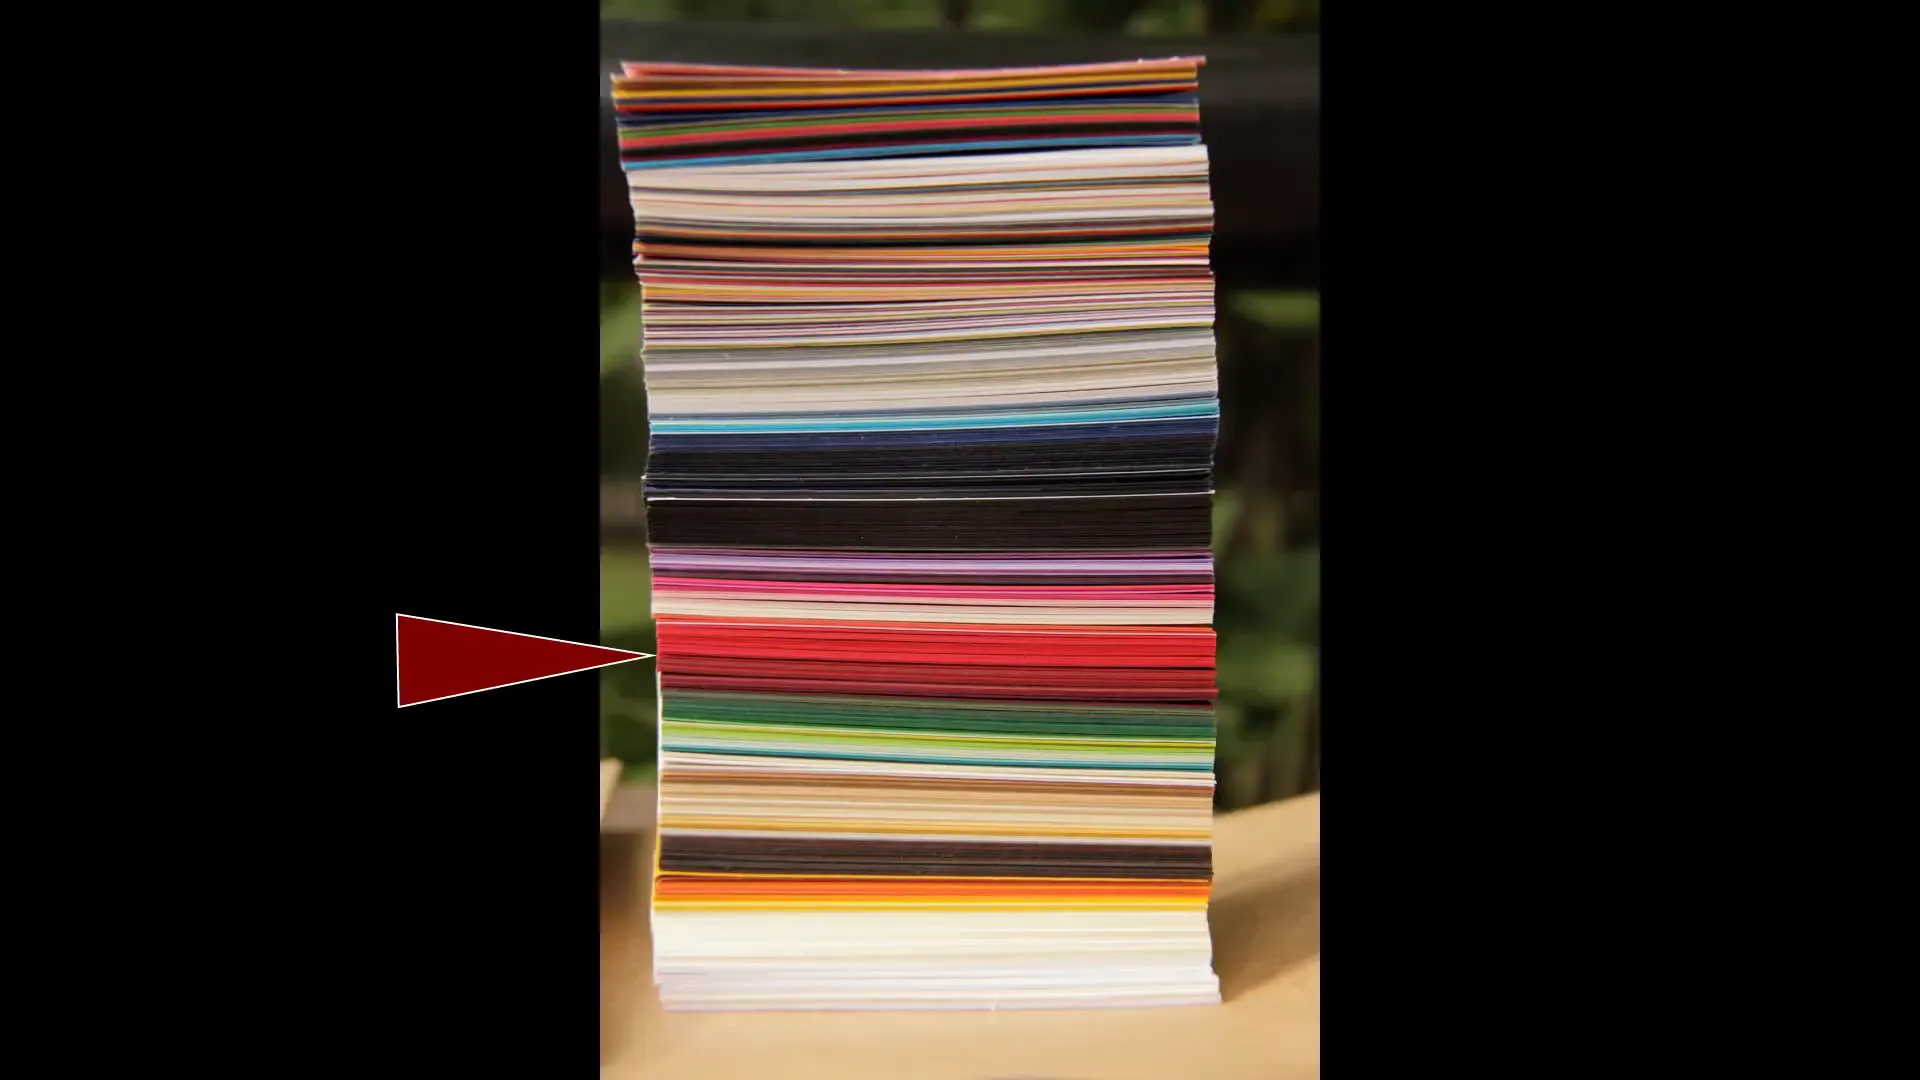
Once you have chosen and cut your breastplate board, it’s time to make the paper gemstones! In Exodus 20:8-21, God instructed Moses to engrave the names of the 12 sons of Israel on the twelve stones of their breastplate and arrange them in exact order. However, we are not told which of the sons' names are associated with each stone. Adding to the confusion, you will even find gemstone name differences between Bible translations.
To recreate the colors on your giant breastplate, you will need a variety of colored papers or cardstock for a total of 12 in shades of greens, blues, apples, and yellows. Add in a red, a white, and a black, and you should be all set! Each of the 12 gemstones should be of a uniform size and shape. I like this emerald cut because it's easy to trace and looks like a gem.
Making a Template
To make life easier, create a template out of heavy paper or cardstock. If you're making a breastplate similar to the 48-inch tall and 36-inch wide board I have here, 8.5 by 11-inch paper works great for the gemstones. To create a template, measure 2 inches from either side of each corner and then draw a connecting line to cut off the corners.
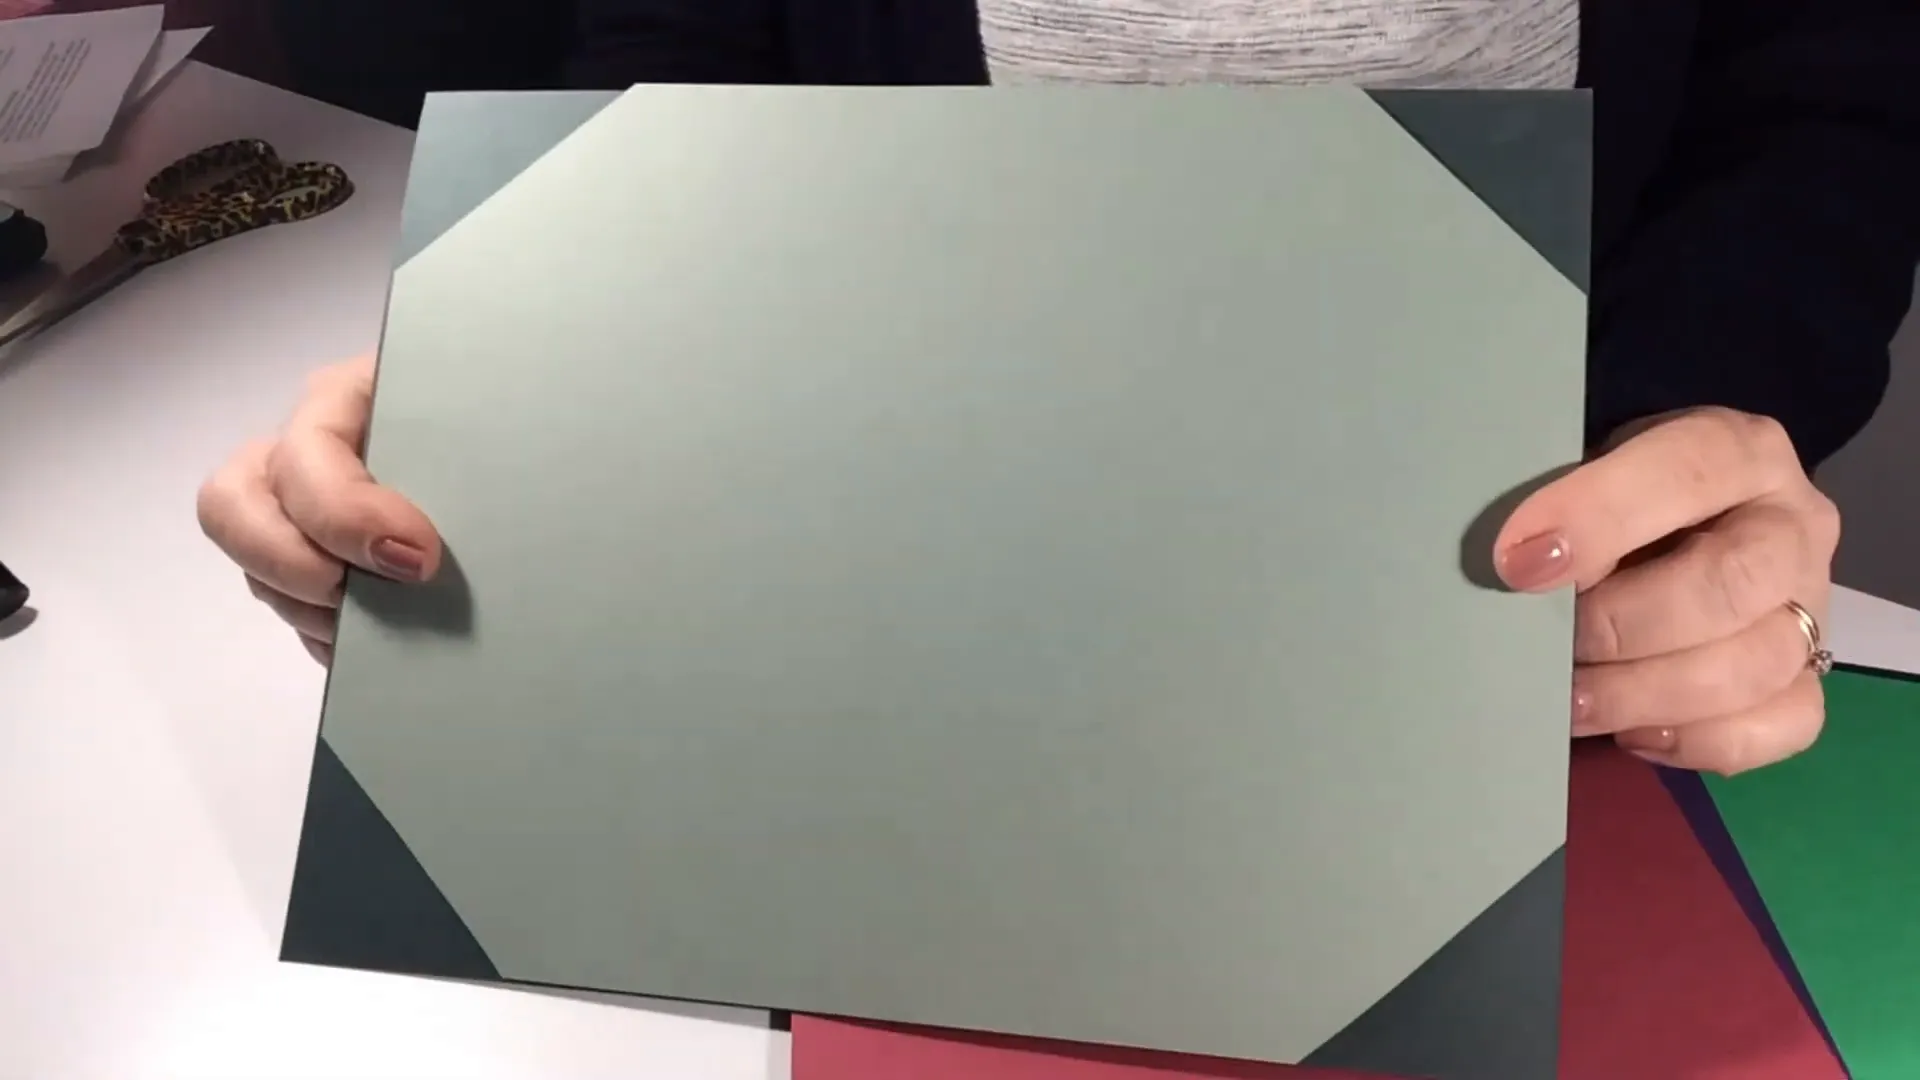
Once the corners are cut off, you can either trace the corners and cut them individually or skip the tracing and cut them in bulk. If you're using a smaller or larger board, scale the gemstone size up or down as needed. Make sure to reserve room on your board if you would like to add lettering at the top.
Arranging the Gemstones
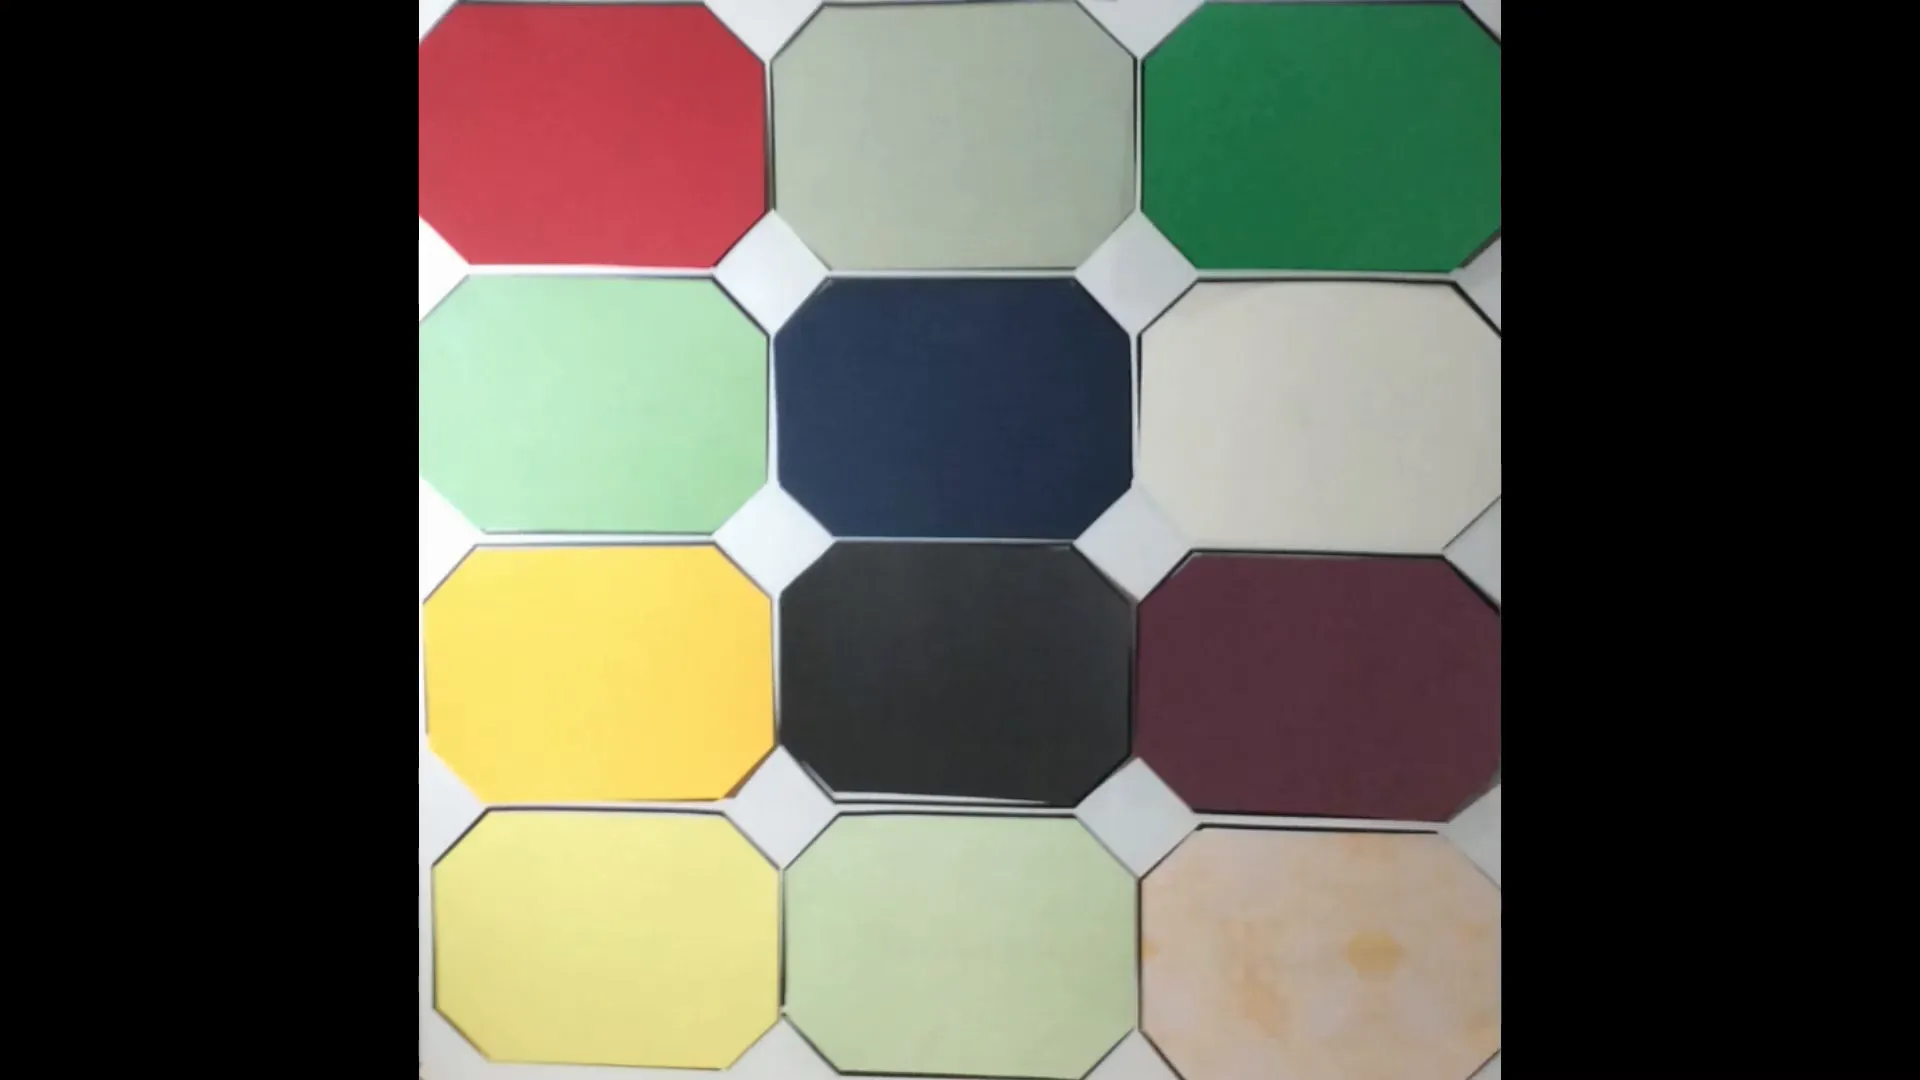
After cutting the gemstones, arrange them on your board, leaving room for lettering if desired. There are four rows of gemstones with three on each row. If you're concerned with historical accuracy, I suggest placing the following colors in order:
- First row: red, yellowish green, green
- Second row: greenish blue, deep blue, white
- Third row: golden yellow, black, purple
- Fourth row: yellow, light green, and a color of your choice or something multicolored
Outlining the Gemstones
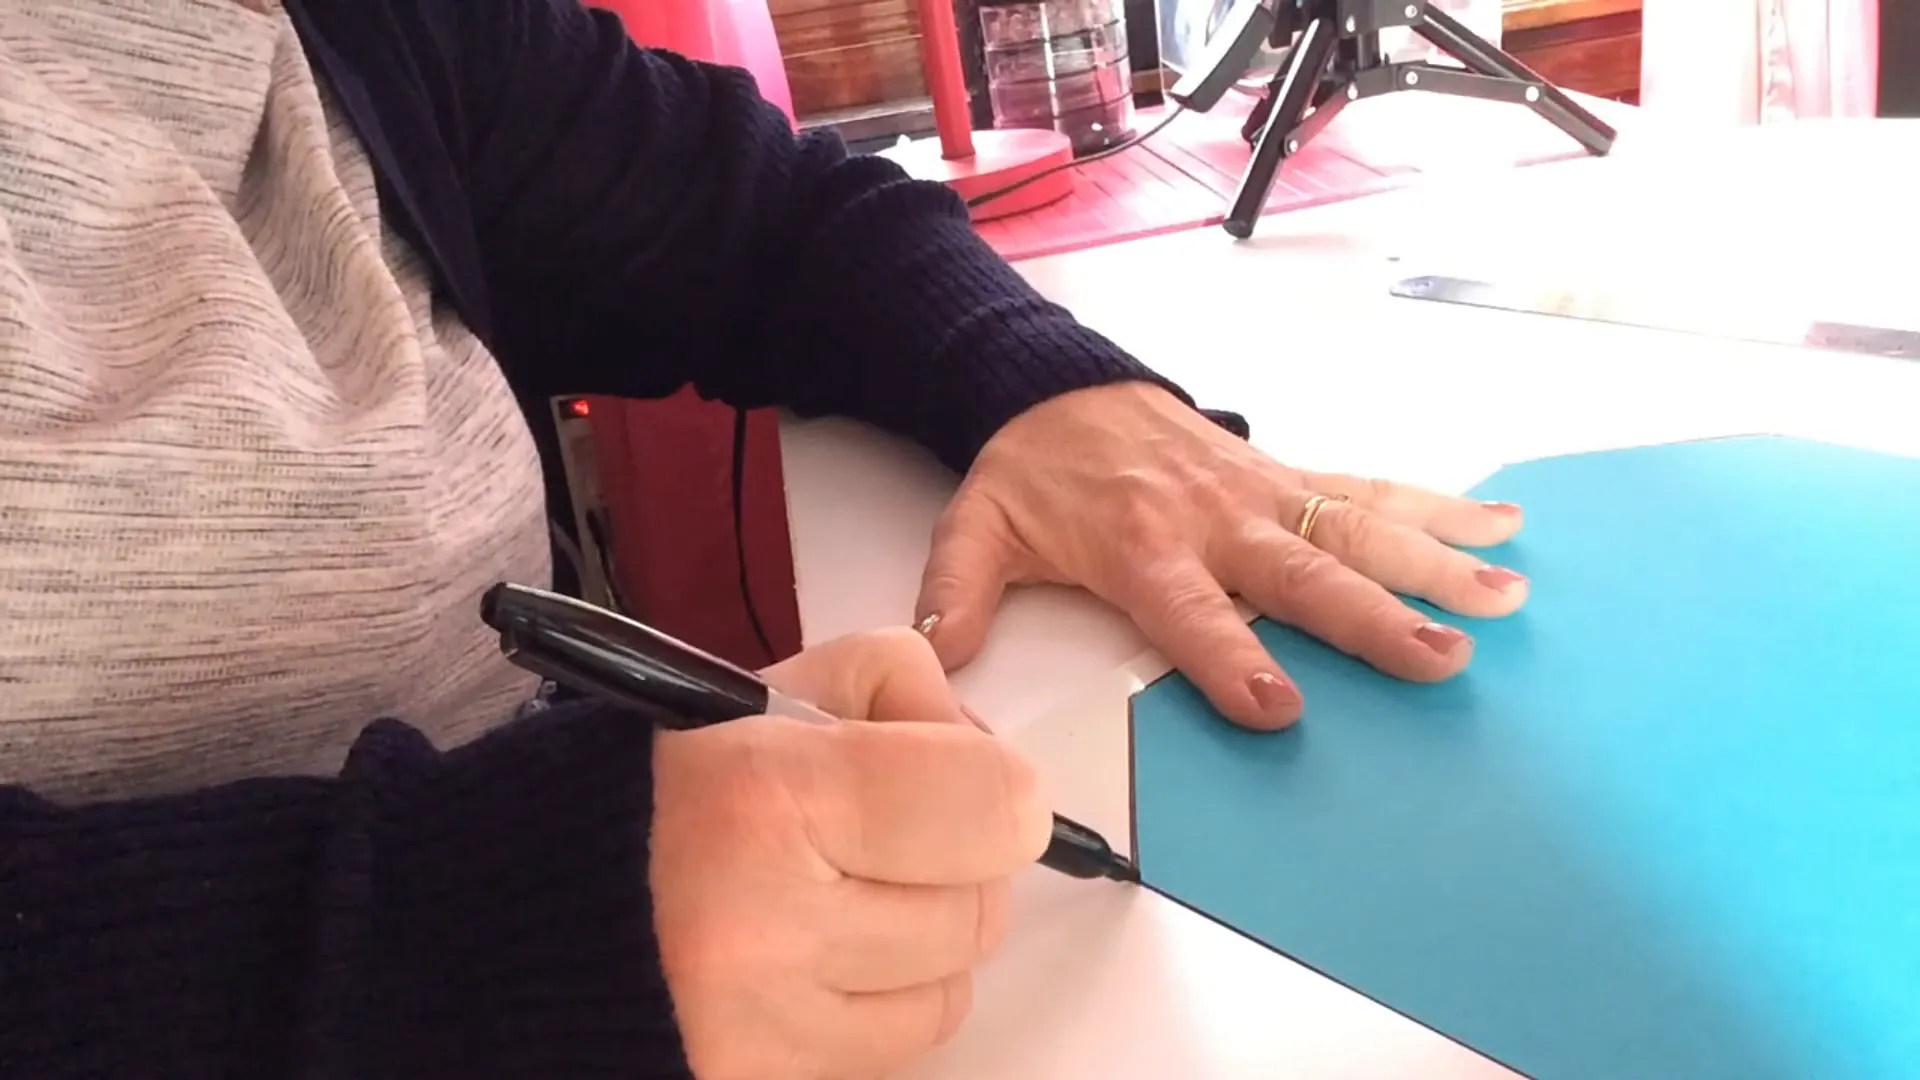
Now outline the gemstones by tracing them with a dominant marker. Instead of a marker, you could use thin plastic tape for a clean dark edge. This tape can be found in craft stores and may be called whiteboard tape, gridding tape, or graphic art tape.
Adding Names to the Breastplate
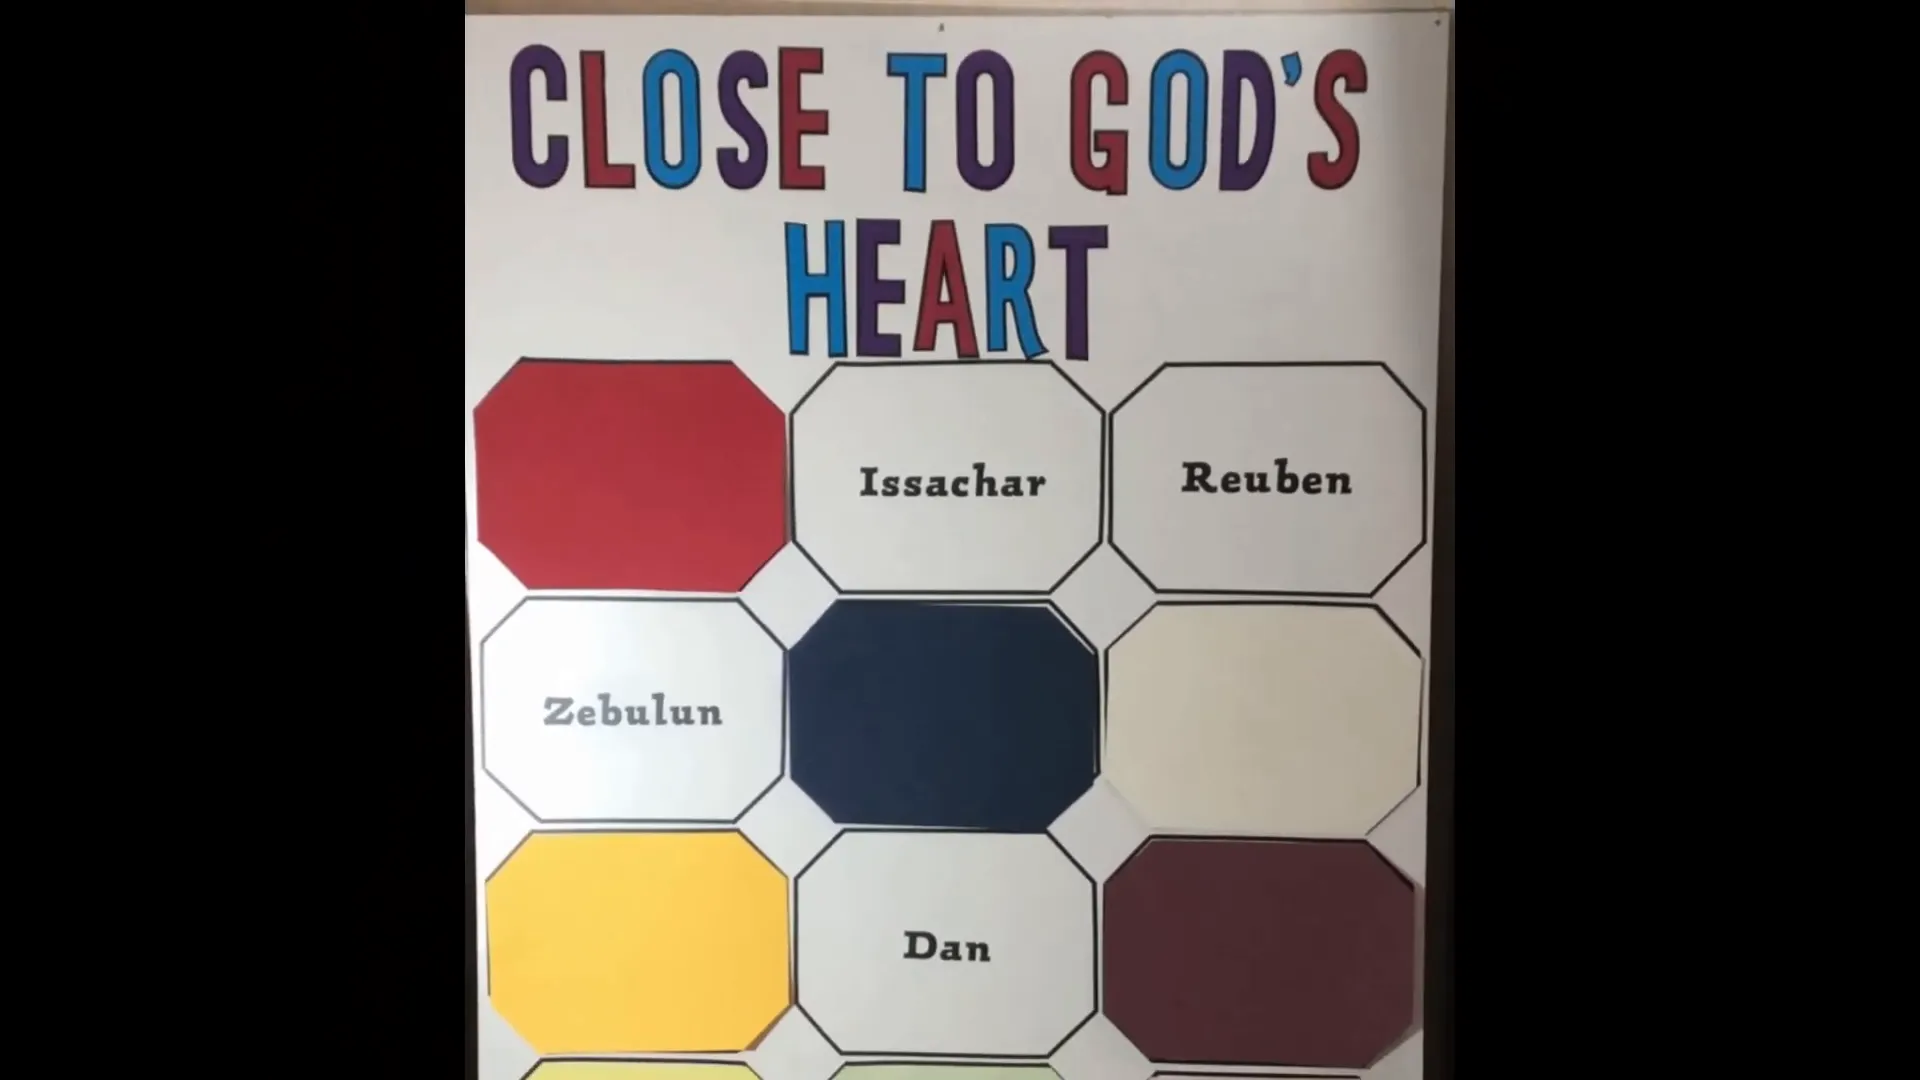
I decided to place the names of the sons in random order on the breastplate since the Bible doesn't specify their exact location. However, placing them from oldest to youngest would also work well. I used a Cricut machine to cut the letters, but you can buy lettering or simply write them with a permanent marker. The same goes for the large lettering at the top. Having the names of each of the twelve sons of Jacob behind the gemstones is optional depending on your lesson or activity.
Using the Breastplate in the Classroom
This board can be a great tool for memorization! Each week, cover another name with a new gemstone and see if your students can remember the names underneath. For smaller classes, students can decorate their own gemstone and research their tribe. You can assign each student to a tribe, and they can happily write their names on their tribe's gemstone.
Additionally, you could occasionally take a gemstone off the board and hide it, providing a small prize to the student who puts the gemstone back where it belongs.
Use this board in your prayer corner where students can write their requests in the gemstones, or send individual gemstones home so students can pray for each other.
The options are endless!
I hope this has inspired you to place a giant breastplate in your classroom. If you have another great idea for how to use this, please leave a comment below!
This is Becky from Experience the Bible Creatively, reminding you that prompts are always better than paper!
Help Your Students Fall in Love With the Bible
Teach the Bible with what you know it can have: powerful, effective, life-changing impact. Whether you’re looking for homeschool Bible curriculum, Christian school classroom curriculum, Vacation Bible School (VBS), or kids Bible study content, we’re here to help your students experience the Bible creatively.
Shop Curriculum