Crafting a Mercy Seat for Your Ark of the Covenant
In the previous project, we successfully transformed a piano bench into the Ark of the Covenant. Now it’s time to elevate our creation by crafting the Mercy Seat that sits atop the Ark. This piece not only completes the Ark but also adds a touch of divine elegance. Let’s dive into the steps to make the Mercy Seat, focusing on the cherubim that grace its surface.
Understanding the Design
Before we start crafting, let’s revisit the divine instructions given to Moses for the construction of the Mercy Seat. The design includes two angels, known as cherubim, with hammered gold wings that are spread out, touching and facing each other. This design holds significant meaning and represents the presence of God.
To create these cherubim, I recommend sourcing some angel wings. These can easily be found, especially around Halloween, but they are available year-round. The wings should be poseable, allowing you to position them as needed. For a standard piano bench, look for wings with a wingspan of 24 inches and a height of 15 inches. This size will ensure they fit perfectly on your bench, allowing them to touch in the center.
Preparing the Cherubim
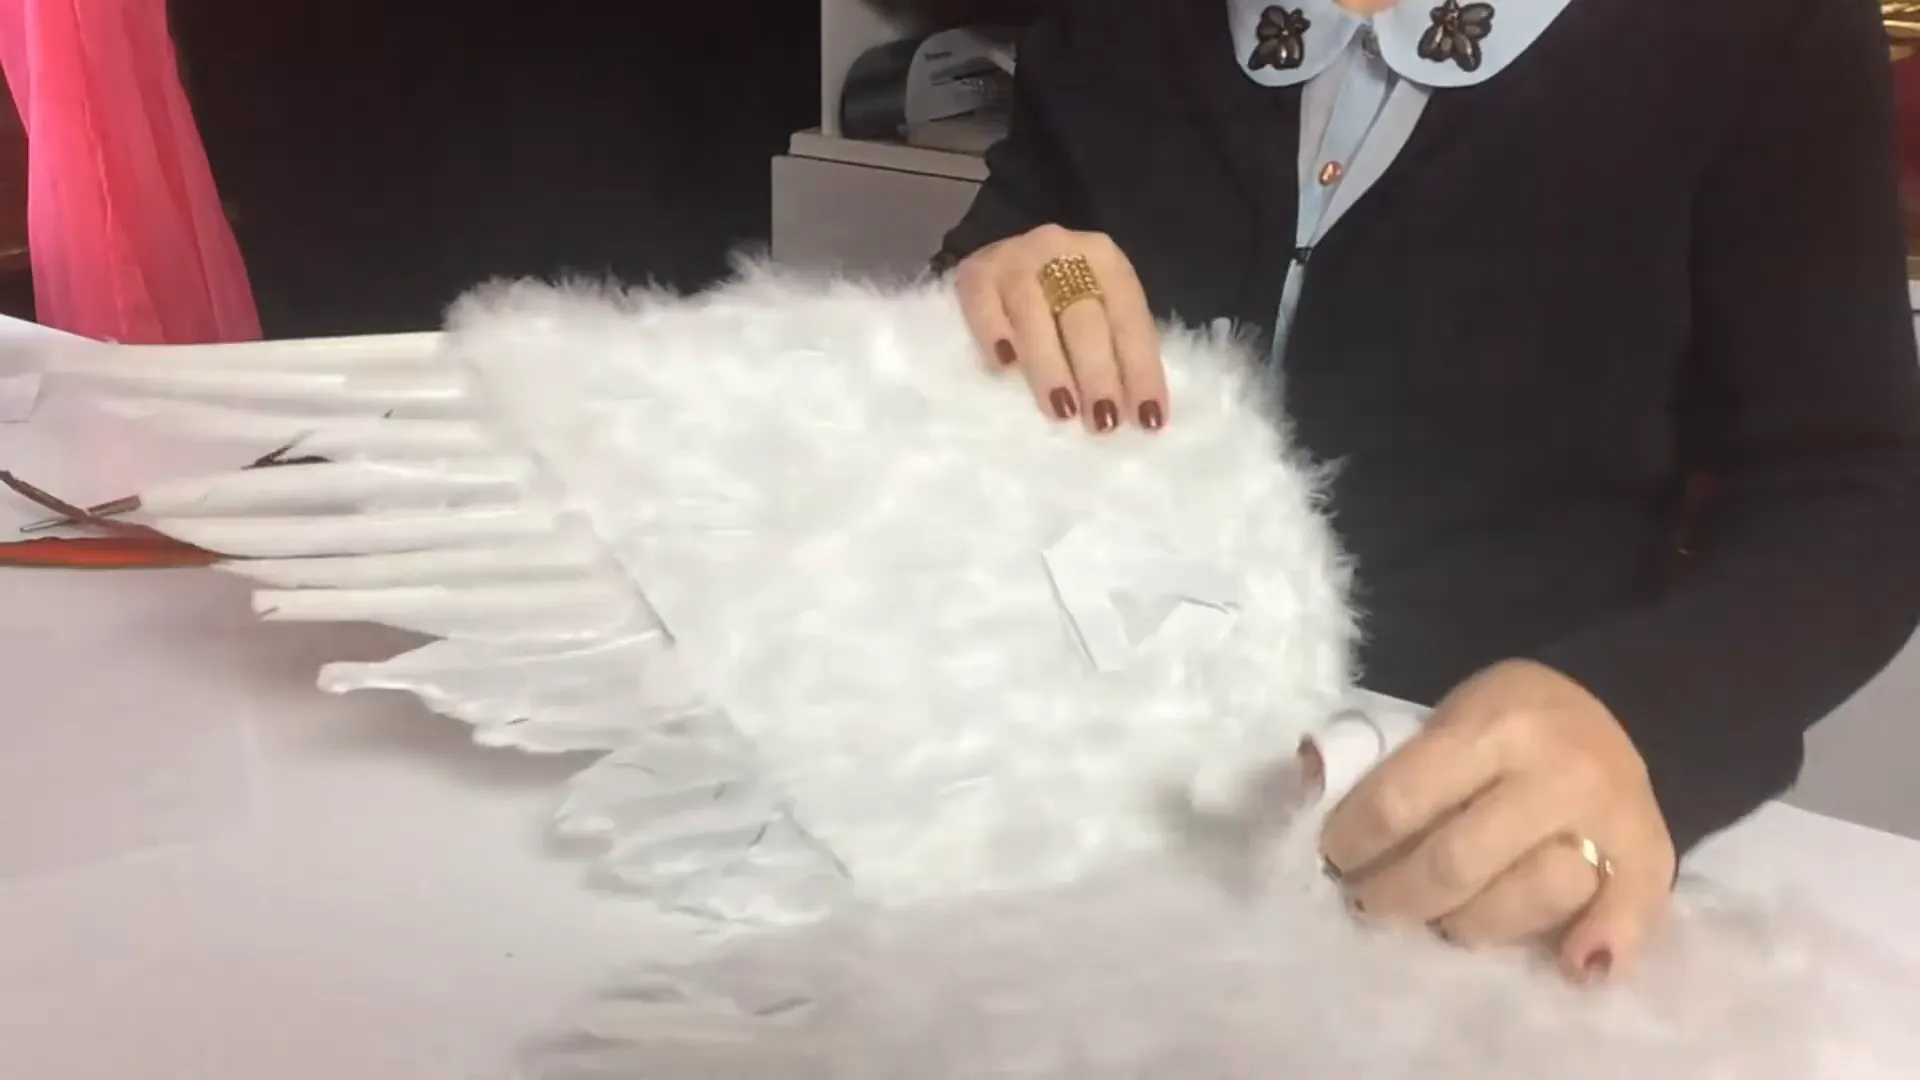
Once you have your wings, the first task is to remove any elastic straps that are typically used for costumes. These aren’t necessary for our project.
Next, we need to give these wings a stunning, hammered gold appearance. The best way to achieve this is by using fabric stiffener, which helps the feathers maintain their shape and prevents them from fanning out. I recommend using Mod Podge mixed with a fabric stiffener. This combination will saturate the feathers and create a stiff, strong finish.
Ensure every feather is thoroughly coated and let them dry overnight. Ideally, you want to leave them for 48 hours for the best results. After drying, the feathers should be hard and not move at all, which is exactly what we want.
Painting the Cherubim
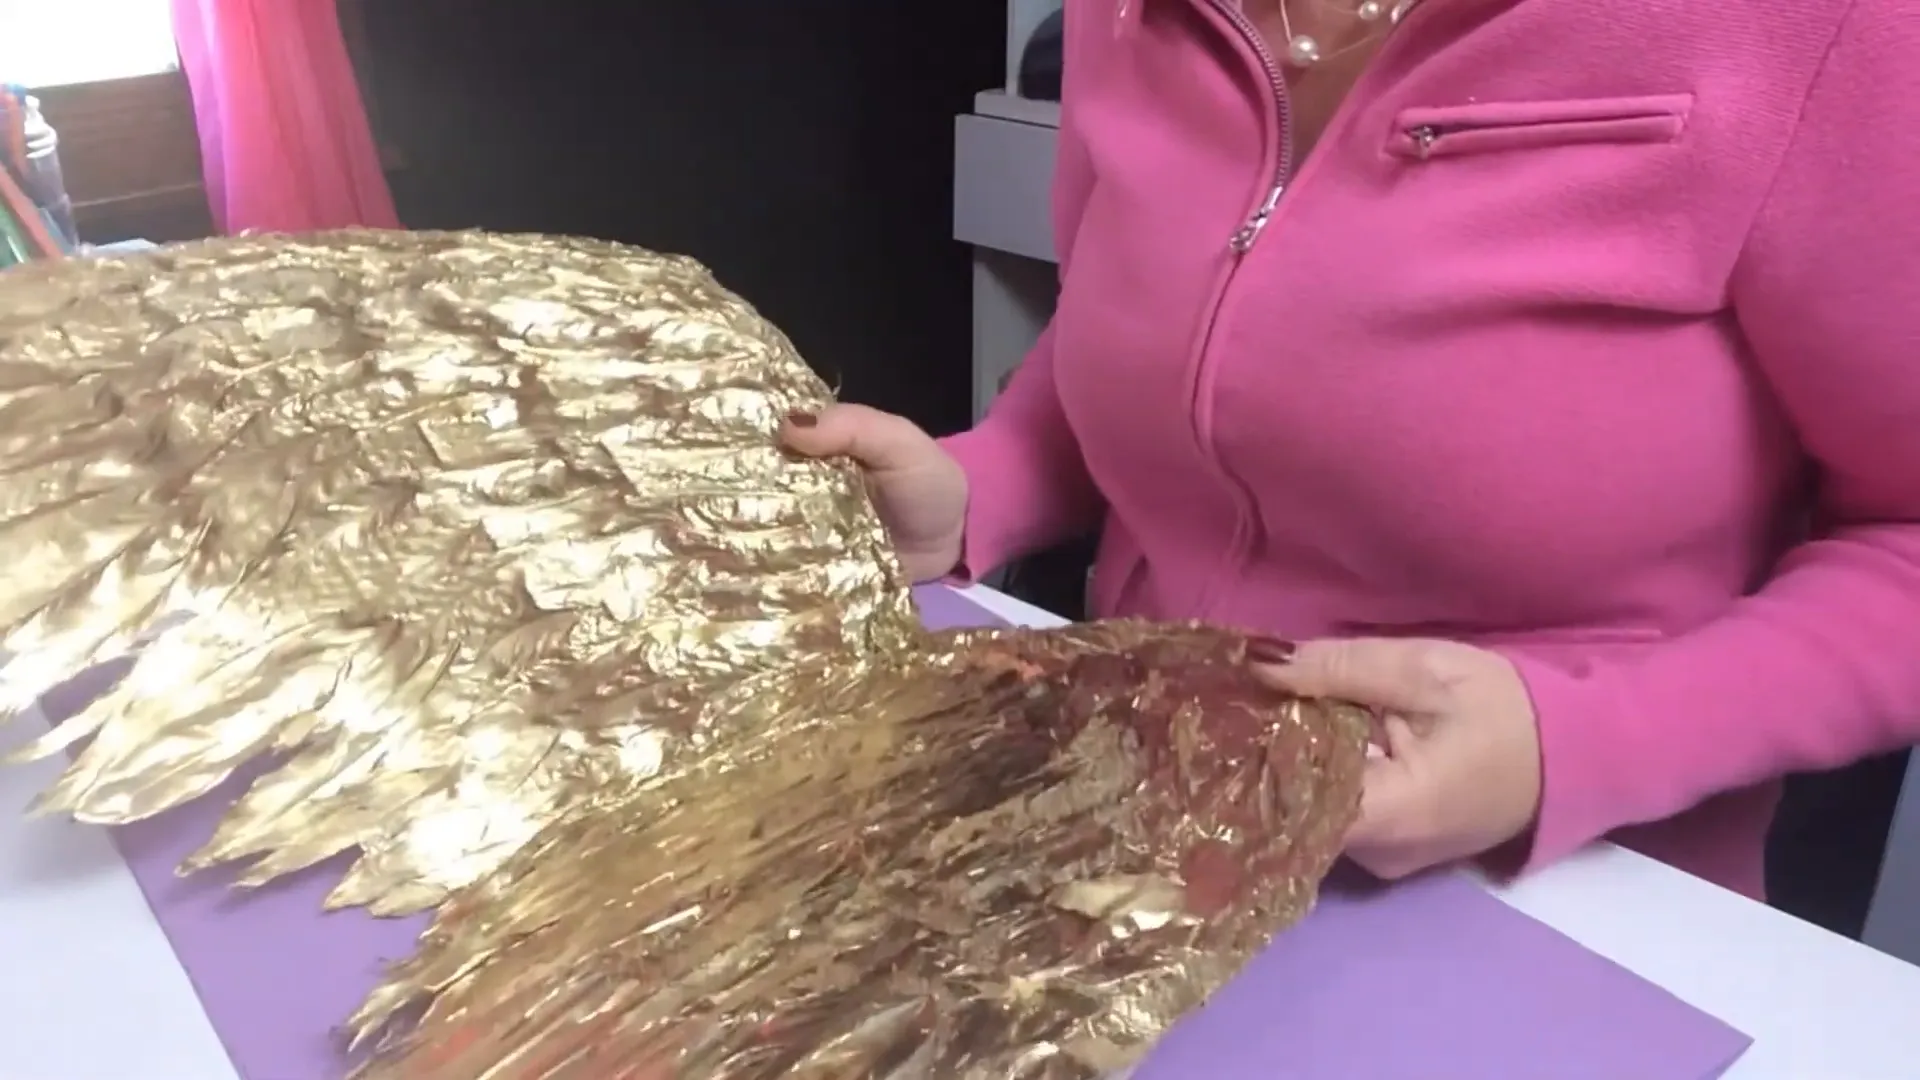
Once the feathers are dry, it’s time for the fun part—painting! Use several coats of metallic gold spray paint to cover the wings completely. You may need almost a whole can to ensure every nook and cranny is covered, leaving no white showing. The result should be a brilliant gold finish that captures the essence of the original design.
Creating the Base for the Wings
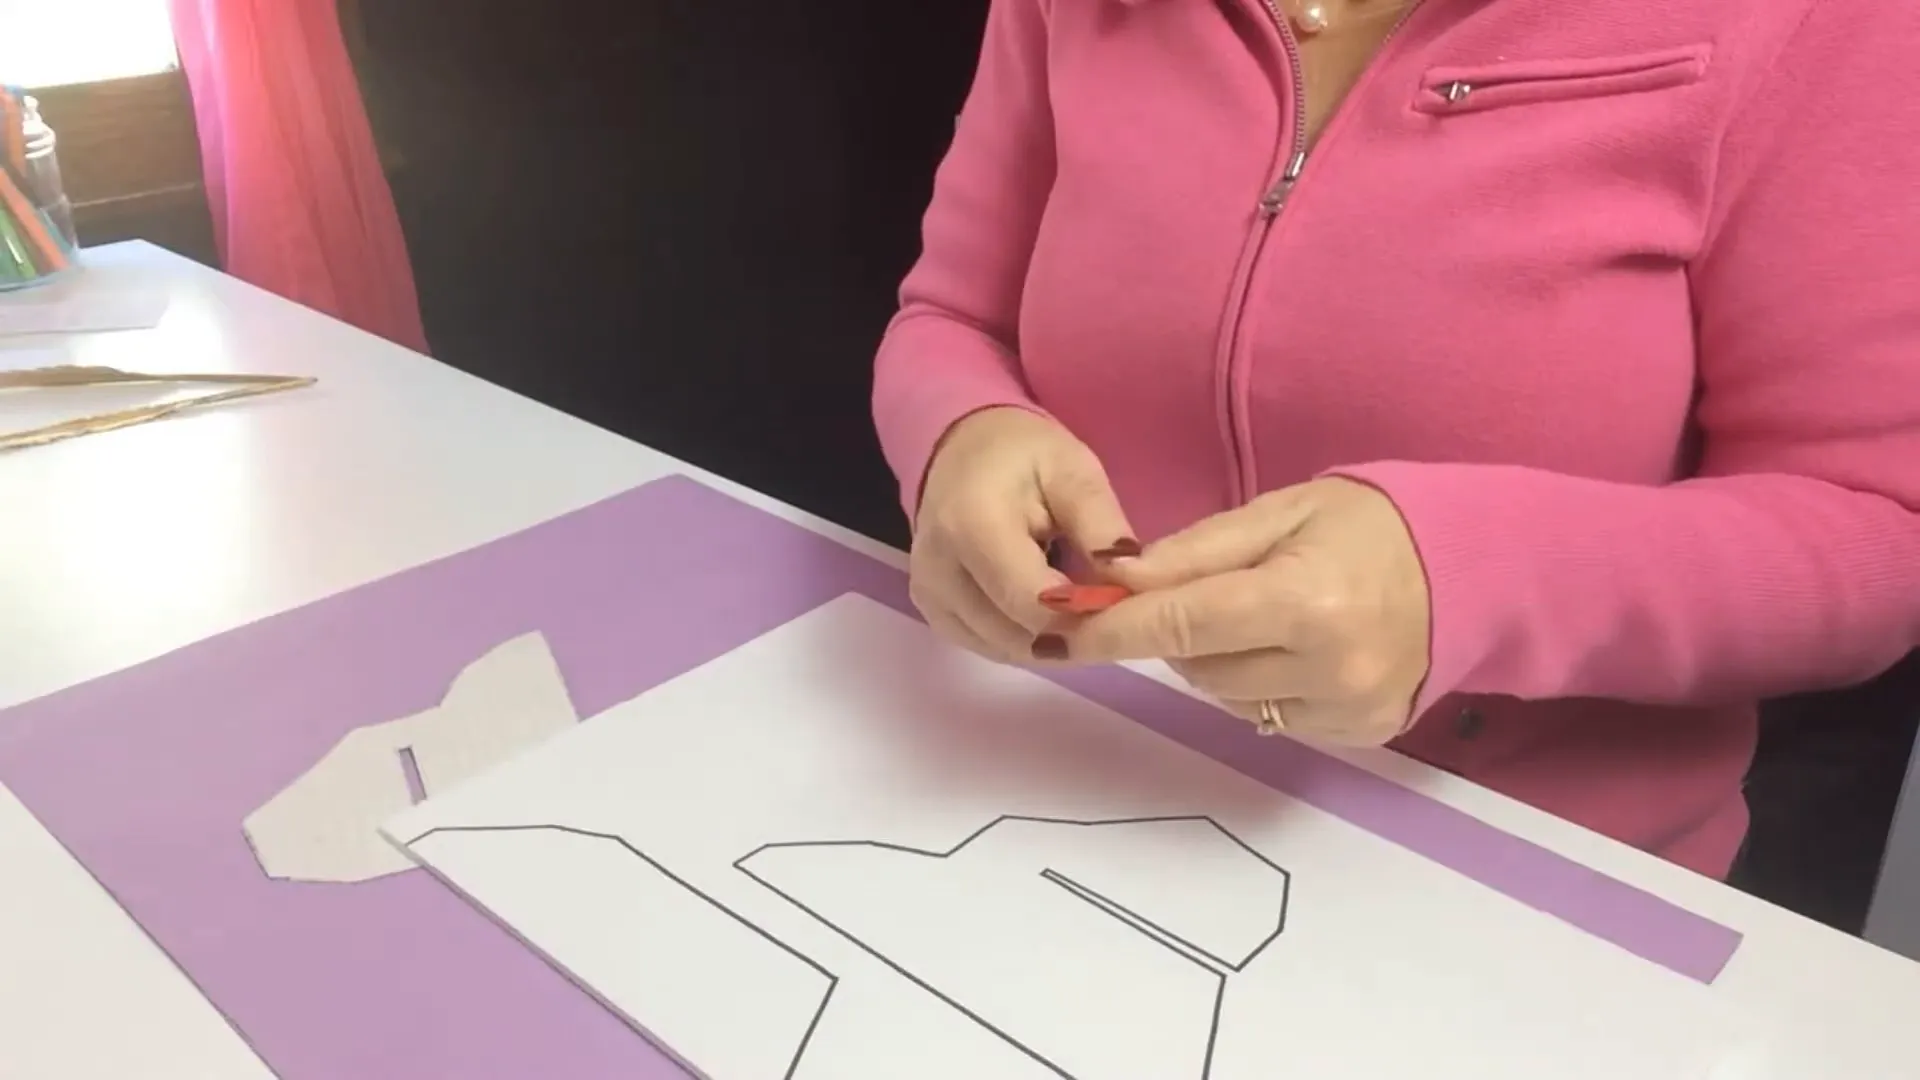
Now that our cherubim are ready, we need a sturdy base for them to rest on. This base can be made from various materials, but for this project, I’ll show you how to use foam board. Start by tracing a pattern onto the foam board. The thickness of the foam board can vary, but around an eighth of an inch is a good starting point.
Using an X-Acto knife, carefully cut out your shapes. Don’t worry about perfection; it’s more important to get the general shape right. If needed, you can clean up the edges with scissors afterward.
Download a pattern for the base of your cherubim here!
Assembling the Base
For added stability, I recommend using multiple layers of foam board. I typically use four pieces to give the base extra thickness and strength. Once you have your pieces cut out, glue them together. If you’re using foam board, keep in mind that it’s a temporary solution. To ensure durability, you might want to insert popsicle sticks or thin wooden pieces between the layers to reinforce them.
When gluing, use a strong adhesive like Bead 6000, but apply it in thin layers to prevent melting the foam. Binder clips are excellent for holding everything together while the glue dries.
Attaching the Cherubim
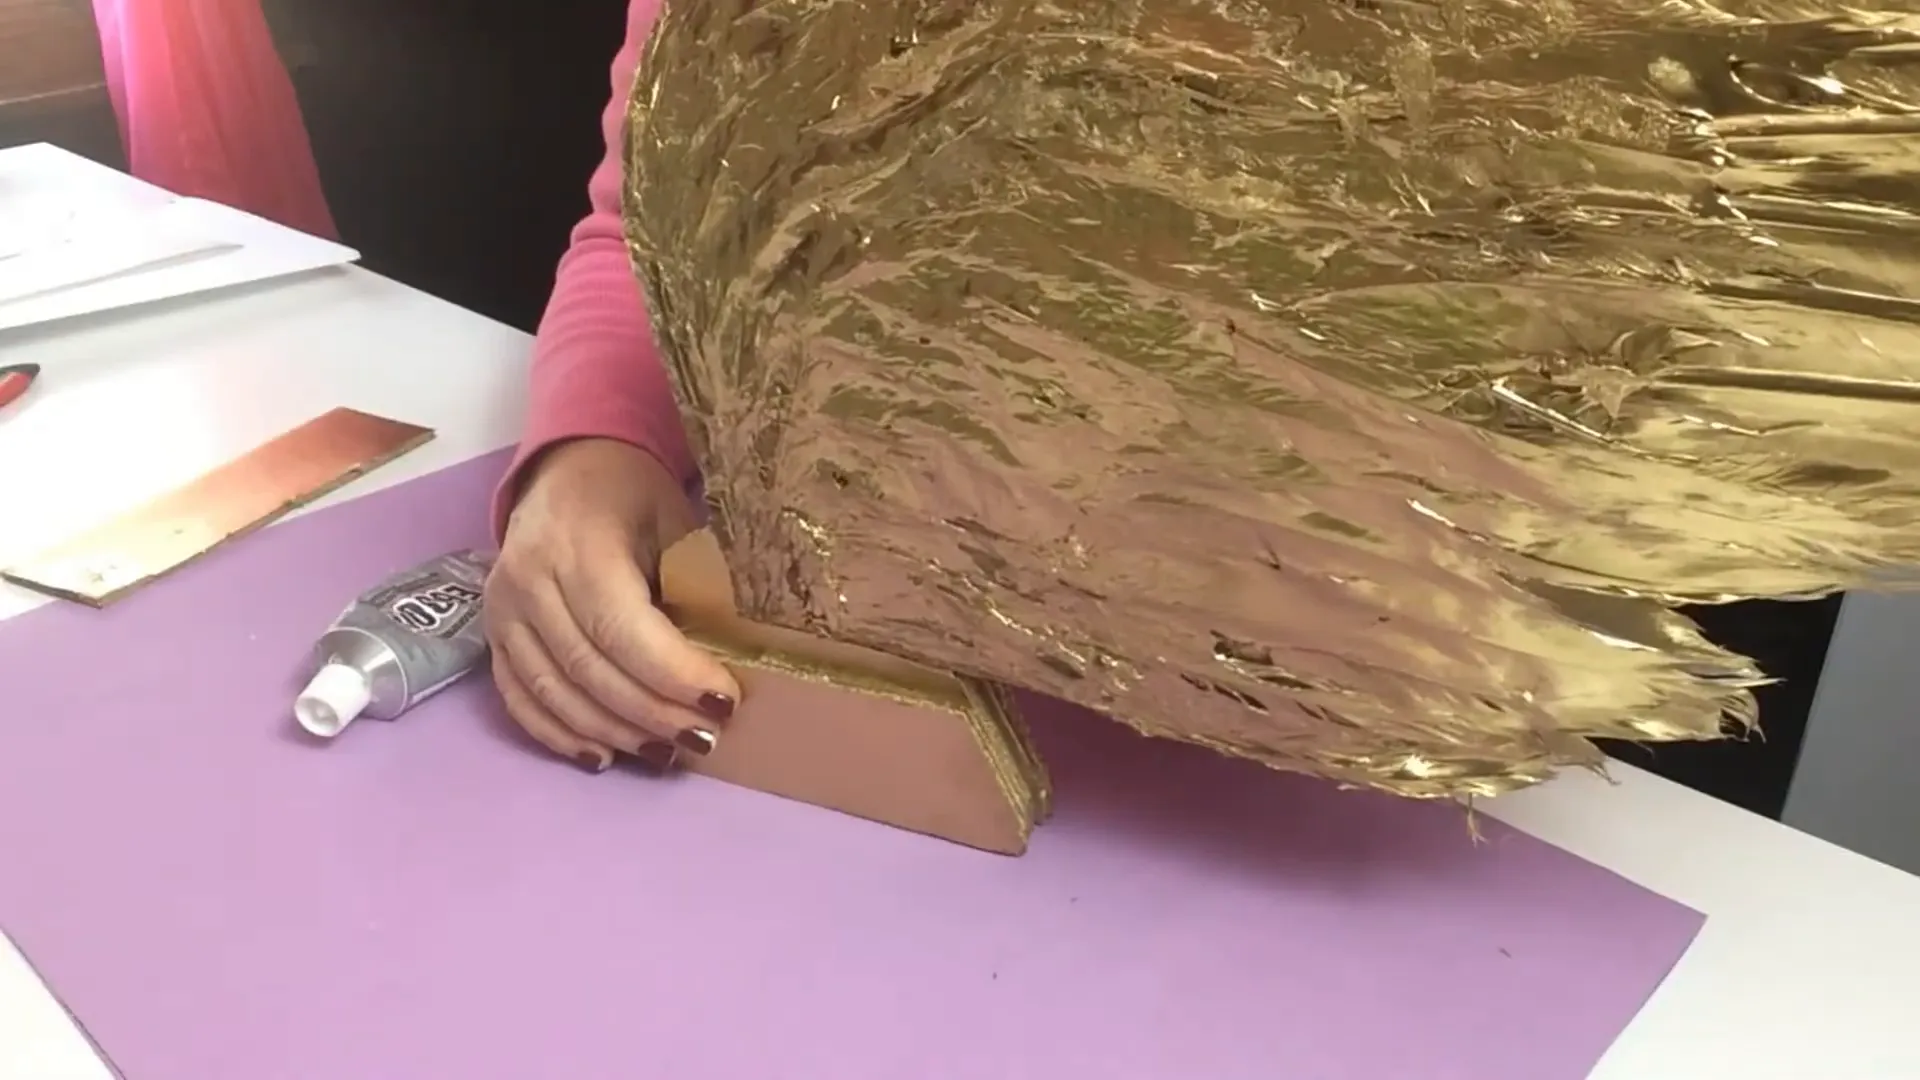
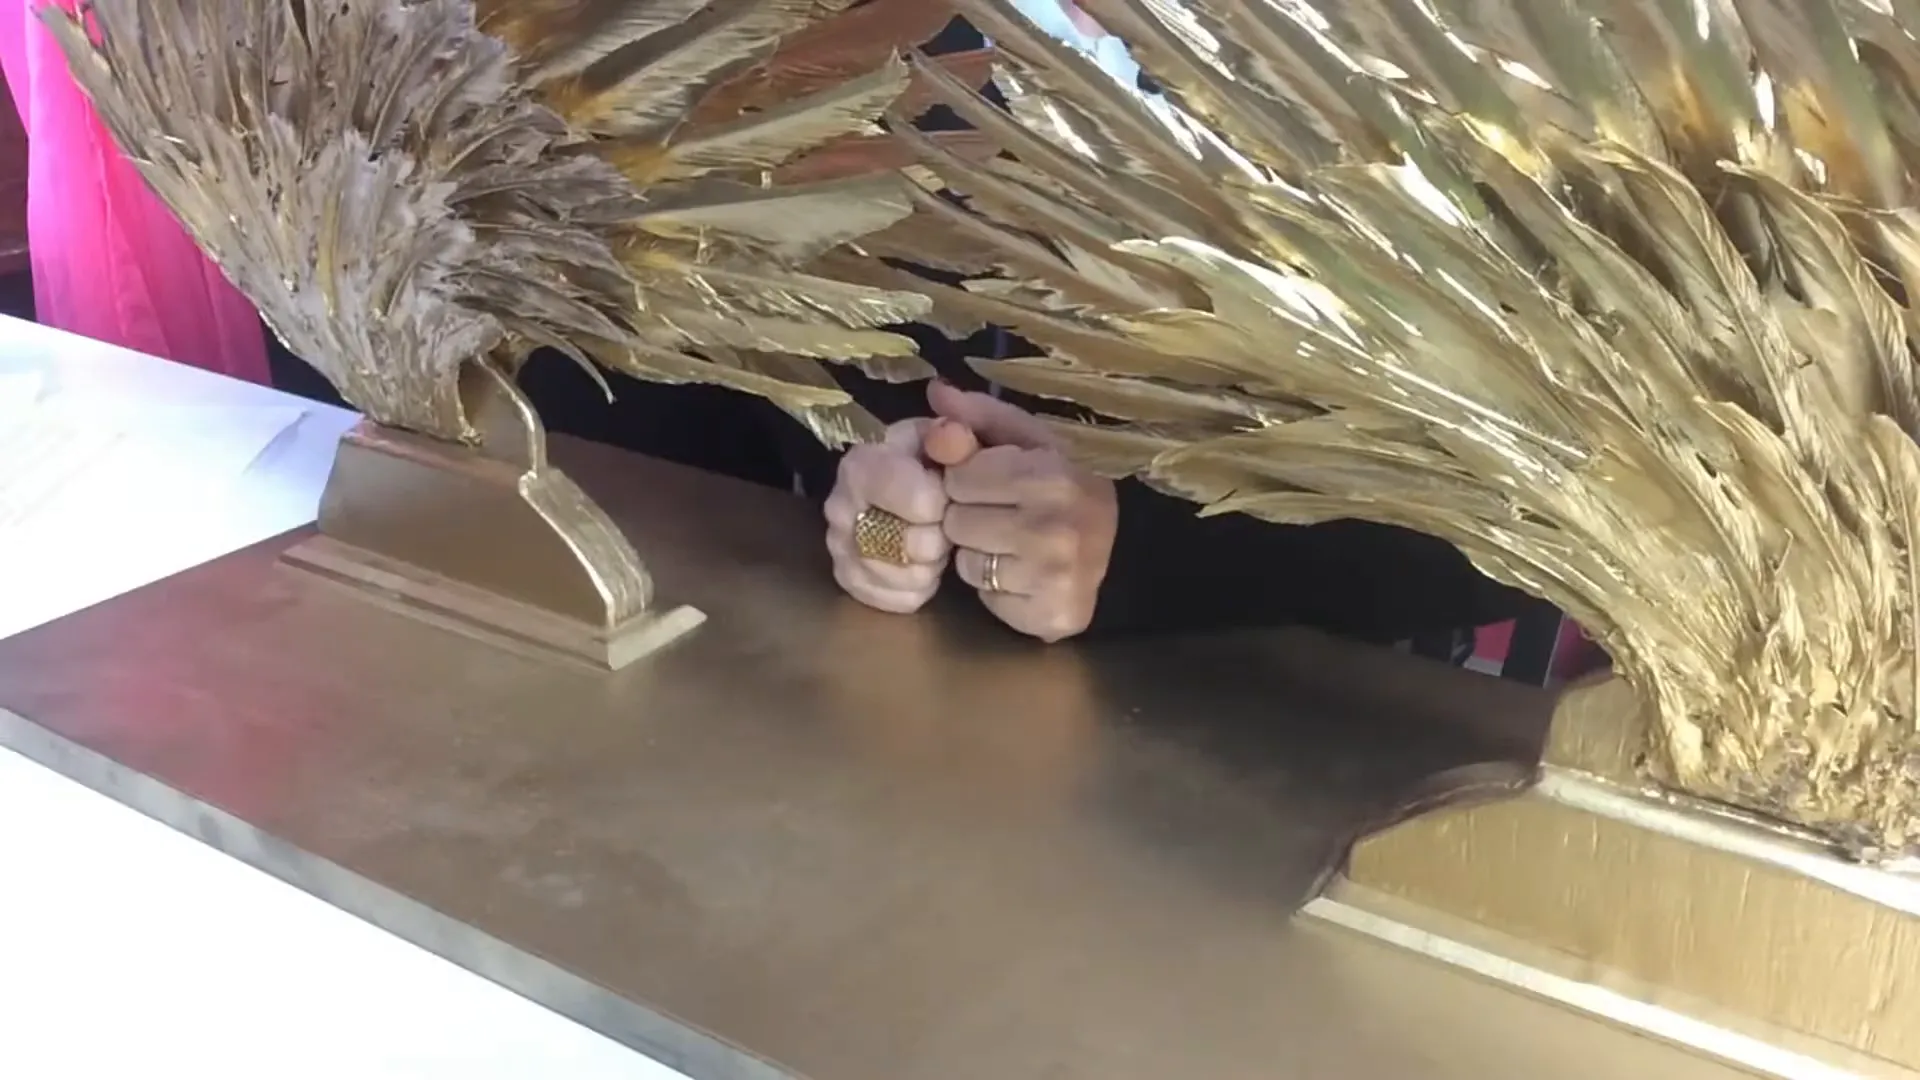
With the base ready, it’s time to attach the wings. Position the cherubim wings into the grooves you’ve created in the base. You may need to add additional glue to the inside of the grooves for extra support. It’s crucial to ensure that the wings fit snugly before you proceed to attach them to the Mercy Seat.
Once you’re confident that everything fits, glue the base onto your Mercy Seat. Remember, the cherubim will add weight, so ensure everything is secure.
Final Touches
As we wrap up our project, take a moment to appreciate the work you’ve done. The Mercy Seat, with its cherubim, is a beautiful representation of the divine presence and serves as a stunning centerpiece for your Ark of the Covenant.
This is Becky from Experience the Bible Creatively, reminding you that when it comes to teaching, props are always better than paper! Whether you're creating this for educational purposes, a display, or just for fun, the effort and creativity you put into this project will shine through.
Find curriculum to go with this craft!
Our "Walking Alingside Jesus" curriculum helps your students see Jesus through the Old Testament!
Shop Curriculum