Recreating the Miracle: Water from a Rock
The story of Moses striking a rock, from which water miraculously sprung forth to nourish the parched Israelites, is an incredible opportunity for a memorable lesson. Imagine giving your students what they've always secretly wanted: to hit a rock and have water gush out! While we know that Moses didn't do this by his own power—God commanded it and provided the water—it's still a stunning demonstration that you can recreate for your students.

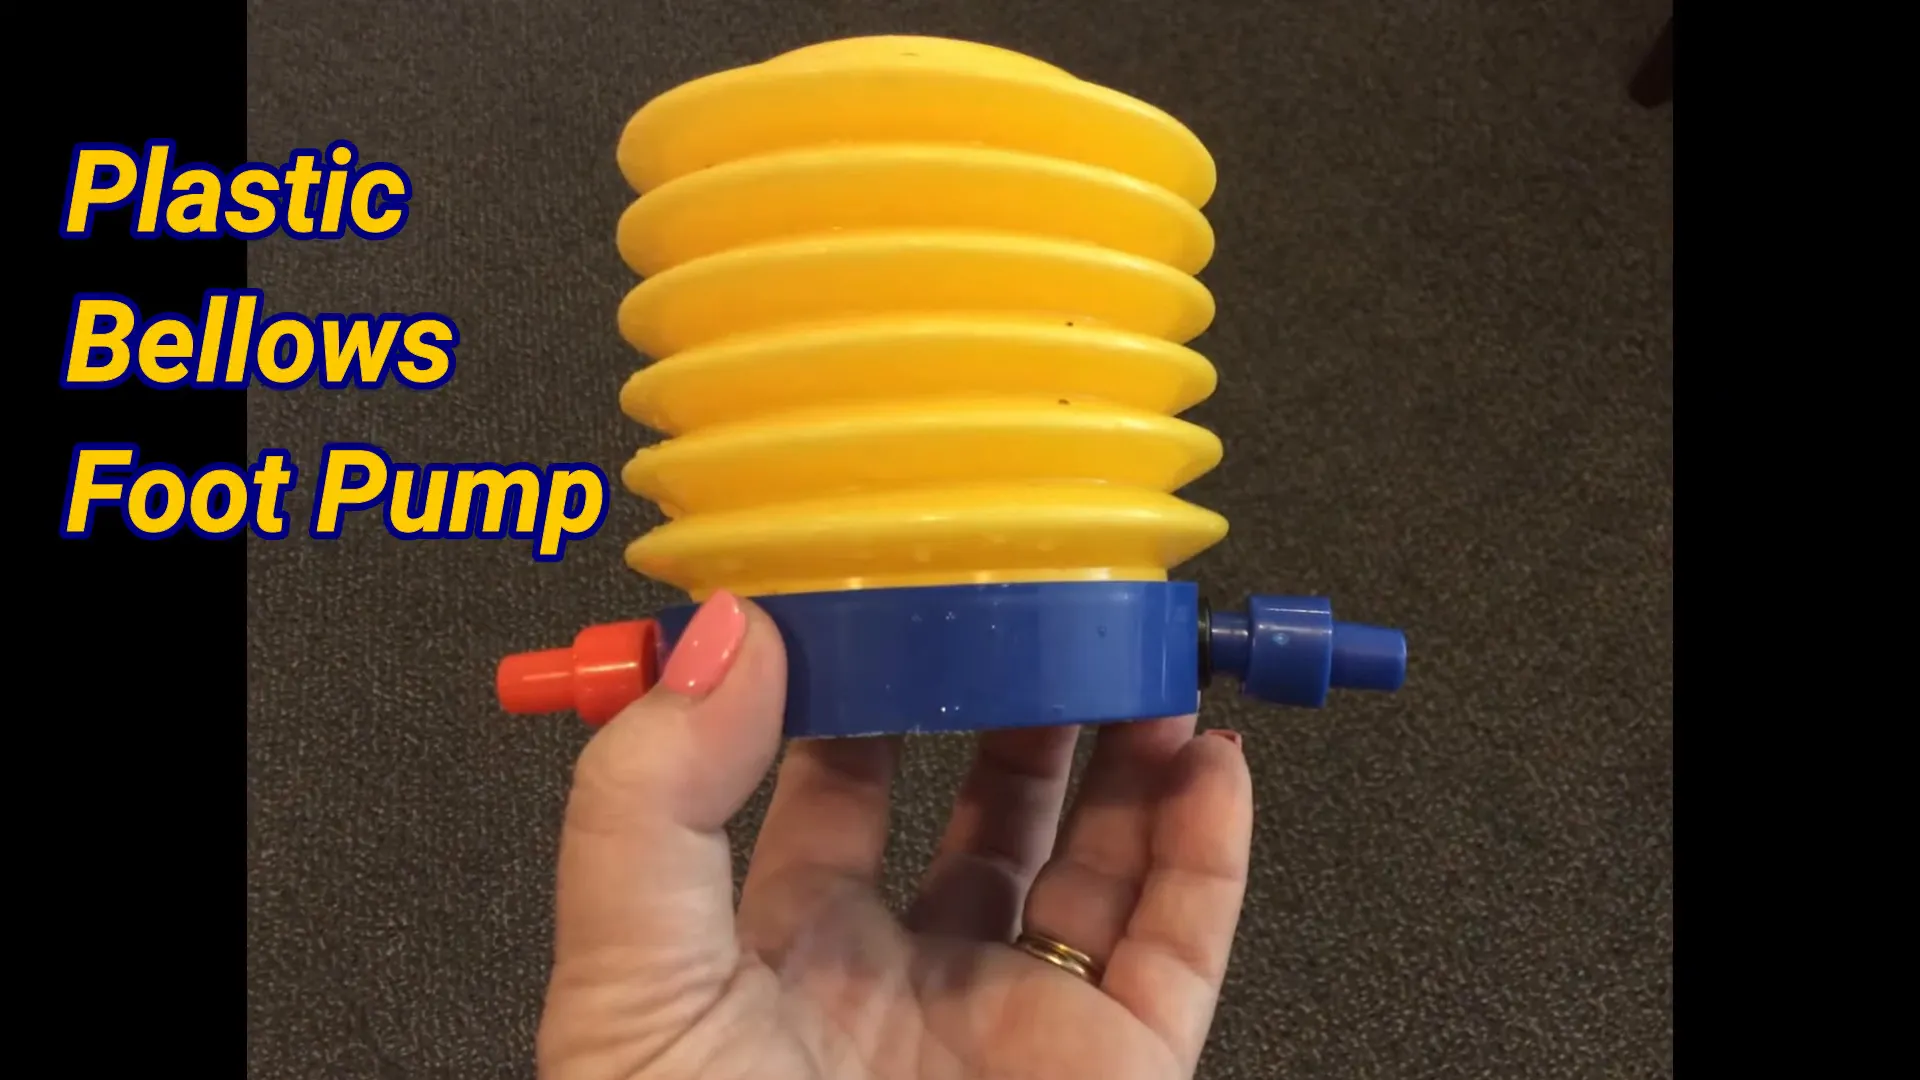
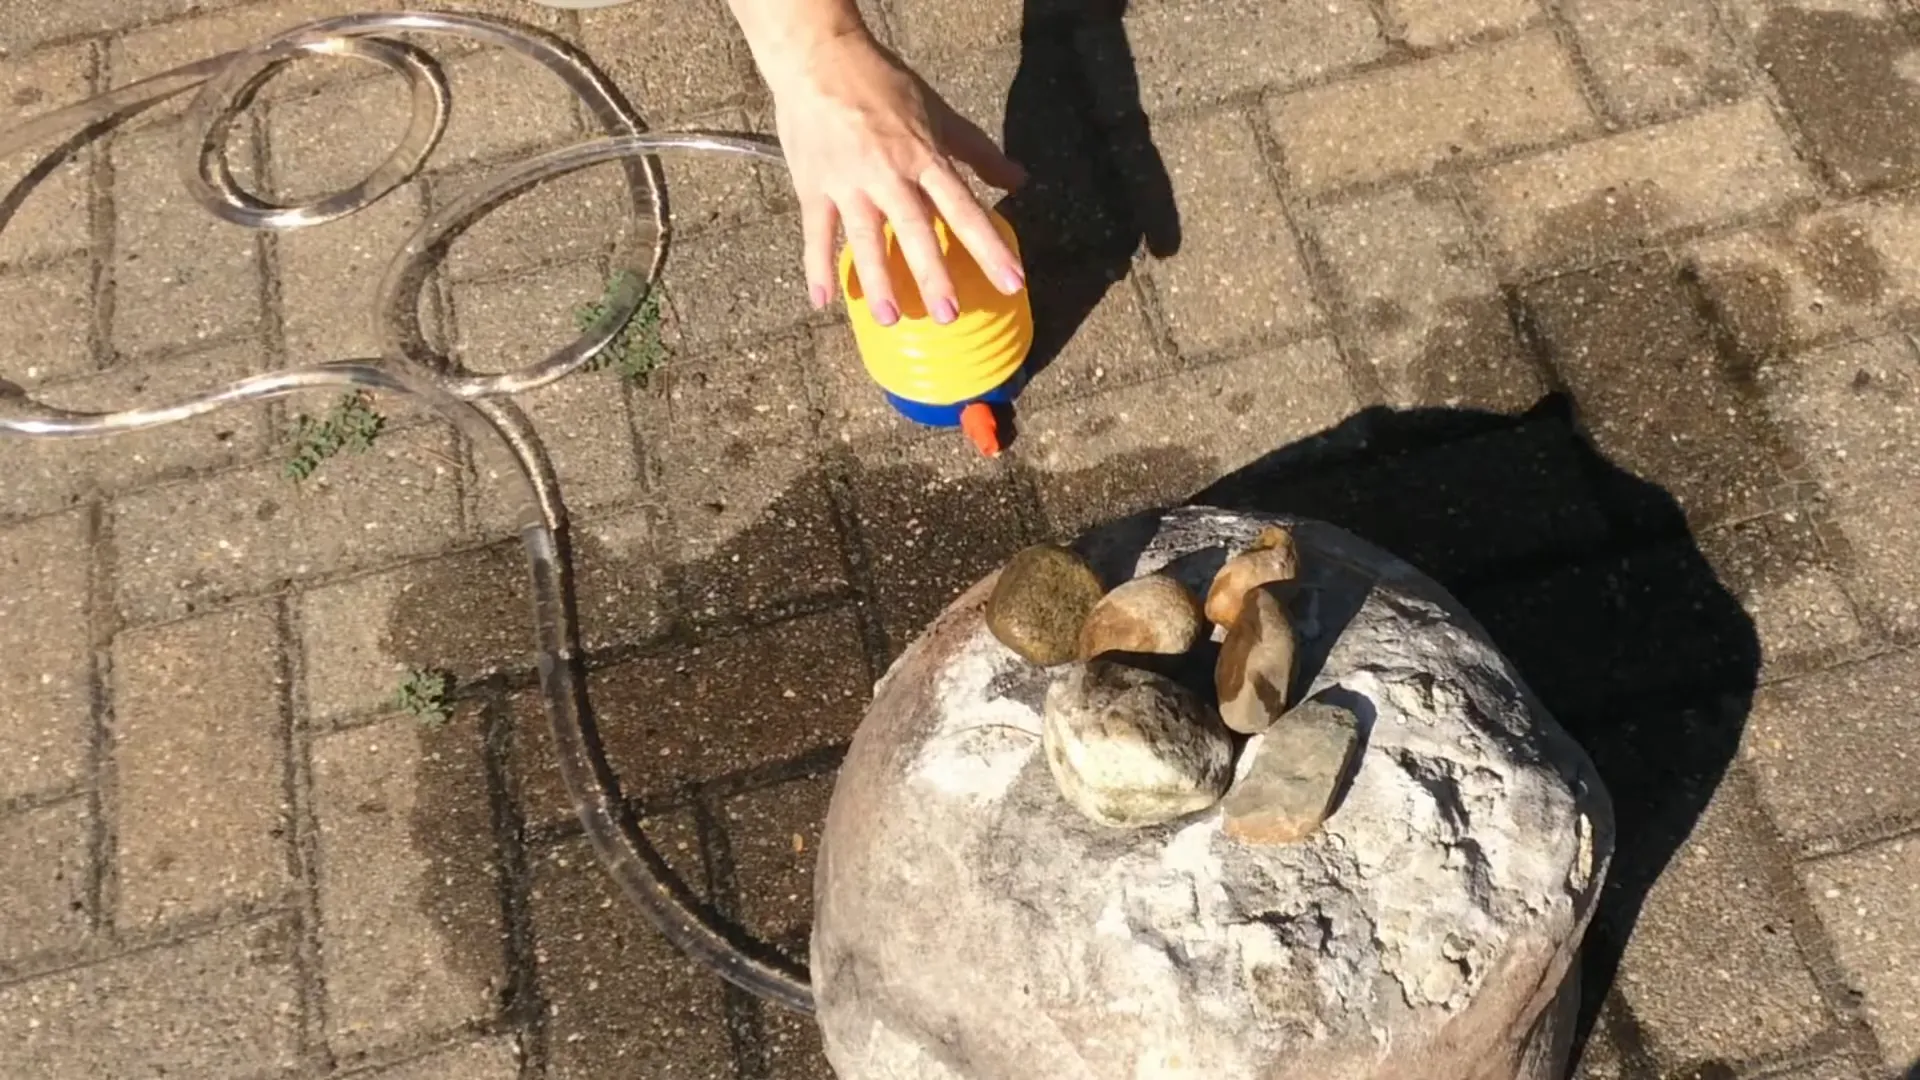
First, let's dive into the mechanics of how to pull off this amazing trick. You'll need a plastic bellows foot pump, similar to the kind used to inflate air mattresses or other inflatables. The beauty of this pump is that it can also be used to pump water through a rock! While the tubing that comes with the foot pump can work, it’s often too short to create the surprise effect you want. So, I recommend purchasing a longer piece of plastic tubing that fits the nozzle of your foot pump. This extra length allows you to position the pump further away from the rock, maybe even behind a curtain or behind your students, so that it can be covertly pressed by you or a helper.

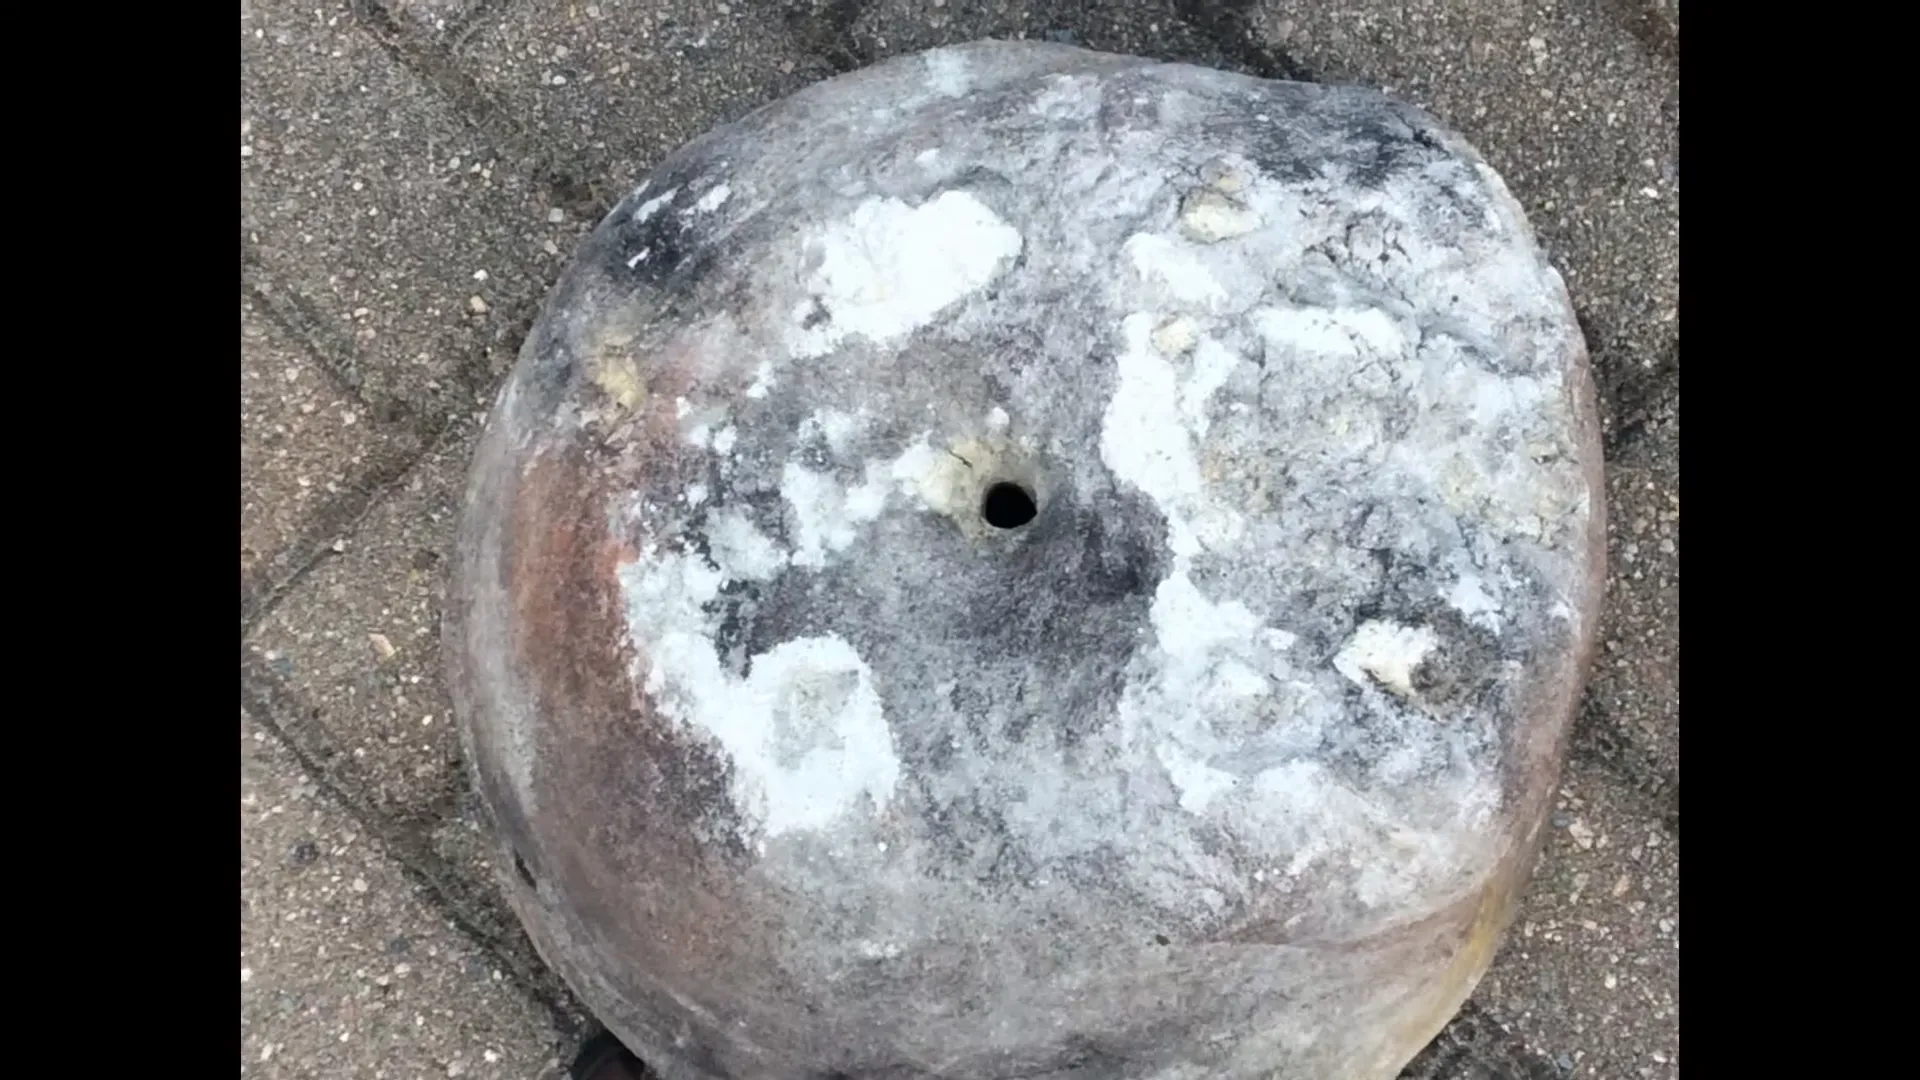
To set it up, add water to the tubing using a funnel or a slow stream of water, keeping both ends elevated. Insert one end of the tubing up through your rock, adjusting and taping it as necessary to hold it in place. Attach the other end to your plastic pump, making sure it’s connected to the nozzle that inflates (air out) rather than deflates (air in). When the water is pumped through, it will come as a complete shock to your students, and their delight will be infectious!

Now, let’s talk about constructing the rock to hide your setup. There are a few ideas I have, but a quick search online will yield even more options. One effective method is using a concrete mixture to create a heavy, realistic-looking rock. A parent of one of my students made one for me, and while it looks great, it does have its pros and cons. It’s heavy and requires advance preparation, but it’s durable and your students won’t hurt it by hitting it!
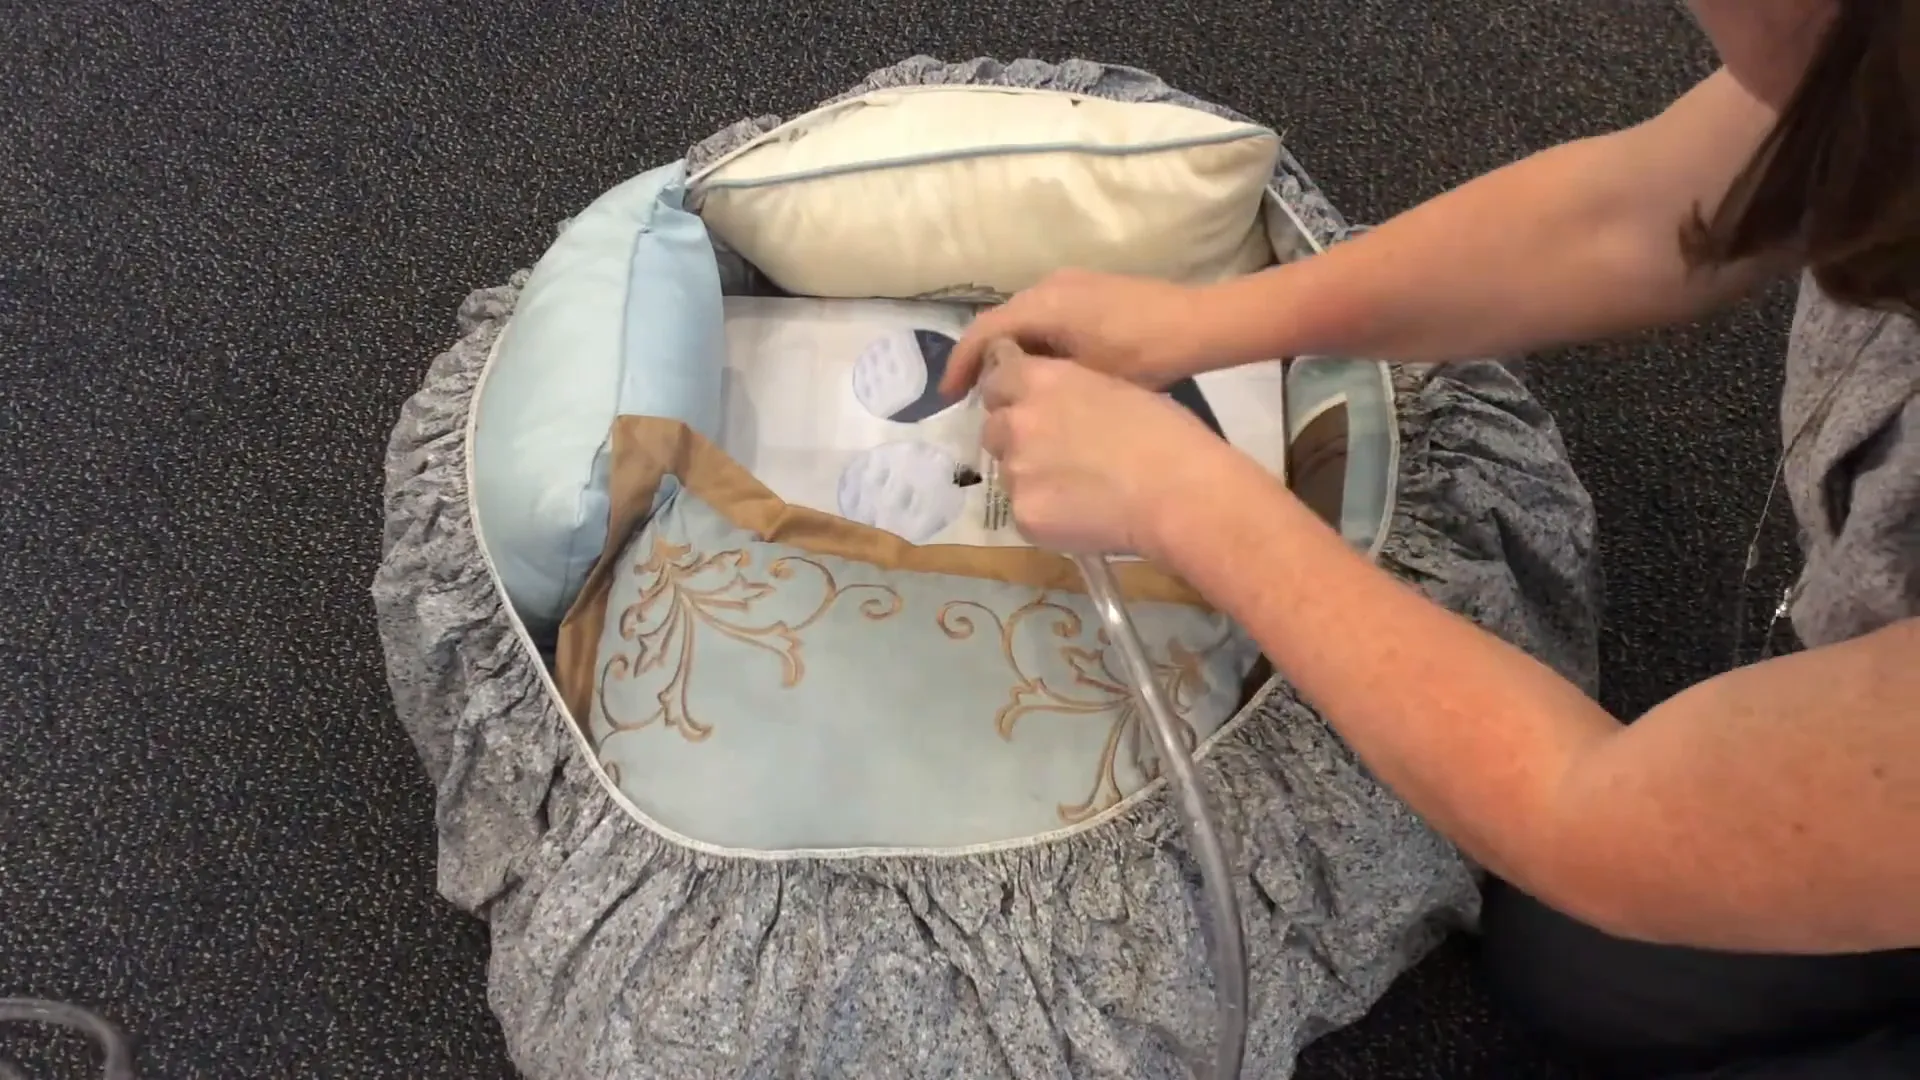
For those looking for alternatives, consider using boxes, coolers, or even spherical concrete molds available online. You can also get creative with a round plastic tablecloth, stuffing it with pillows or boxes until you achieve the desired rock shape. Just make sure to cut a hole for the tubing and tape it securely. Lastly, you can use brown fabric draped over boxes or chairs to create a rock formation, but be mindful that whatever materials you use will likely get wet, so choose wisely.

Now that your rock is ready, it’s time for the demonstration! You can switch things up by having several students strike the rock with no results, as they would expect, and then let one lucky student unwittingly hit the rock and trigger the water to come out. Trust me, this creates a memory that will last a lifetime!
This is Becky from Experience the Bible Creatively, reminding you that props are always better than paper!
Help Your Students Fall in Love With the Bible
Teach the Bible with what you know it can have: powerful, effective, life-changing impact. Whether you’re looking for homeschool Bible curriculum, Christian school classroom curriculum, Vacation Bible School (VBS), or kids Bible study content, we’re here to help your students experience the Bible creatively.
Shop Curriculum