Make Your Own "Burning" Bush!
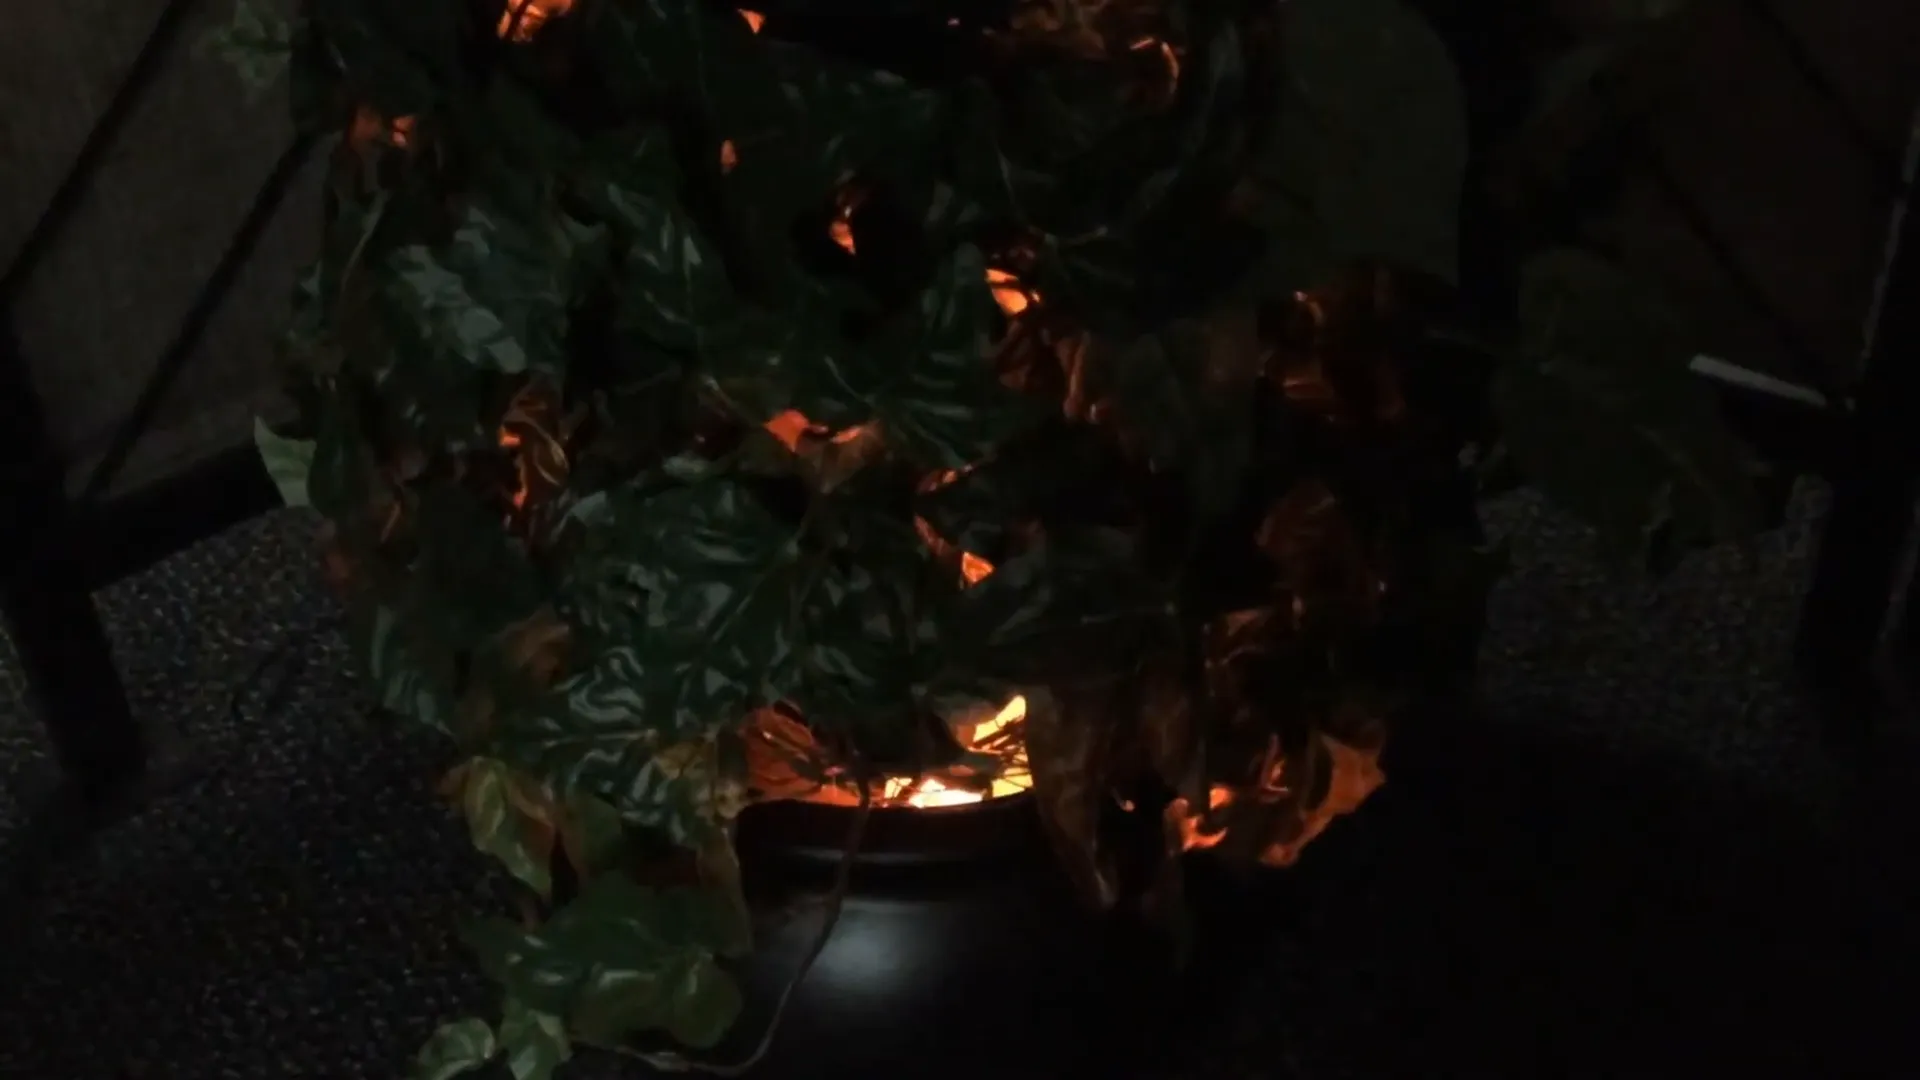
Imagine the surprise and delight of your students when you unveil a bush that appears to be glowing and burning without being consumed—just like Moses would have witnessed in the wilderness while tending Jethro's flocks. The secret to this incredible display? An electric cauldron light with a silk flame!
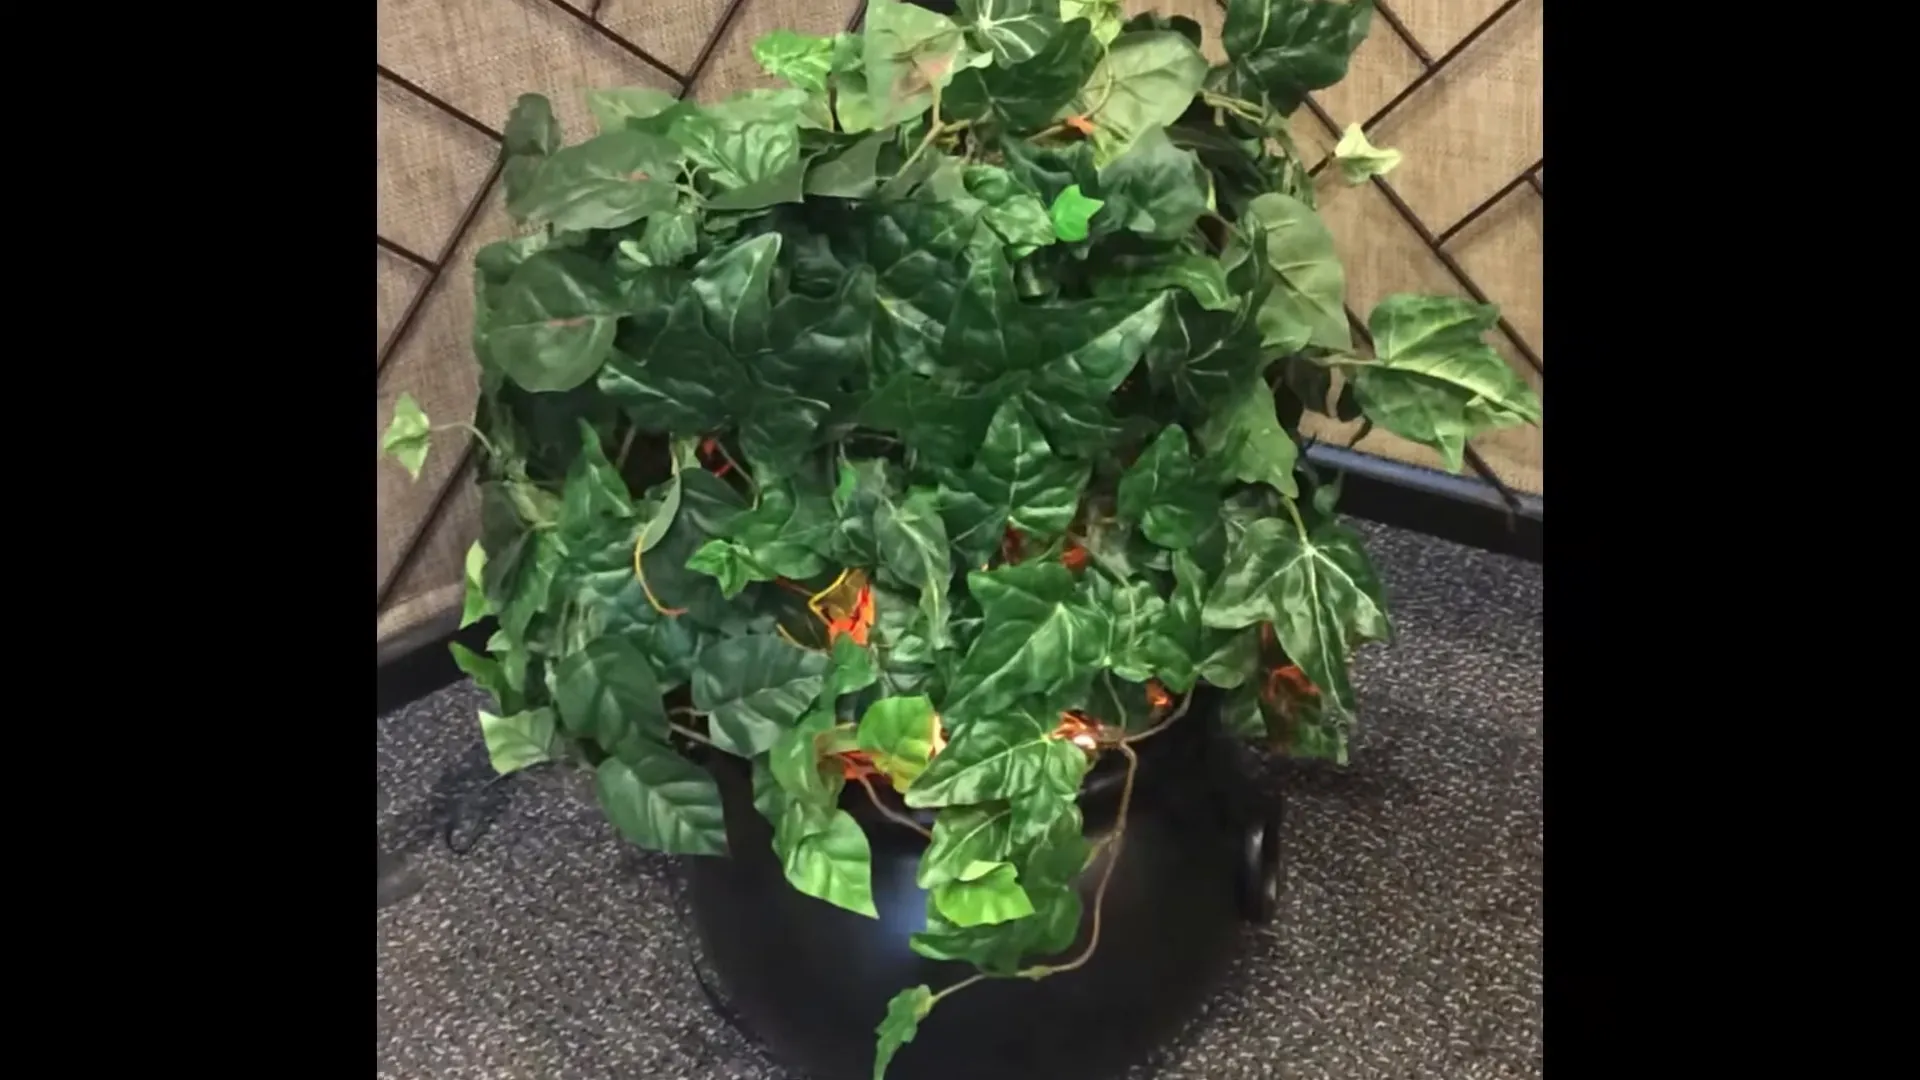
These lights are readily available online, and around Halloween, you might even find them in local stores. They come in various sizes and shapes, making it easy to find the perfect fit for your project.
Building the Burning Bush
The bush itself is created using chicken wire and ivy garlands. You’ll see how simple this transformation process truly is! However, be careful with those silk flames—if they’re velcroed to the base, it’s a good idea to remove them as you prepare to make your burning bush.
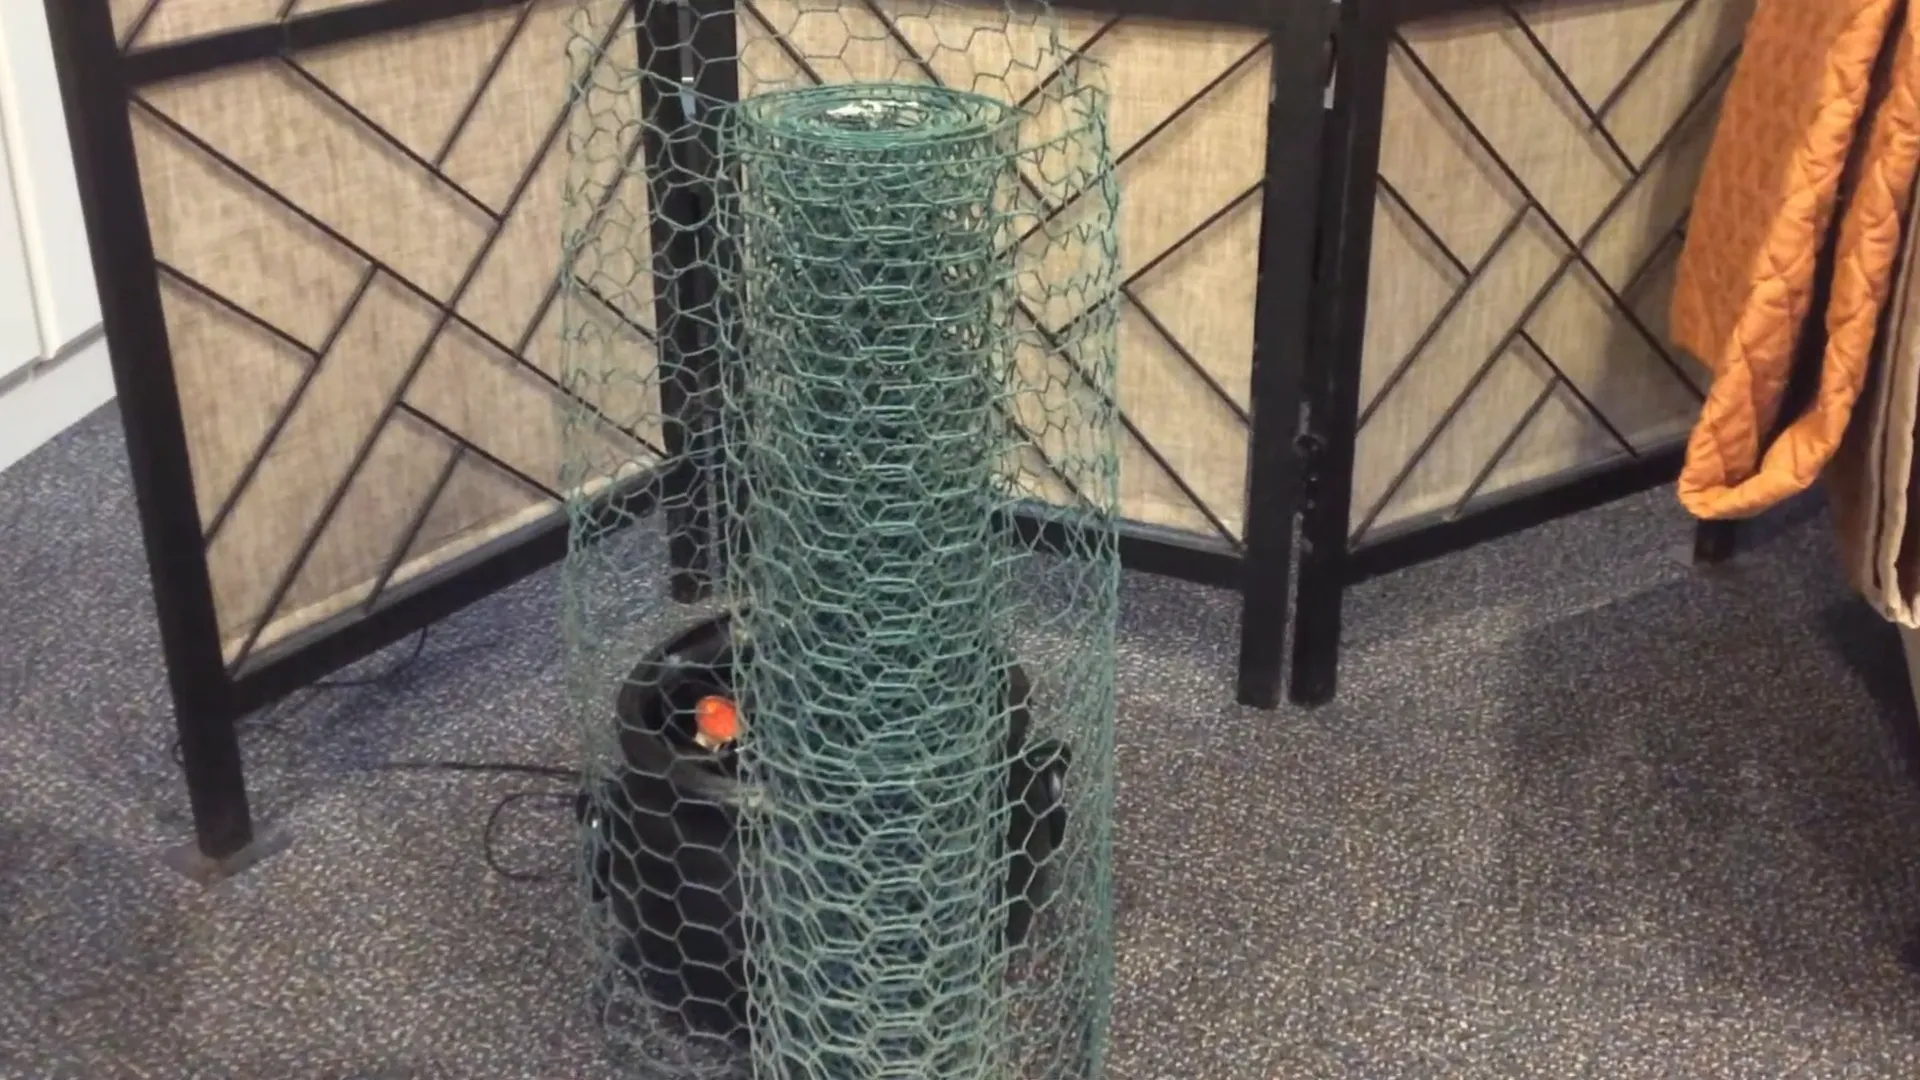
Step-by-Step Instructions
- Wrap the chicken wire around the perimeter of the cauldron. Make sure to give yourself some extra length, especially if you want a particularly bushy bush.
- Cut the wire and fit the bottom edge inside the cauldron base.
- Once you’re satisfied with the fit, bend the wires up and down the edge to secure it.
- Take some time to push and pull the chicken wire into a shape of your choice. Pushing down the wire allows you to create width, but you might prefer a tall and skinny look—it’s really up to you!
- Cover the chicken wire with greenery. I used several strands of rich green ivy garland, making it simple to wrap until you’re satisfied that the chicken wire is sufficiently covered.
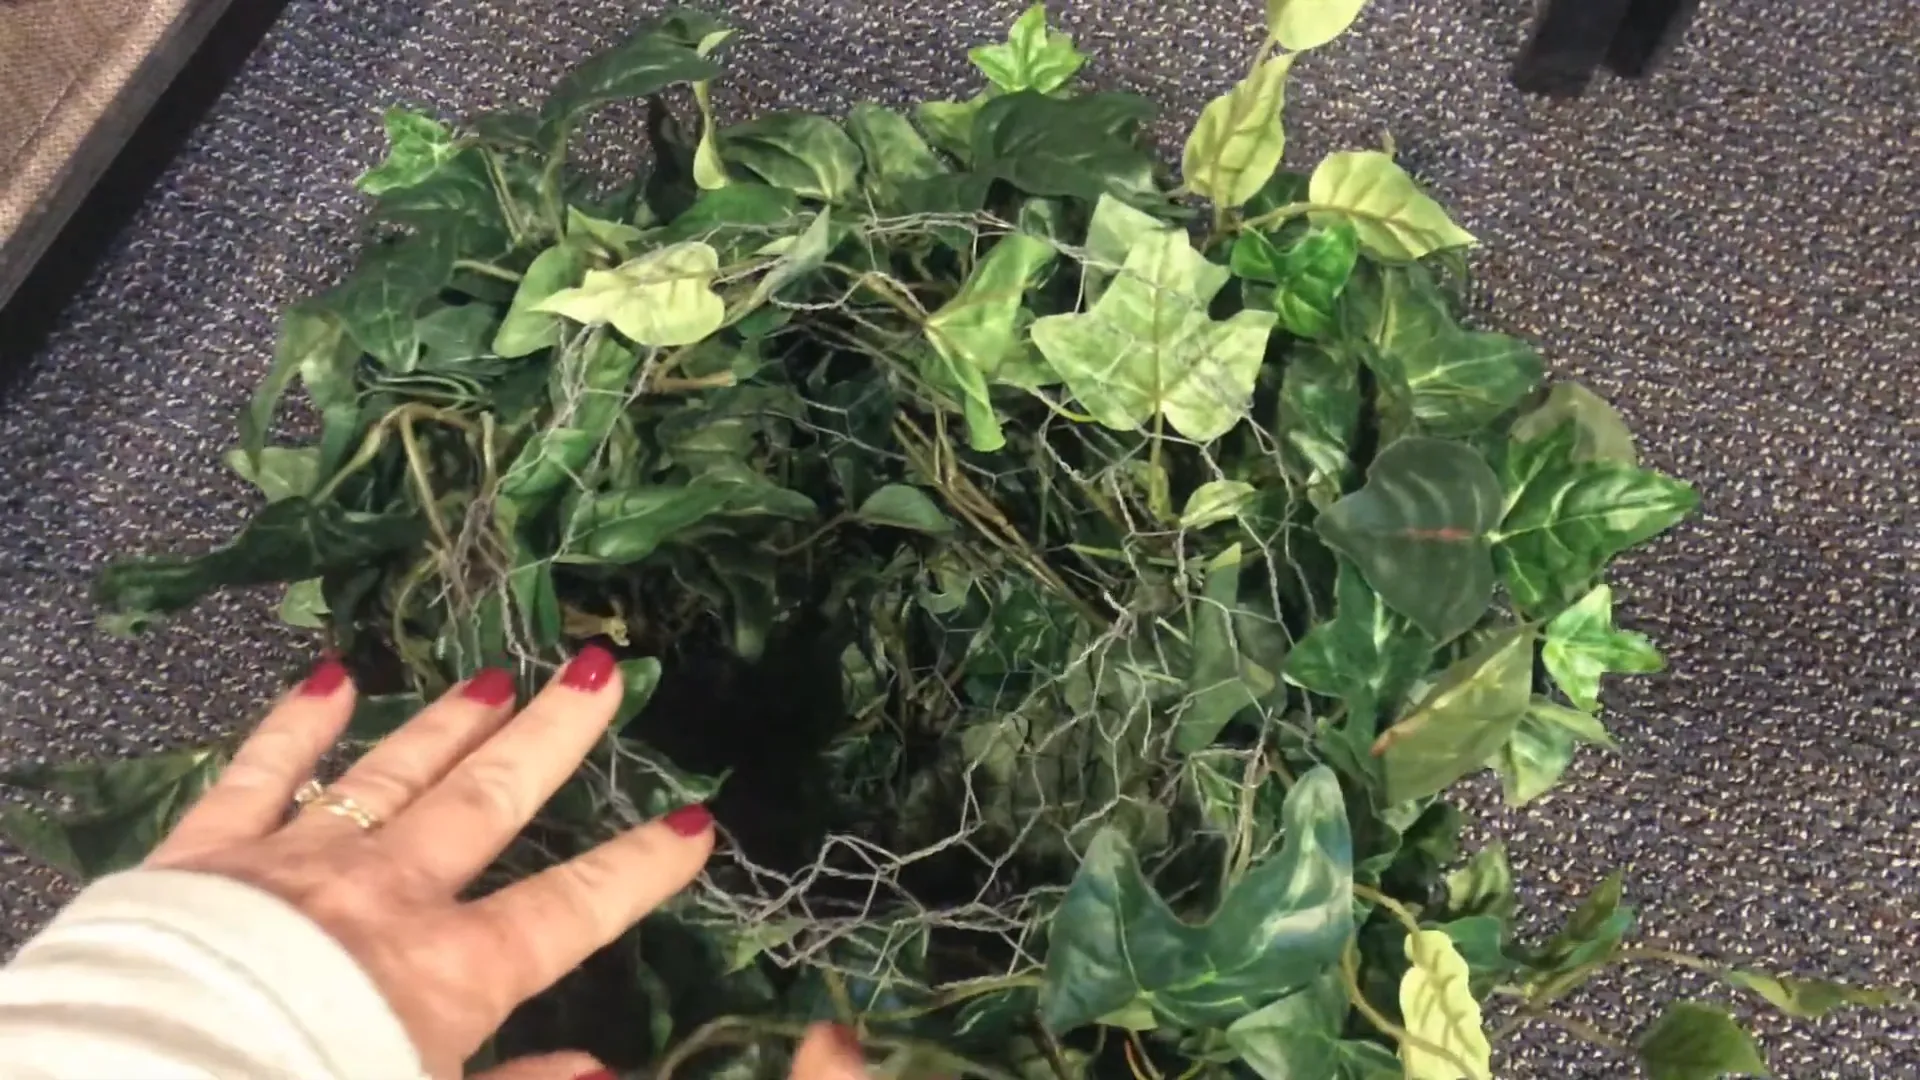
Adding the Flames
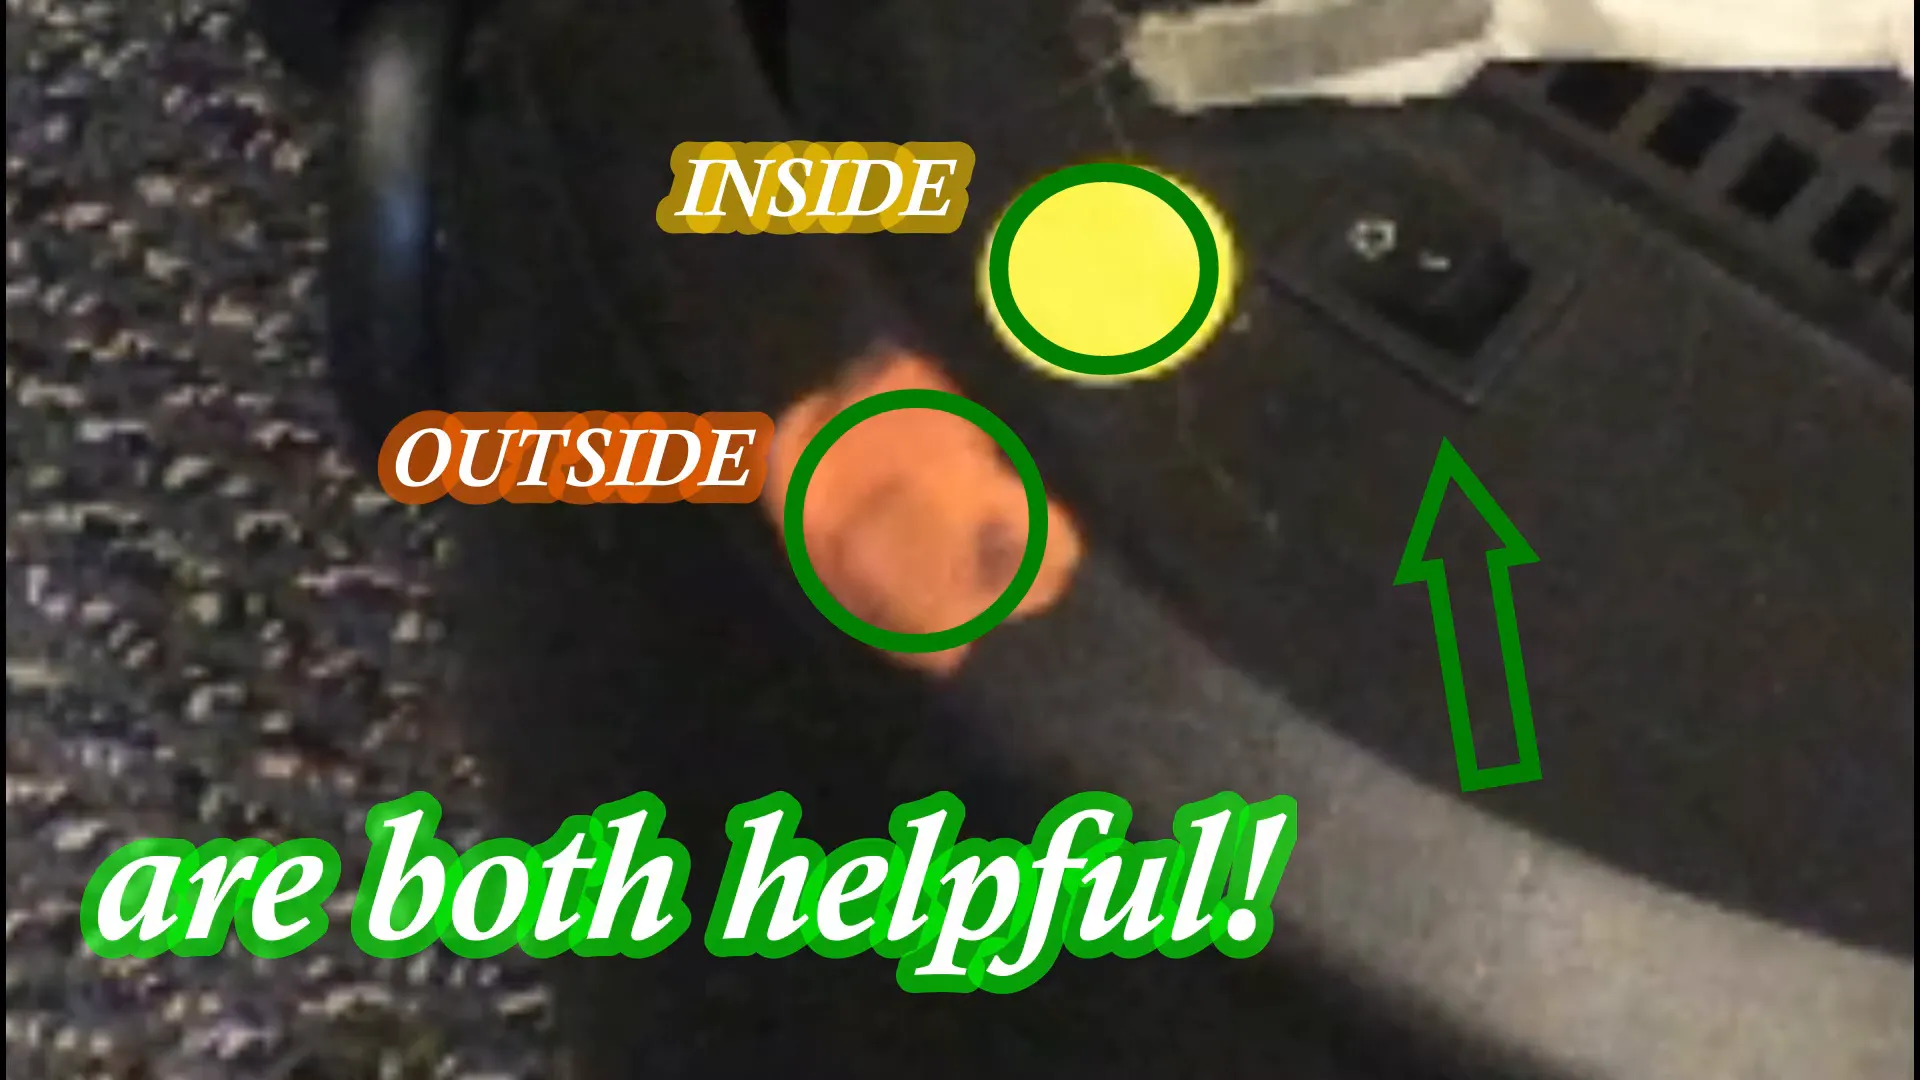
Now it’s time to return your silk flames! This ensures that the light of the flame will peek through your leaves. I’ve found it helpful to place a mark on the cauldron where the power switch is located, as it can be difficult to find through the dense greenery.
Remember, props are always better than paper! You’ll create a memorable experience that brings the story of Moses to life in a creative and engaging way.
This is Becky from Experience the Bible Creatively, reminding you that props are better than paper!
Find curriculum to go with this craft!
Our "Walking Alingside Jesus" curriculum helps your students see Jesus through the Old Testament!
Shop Curriculum