Creating a Veil for Your Tabernacle
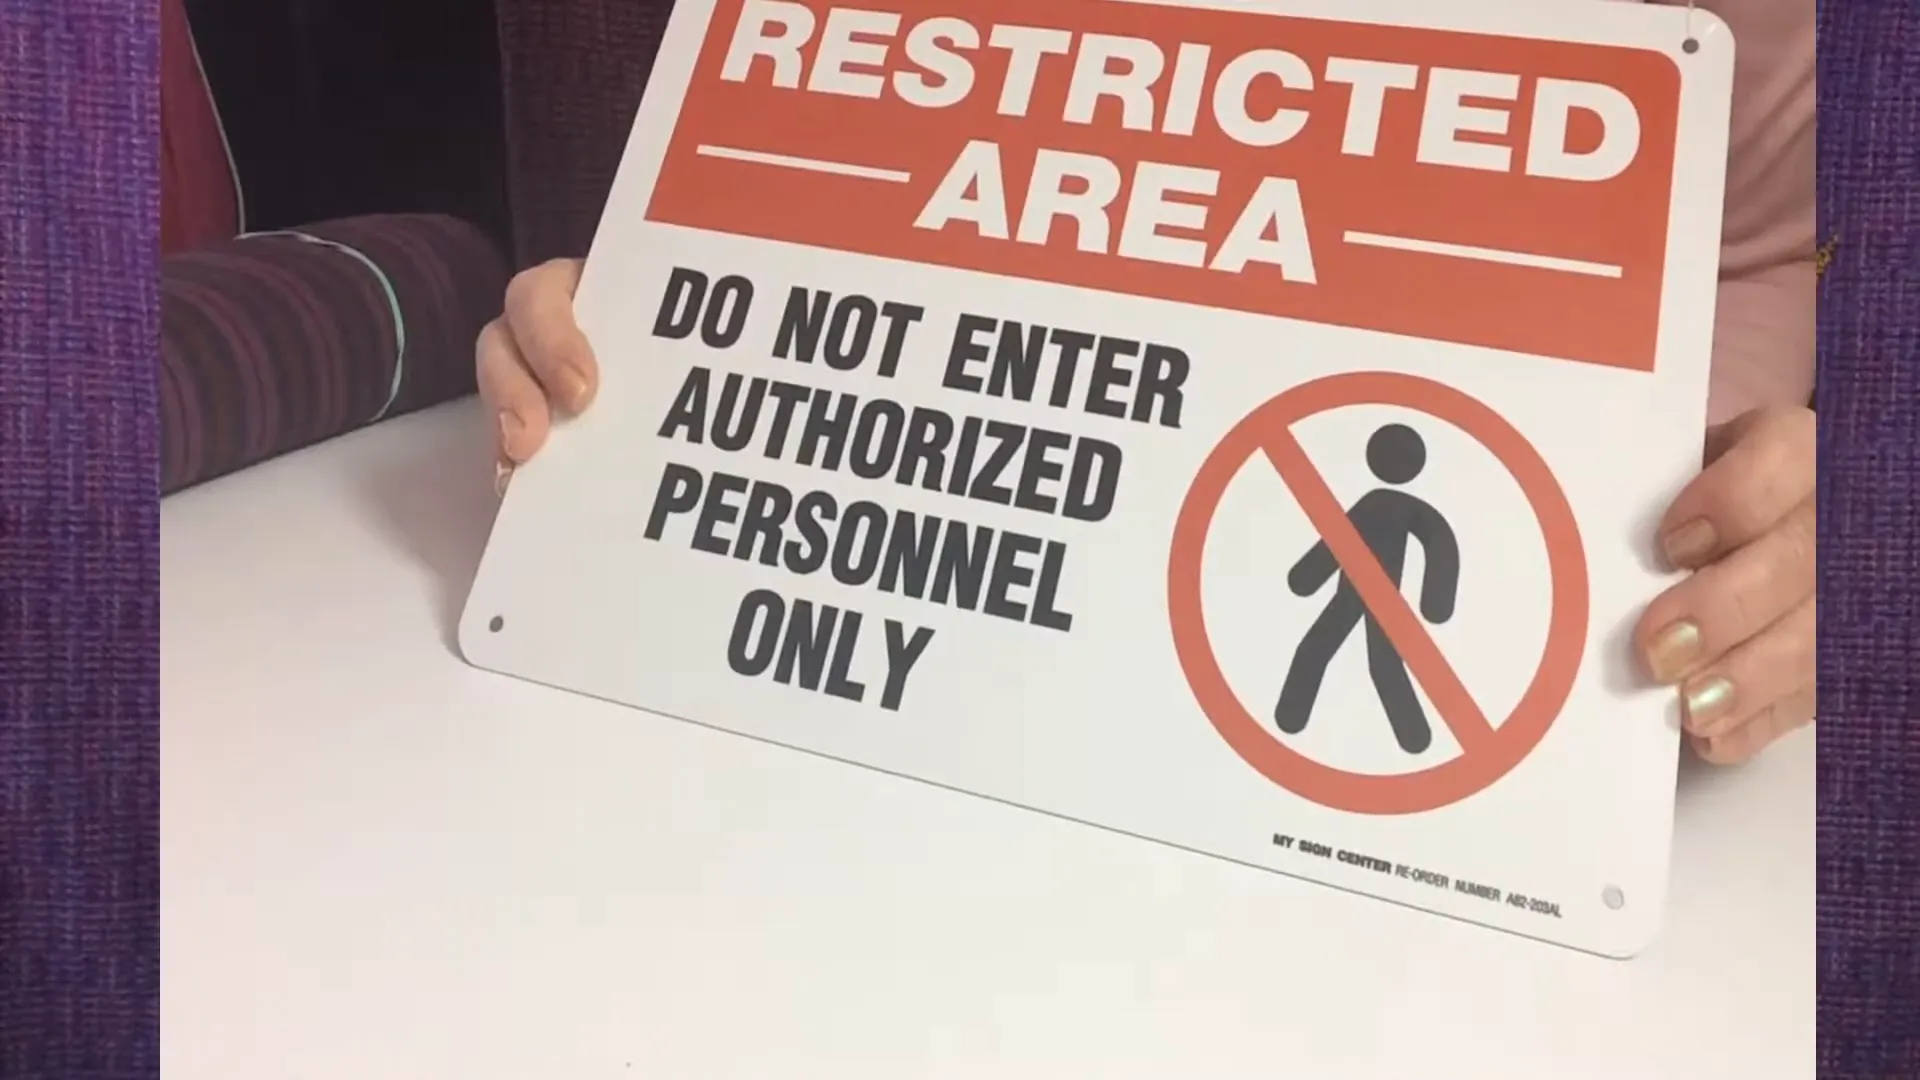
The veil leading into the Holy of Holies is more than just a piece of fabric; it's a crucial element in building suspense and reverence in your Tabernacle setup. Have you ever thought about what lies beyond that veil? Why can’t we just walk in? To the Israelites, that veil was as solid as a cement wall, a barrier that shouted, "Stop! Do not enter! Authorized personnel only!" Behind it was the very presence of God himself.
Finding the Right Fabric for the Veil
Now, let’s talk about the fabric for the veil. The Bible describes it as a woven fabric of red, blue, and purple. Finding this exact combination can be a challenge unless you’re prepared to weave it yourself. But once you find the right fabric, it will be worth the search!
Add Cherubim
Exodus 26:31-33 is very clear about the look of the veil. "“Make a curtain of blue, purple and scarlet yarn and finely twisted linen, with cherubim woven into it by a skilled worker."
Years ago, I hung large poseable cardboard angels against this fabric to represent the cherubim.
If you can't find pre-printed angels, encourage creative students to draw some cherubim for you.
I created these cherubim with a Cricut and iron-on fabric.

Creative Ways to Incorporate Colors
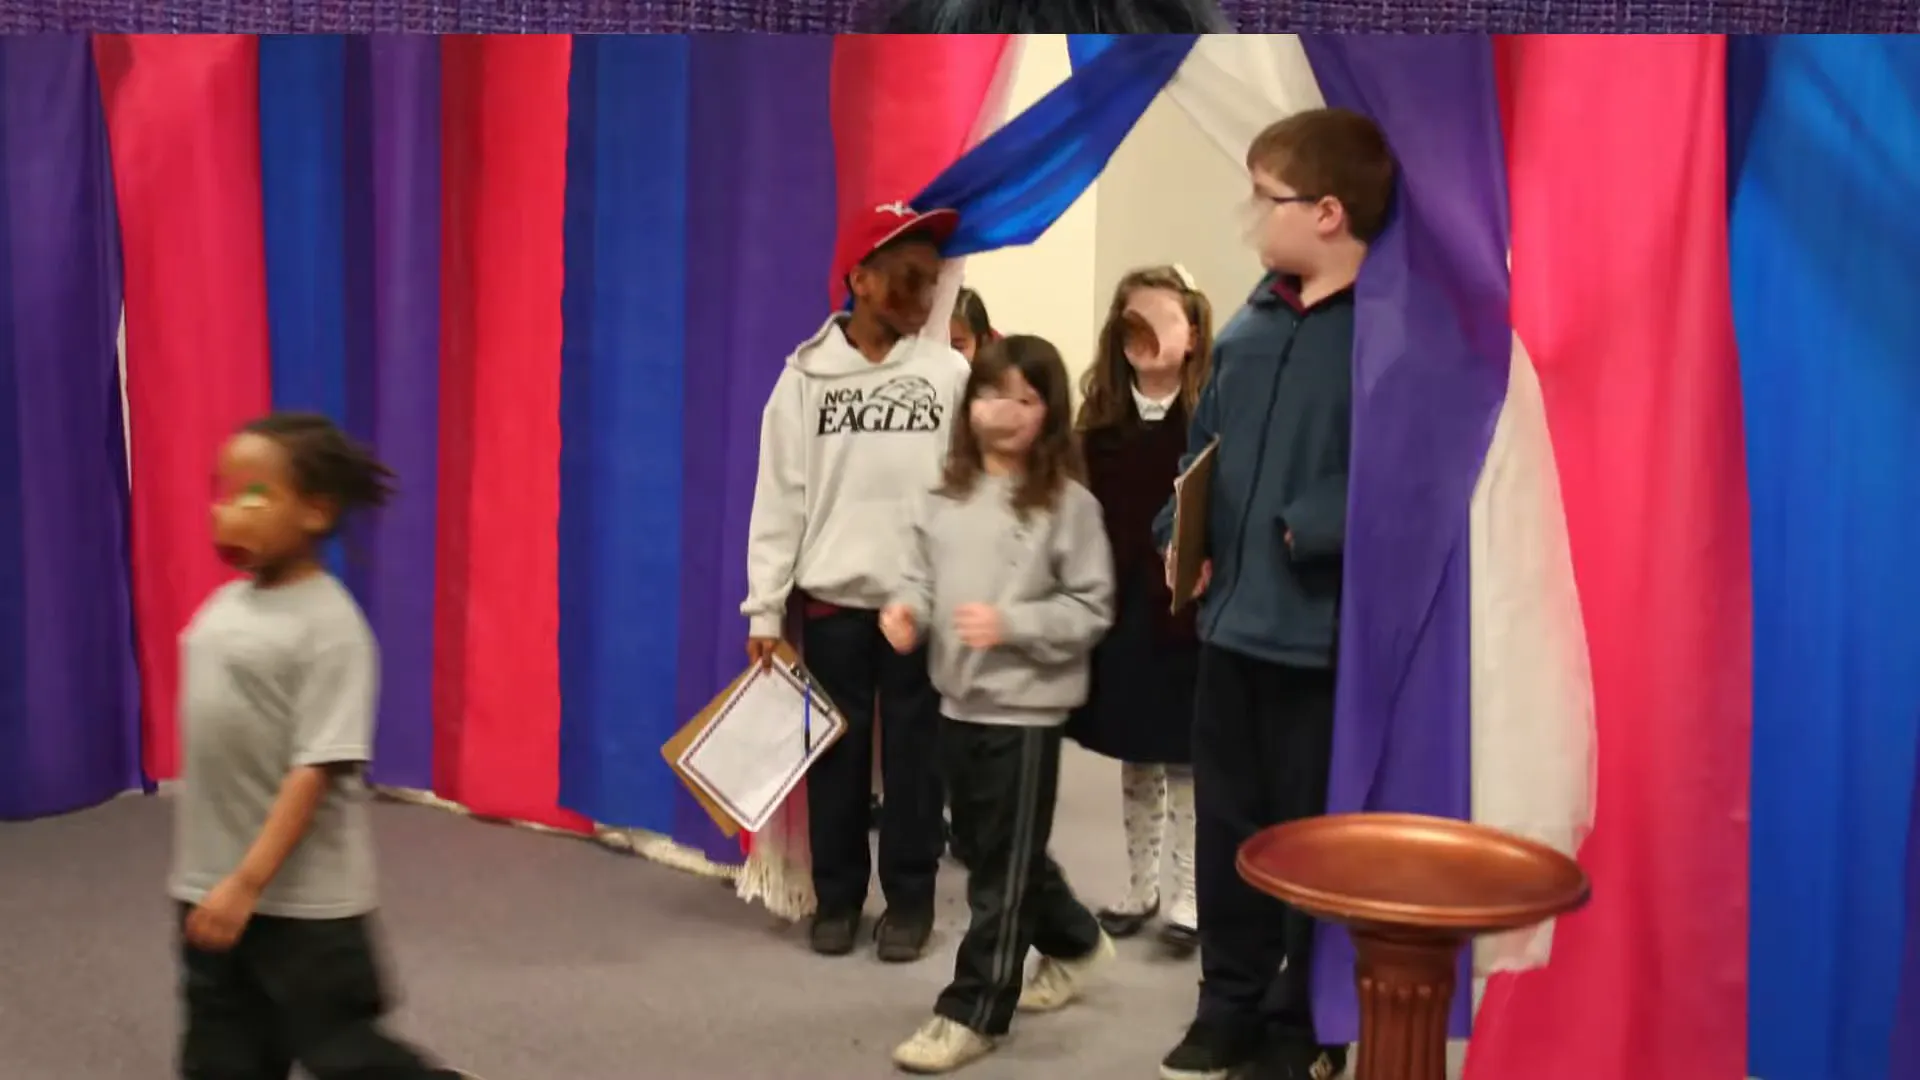
Since fabric can be expensive, consider using alternatives to bring those colors into your Tabernacle. Gossamer or tulle works well for ceilings or along the tops of walls. You can braid gossamer and add long strands at the gate or between your gold panels. Alternatively, use plastic table coverings as walls to the Tabernacle. This is a cost-effective way for students to remember the three colors in the Tabernacle.
Creative and Cost Effective Solution
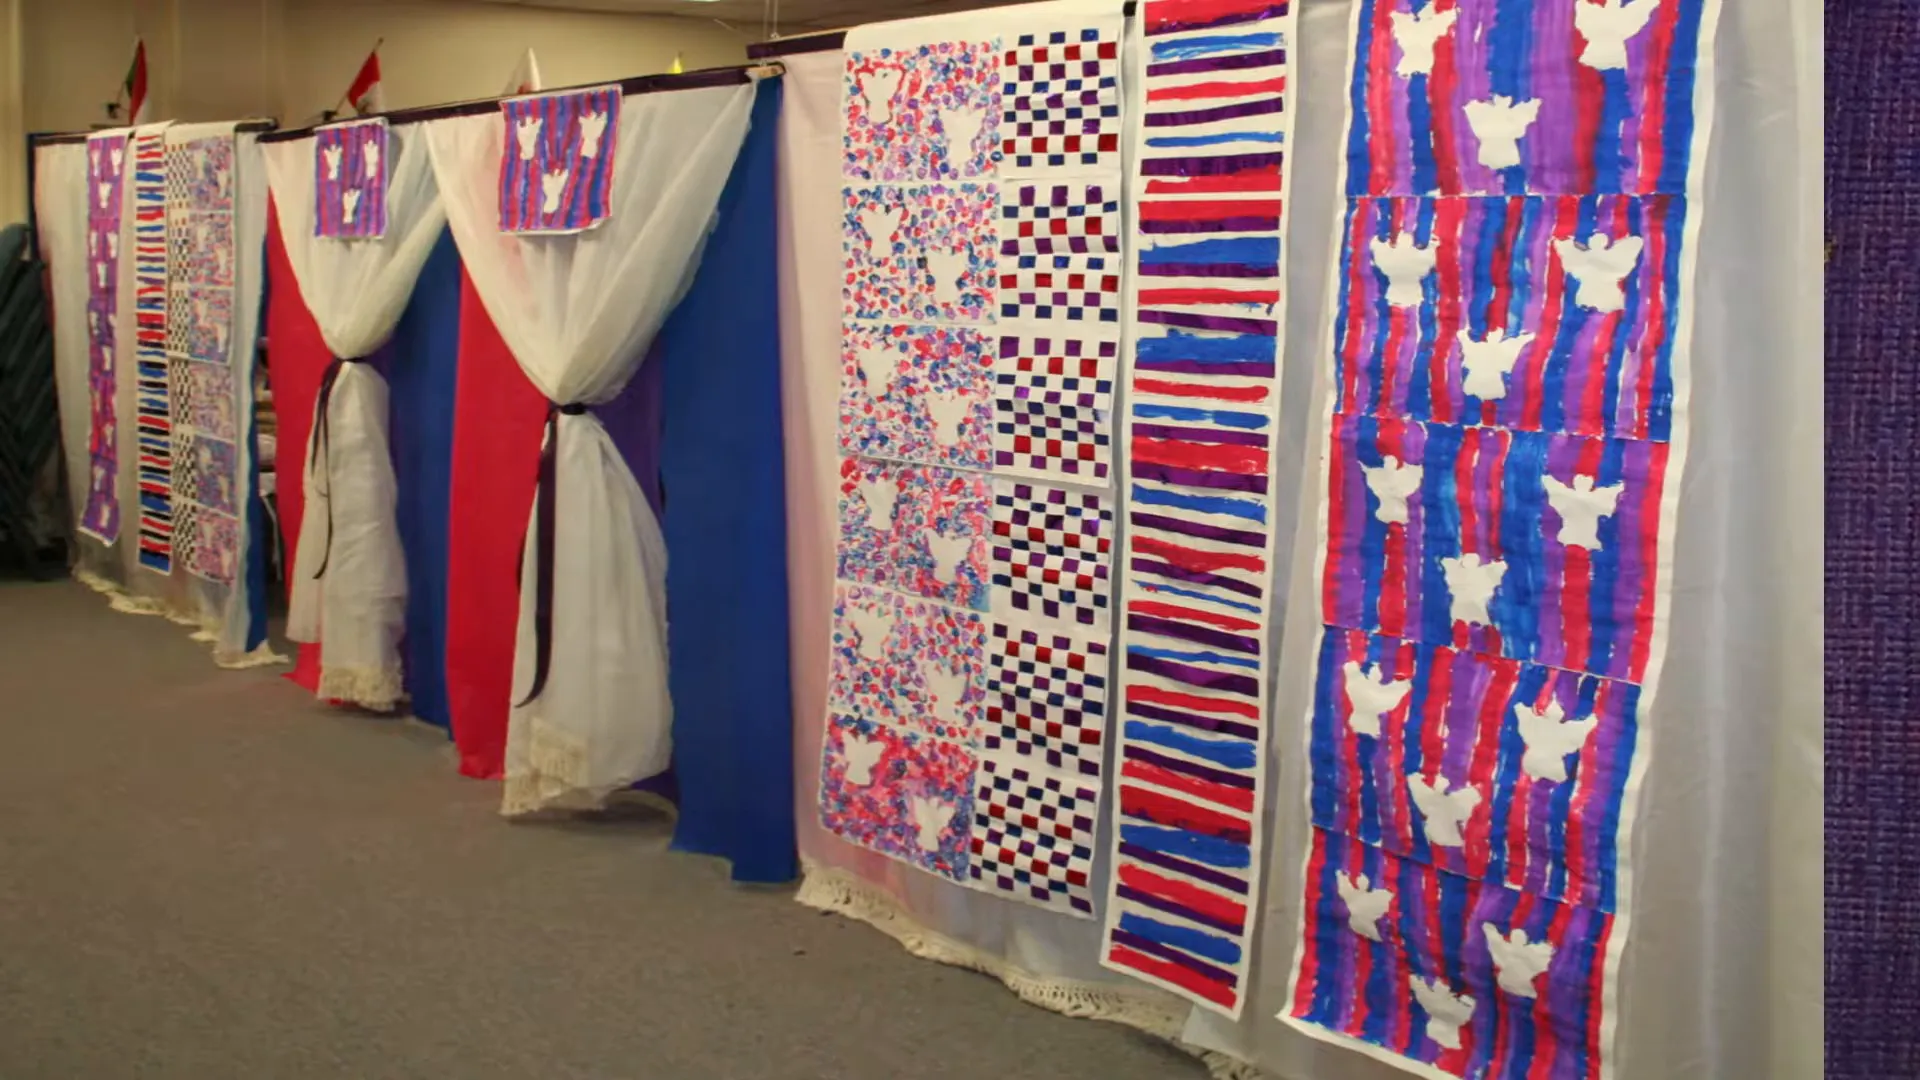
One year, I worked with the art teacher to have students create paper crafts to look like woven fabric. They used the red, blue and purple to make thier creations. They enjoyed a hands-on project and got to truly be part of creating the Tabernacle!
Make it Hands-on
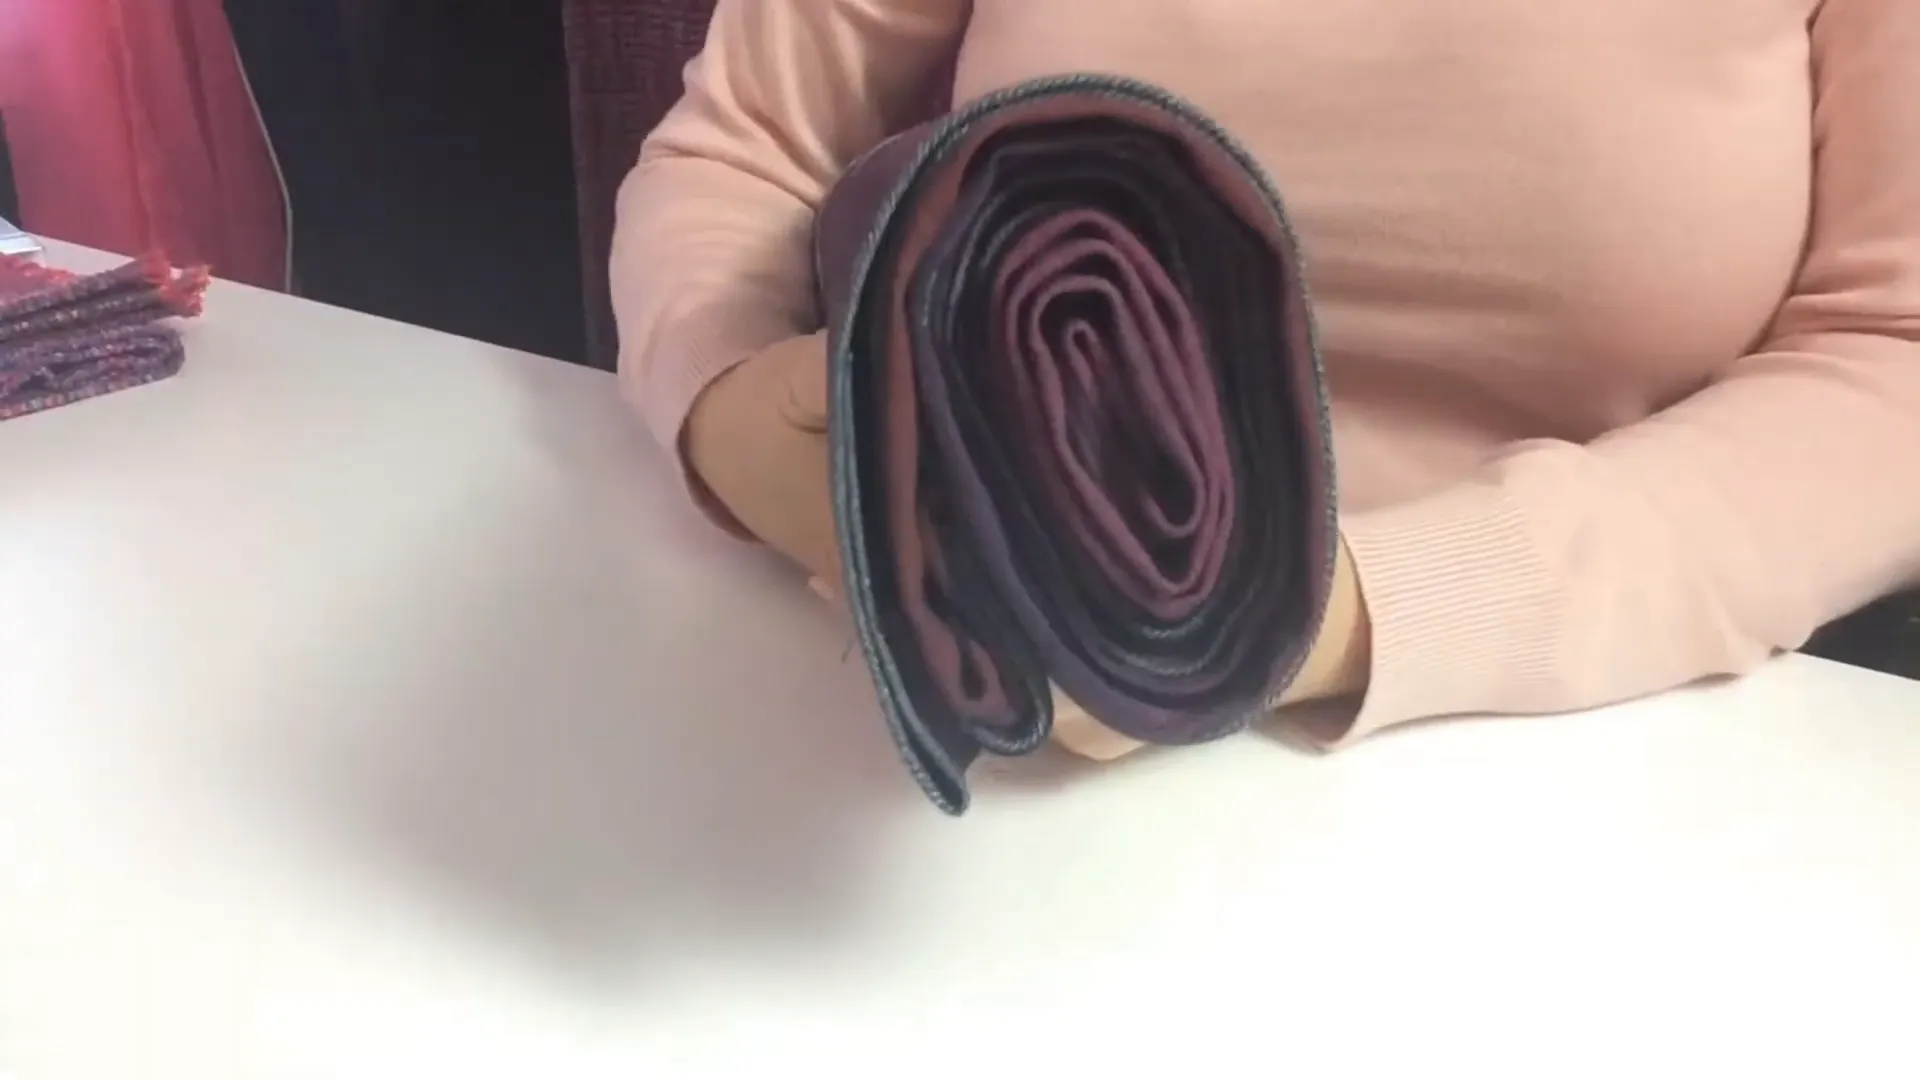
I folded this fabric to a width of 4 inches to visualize how thick the veil in the temple was when it was torn. I ask students to try ripping it, helping them realize that only God could have torn that veil, granting them access into His presence.
Add signs to Build Anticipation
When teaching children, adding a sign on your veil that communicates restrictions can heighten that suspense. No one was allowed behind the veil except for the high priest, and even then, only once a year on the Day of Atonement. This creates a powerful narrative: build up the wall, and then create a bridge. Show your students how God tore that veil from top to bottom when Jesus died on the cross, granting access to anyone willing to take that first step of faith.
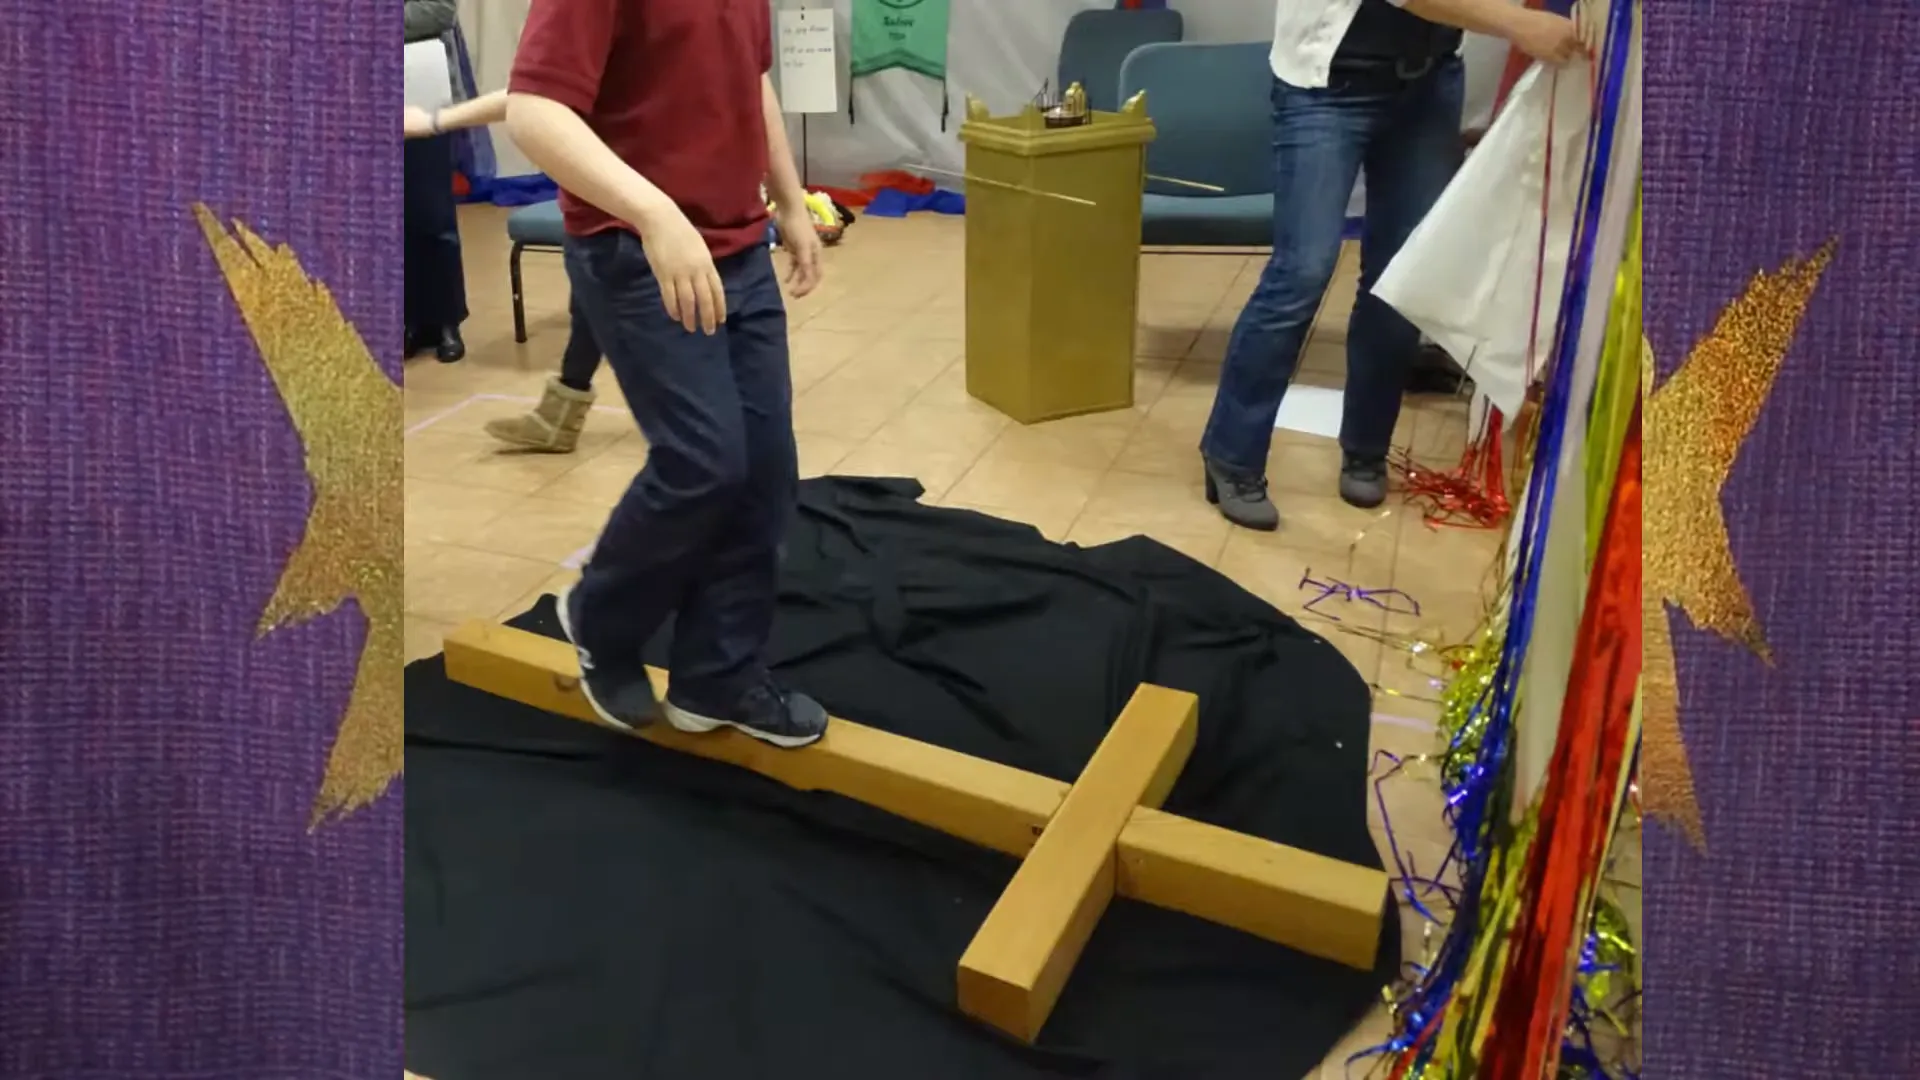
Creating the Cross Bridge
To make this experience truly impactful, consider laying down a wooden cross on the ground for students to cross. This lets them visualize the moment they step into the presence of God, where the Ark of the Covenant is hidden. They should understand that on this side of the cross, they have the freedom to enter God's presence anytime they wish. This can be a life-changing experience for students if you lay down the biblical foundation and build up the suspense.
Special Orders for Cherubim
If you don’t own a Cricut machine and want angels for your veil, feel free to contact me! I’m happy to accommodate special orders.
This is Becky from Experience the Bible Creatively, reminding you that props are always better than paper!
Find curriculum to go with this craft!
Our "Walking Alingside Jesus" curriculum helps your students see Jesus through the Old Testament!
Shop Curriculum
