Creating Your Own Tabernacle Space
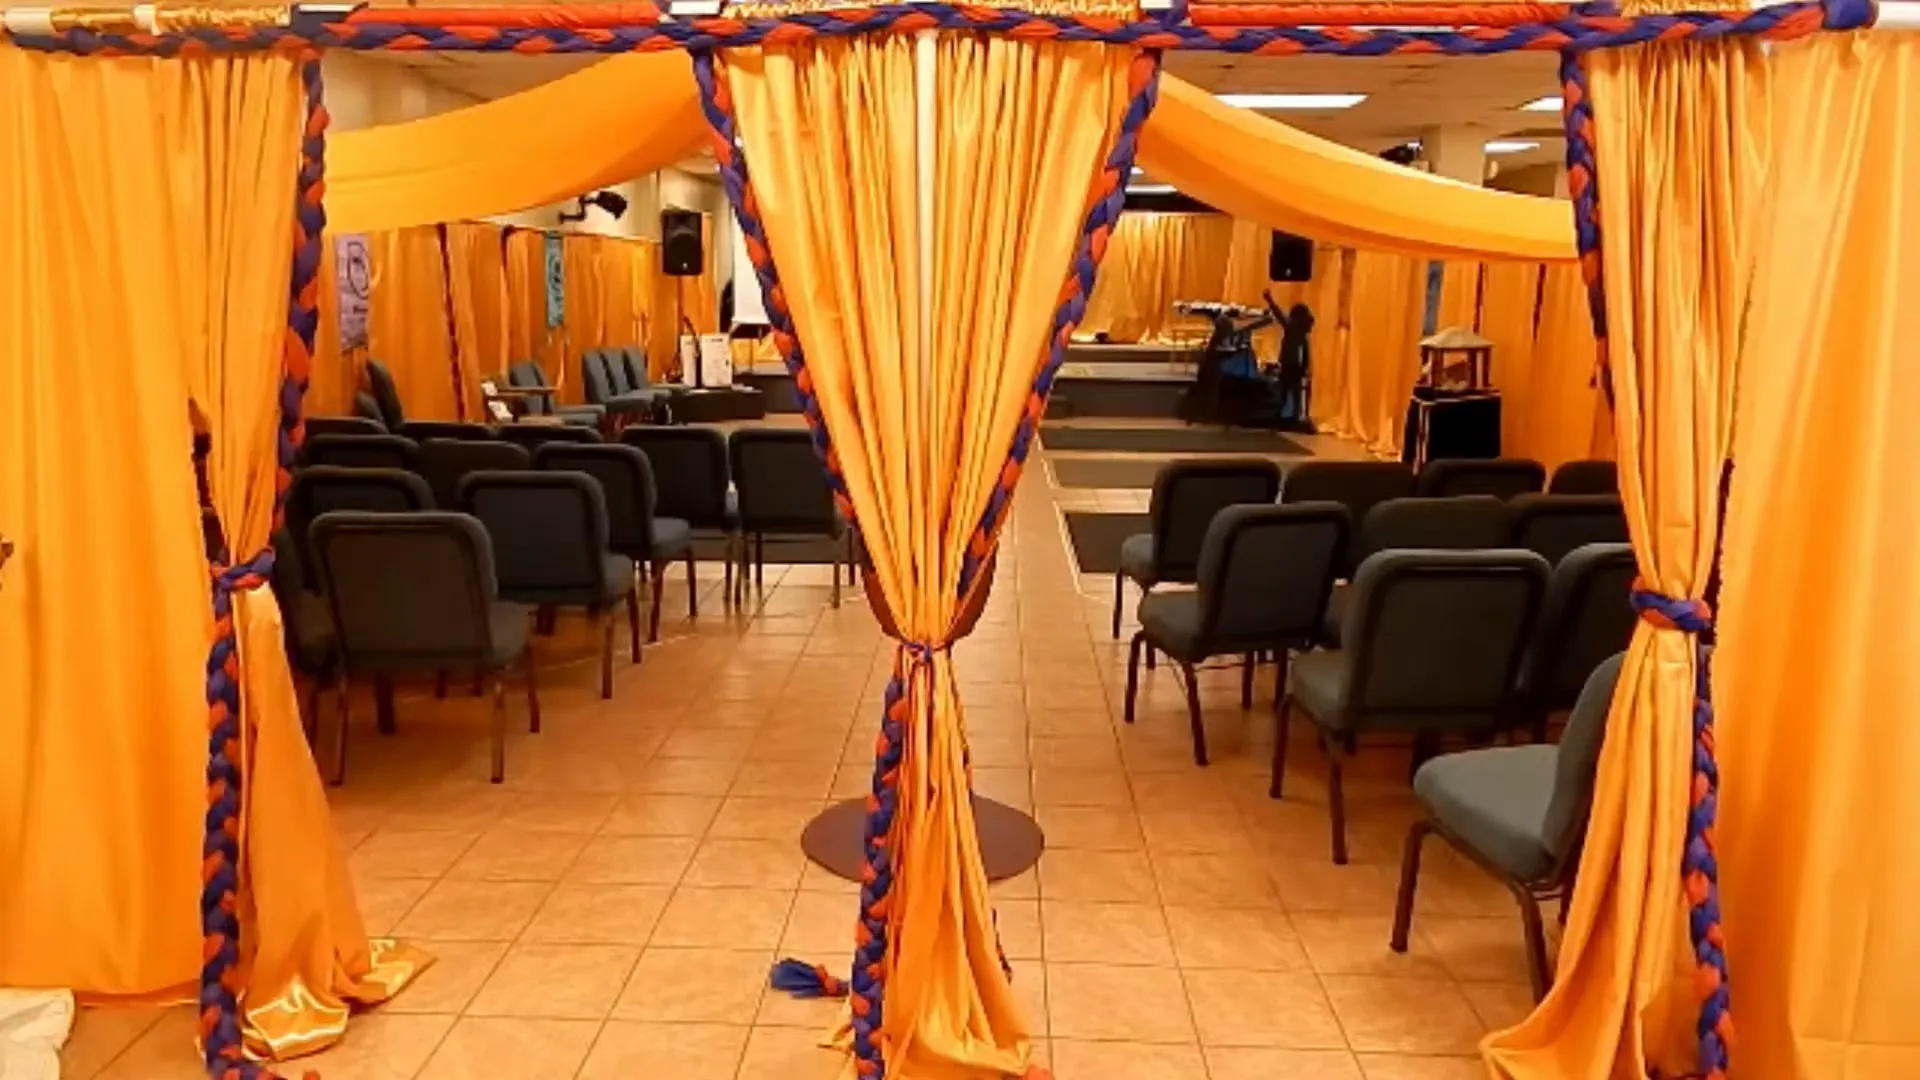
Imagine the eyes of your students lighting up as they enter the tabernacle! All of their senses are engaged—the sight of shimmering gold fabrics surrounding them, the smell of incense on the altar, baked bread on the table of showbread, and the feel of the water in the Laver. This guide will walk you through the steps to create the framework for your own tabernacle. Plus, don’t forget to check out our other videos for making individual pieces of furniture and the veil!
Gathering Materials
The skeleton and mostly unseen portion of the tabernacle is made using PVC pipe. You can purchase your pipes and some basic joints like tees or elbows at your local hardware store. However, for specialty PVC fittings known as furniture-grade, you might need to shop online. I’ll point out these special pieces throughout this guide.
Building the Framework
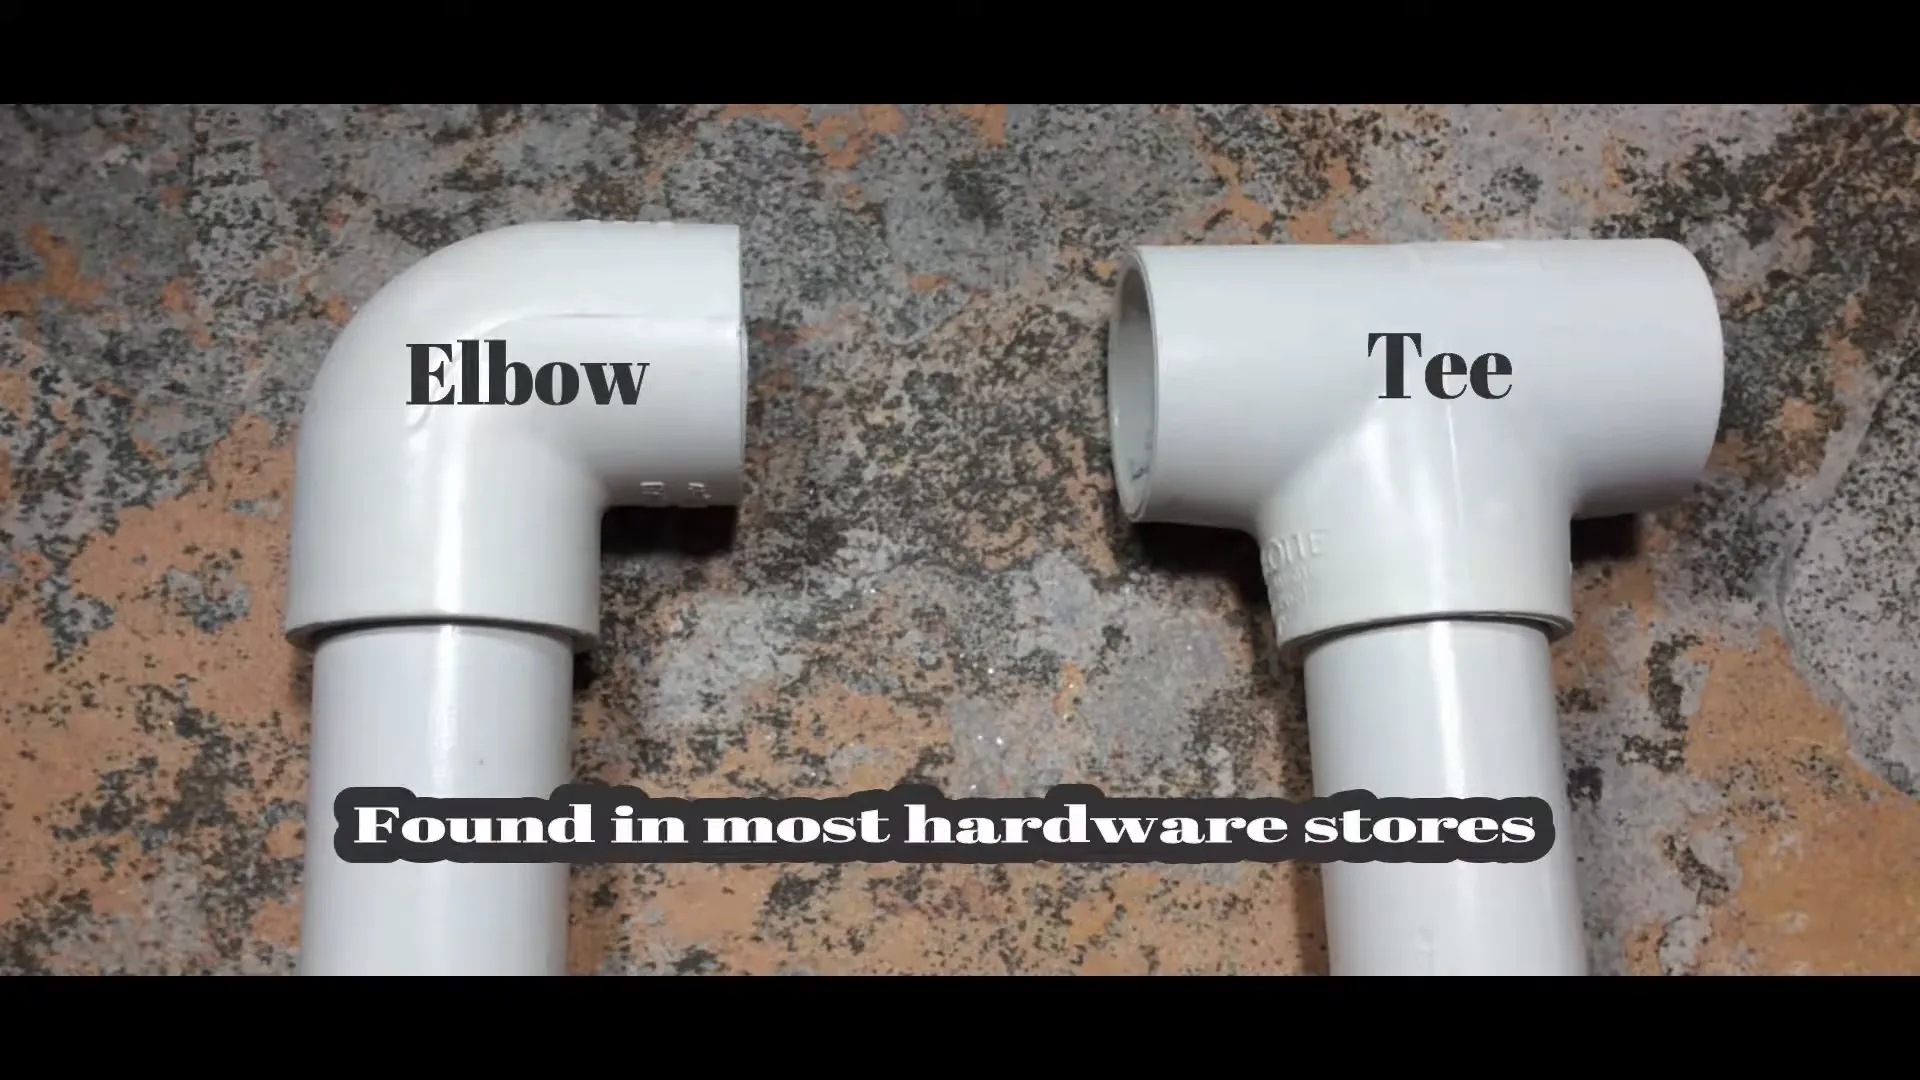
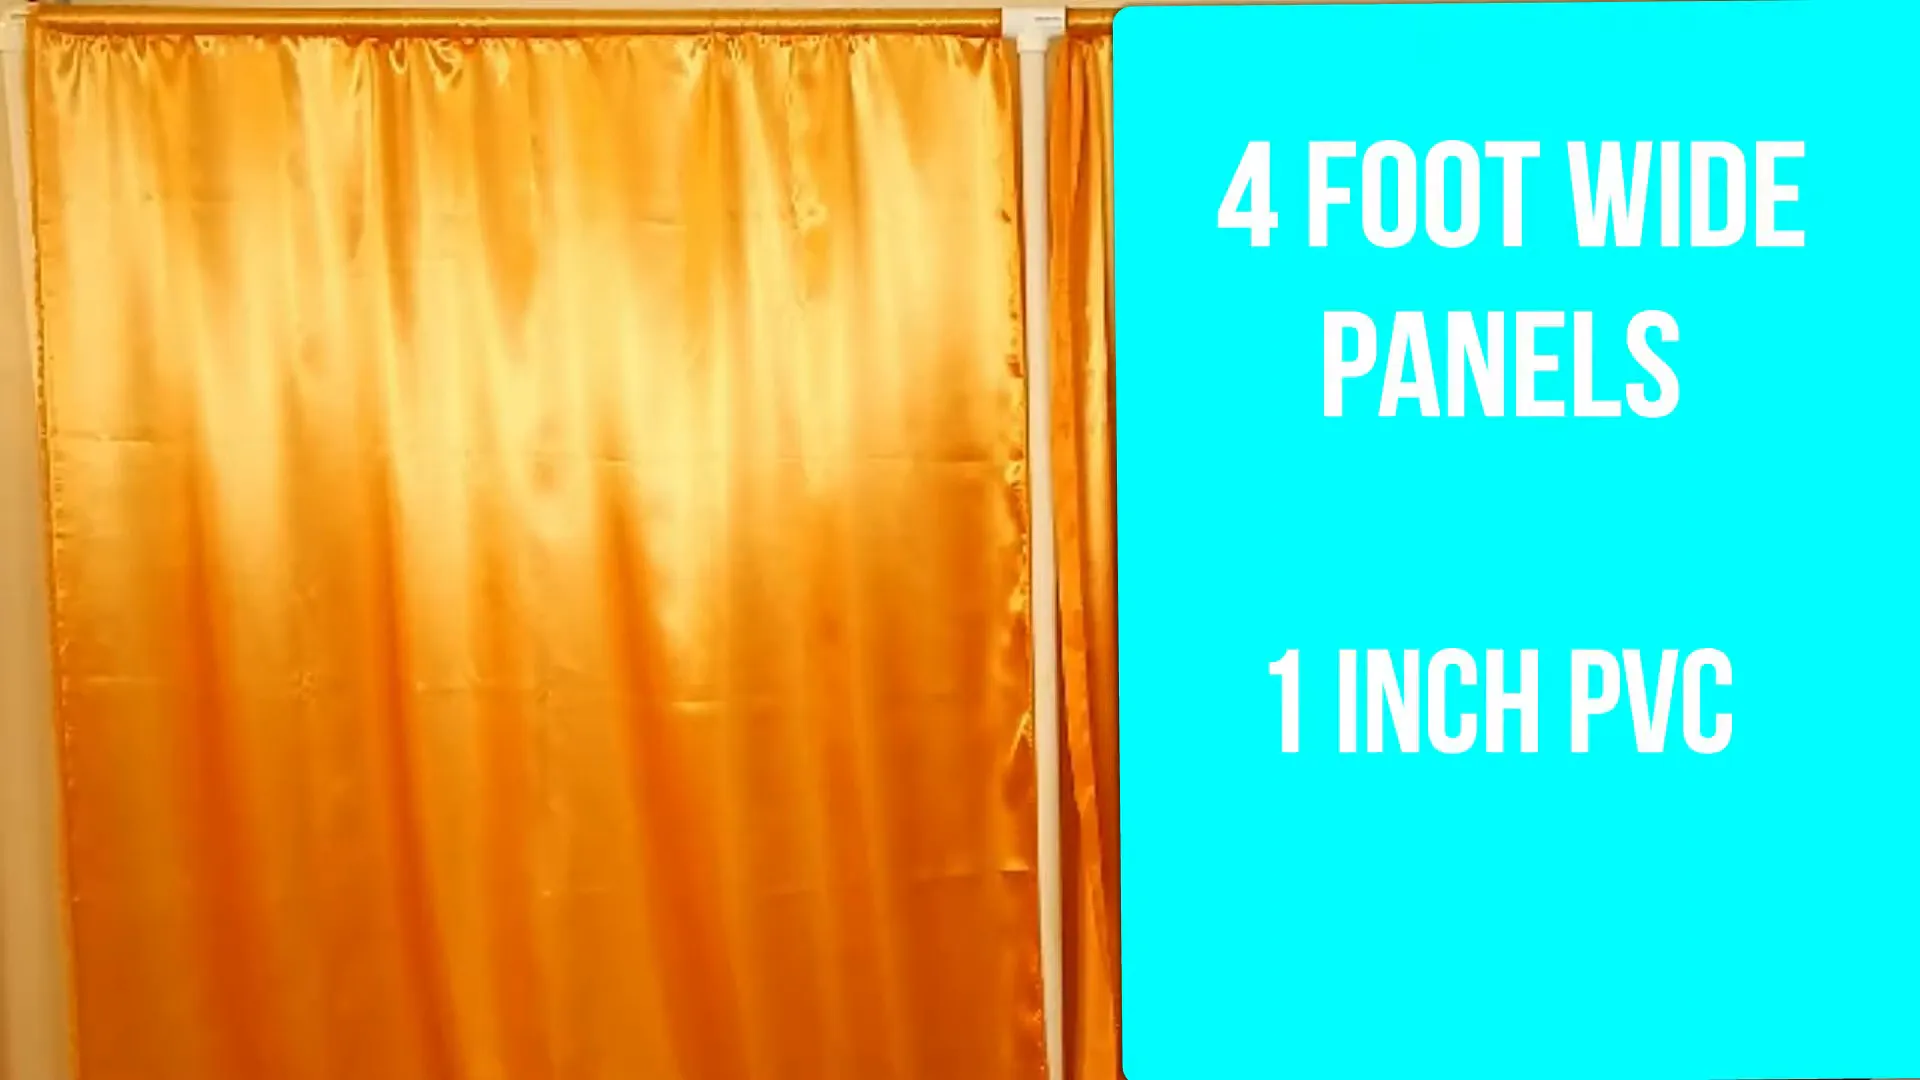
The tabernacle is made of connecting four-foot-wide panels. We built these using one-inch PVC plastic pipes, which have quite a bit of flex. Since we wanted as little movement as possible, we opted for the one-inch size. Each 10-foot length of pipe gives us two pieces: a four-foot horizontal and a six-foot vertical. To connect each set of panels, you’ll need a PVC tee—just make sure it’s not threaded. For the four corners of your tabernacle, you will need a 3-way PVC elbow. These are usually considered furniture-grade and might need to be ordered online, although your hardware store might have them.
Creating the Base
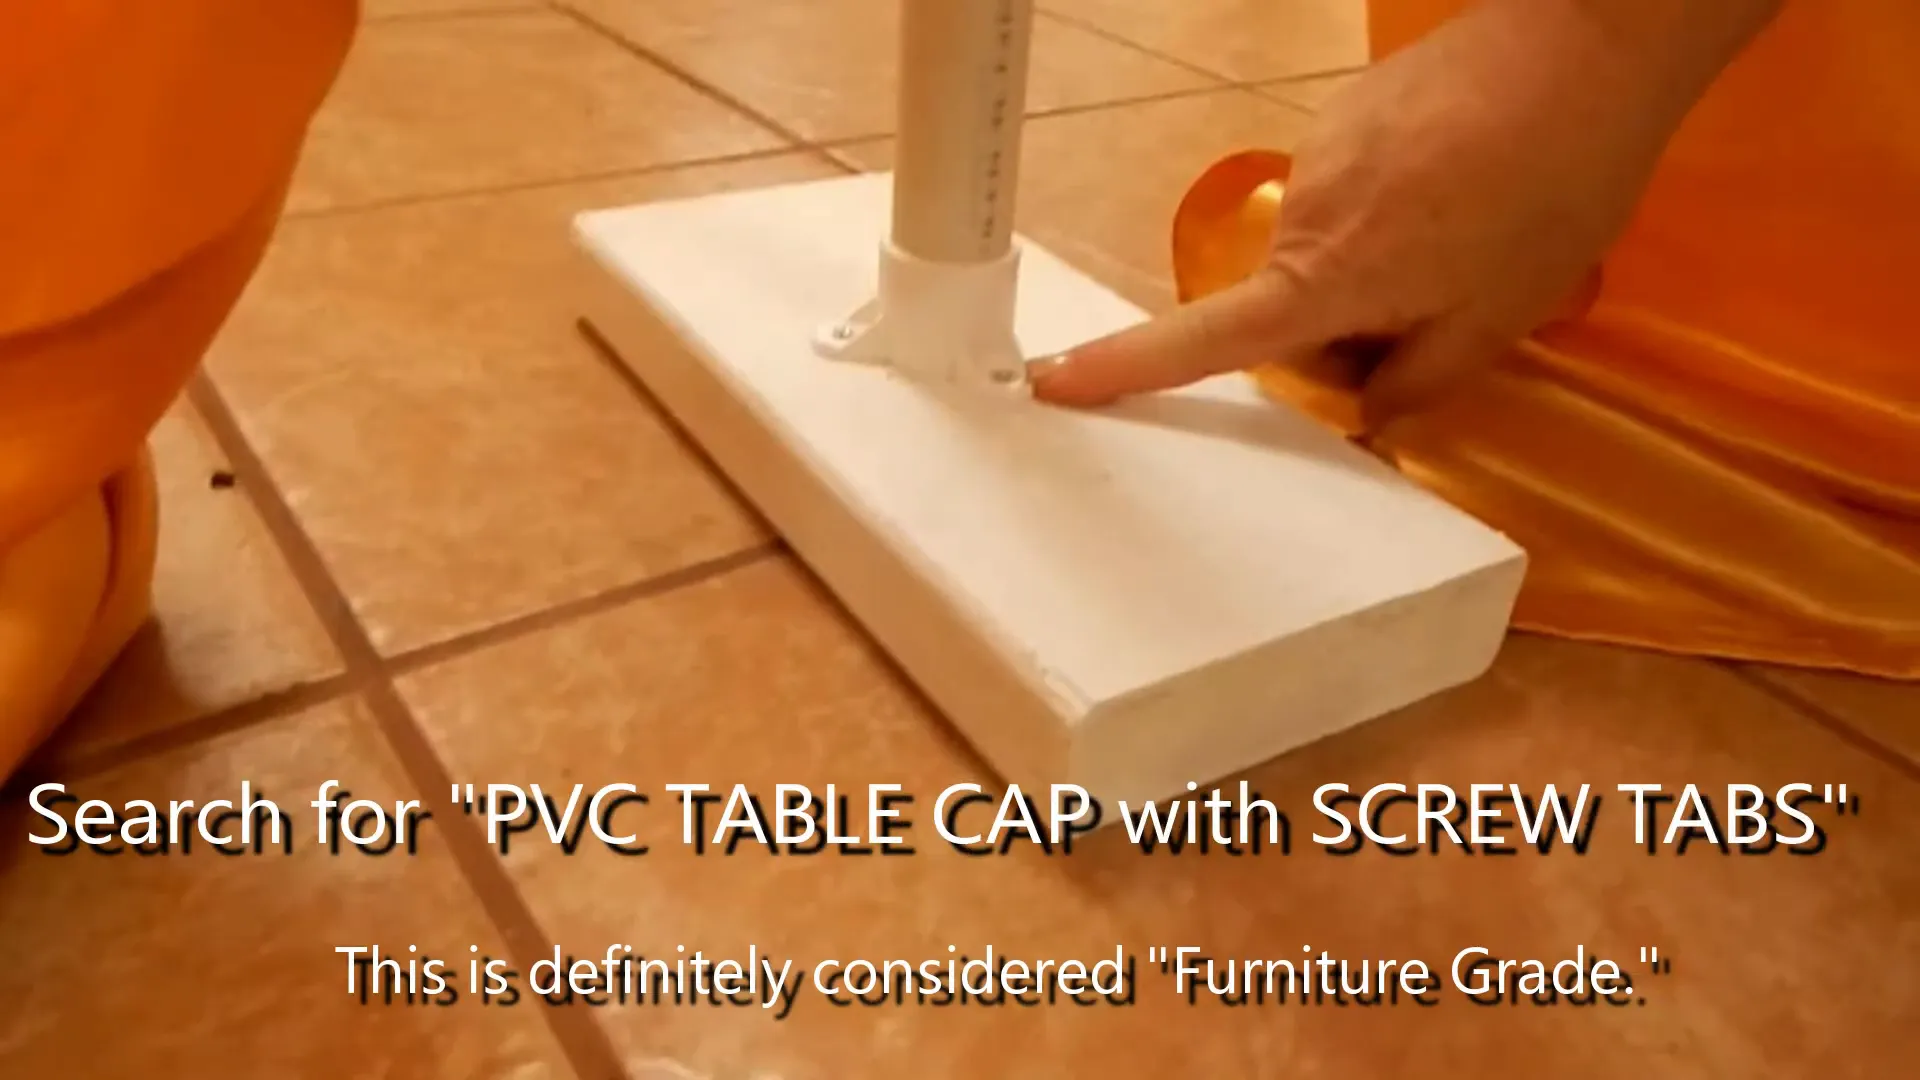
This is a very large space, but because it is a box that can pretty much hold itself up, all you need for footings are some cut boards approximately 4 by 6 inches. Paint them and then screw a plastic flange in the center. These flanges can be ordered online and come in various sizes, so make sure to get the same size as your PVC. The pipe should then easily slip inside. To further reduce the possibility of collapse, place the board so that it is perpendicular, not parallel, with the pipe.
Decorating the Tabernacle
Now, let’s talk about the dazzling decoration inside the tabernacle. To recreate the panels of shimmering gold, you could hang plastic gold tablecloths purchased on 100-foot buffet rolls. You might even find oblong ones at your local dollar store. If you want to make a more permanent space or give that wow effect, you can use fabric that is sixty inches wide. We used gold polyester satin fabric, which was very cost-efficient. For under $400, we decorated a 24-foot by 75-foot space with quite a bit of fabric left over.
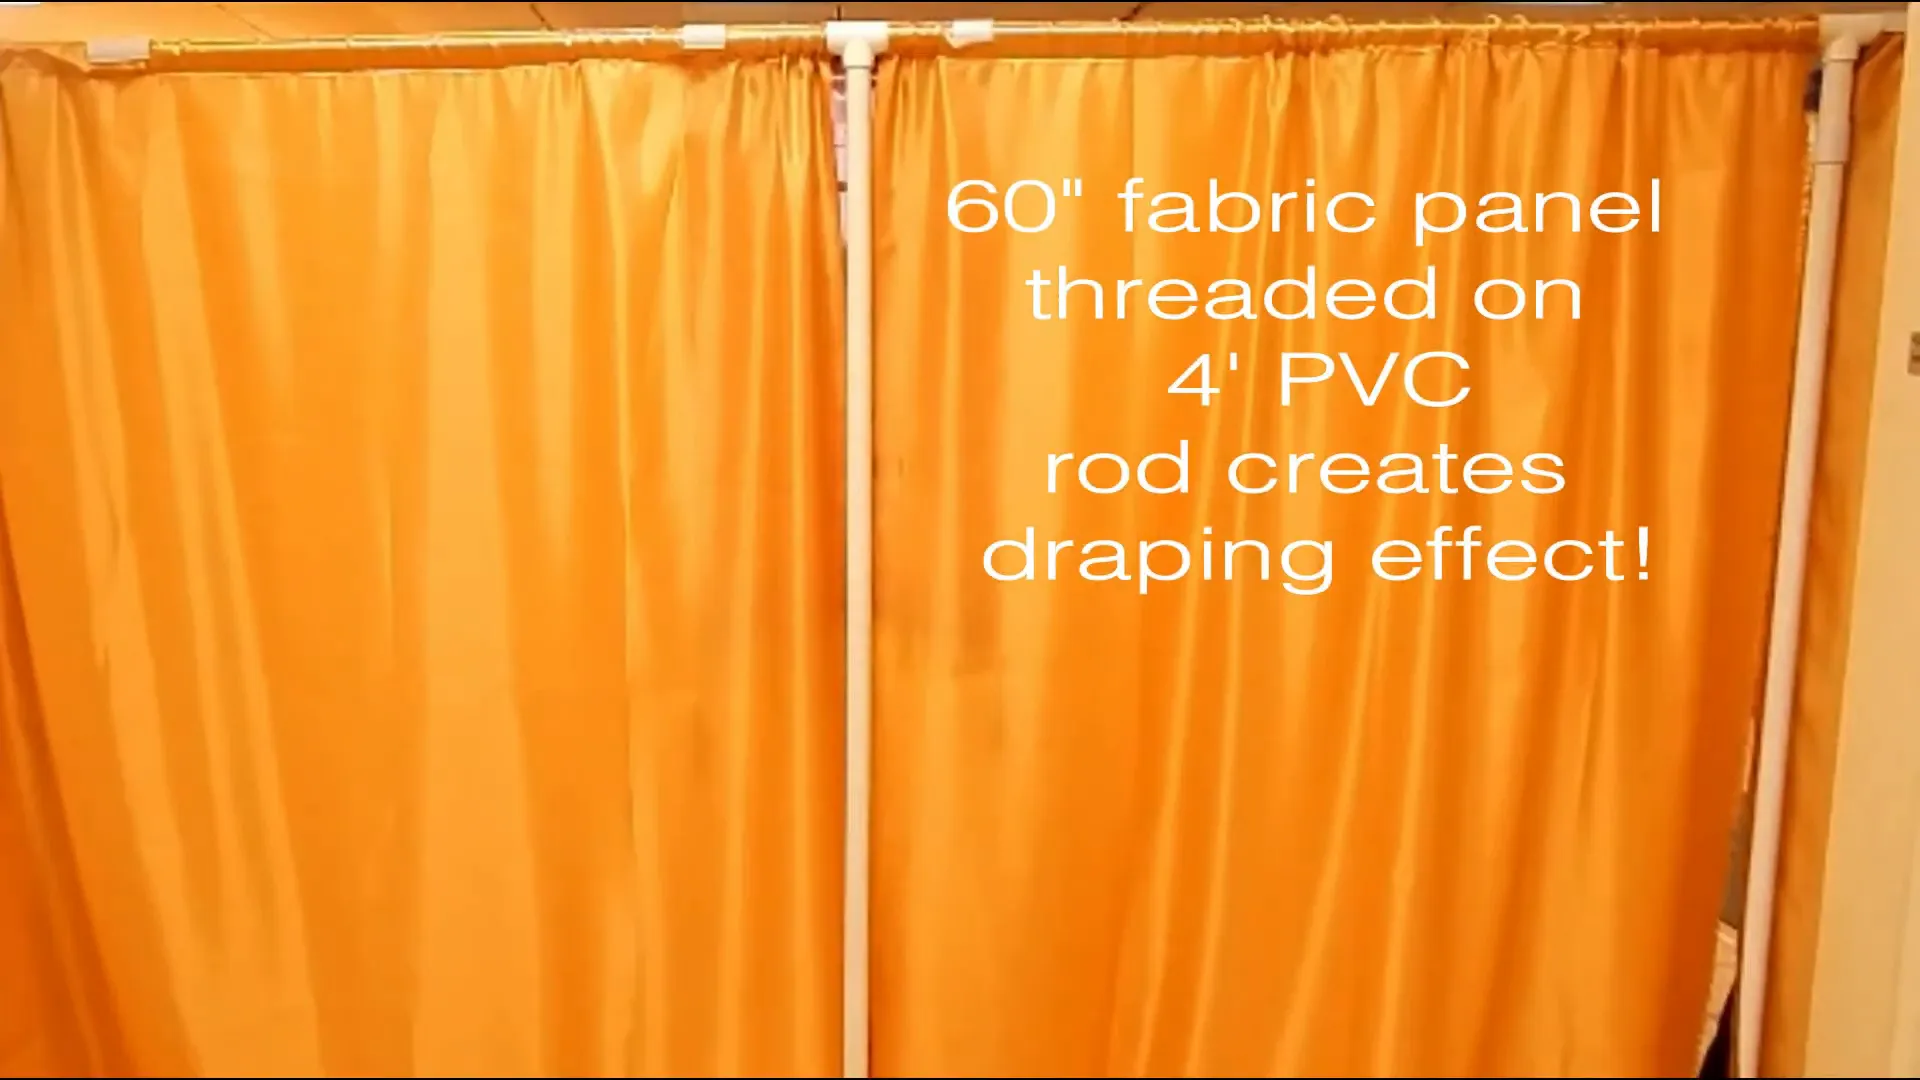
This particular fabric was purchased from Fabric Express, but you can definitely find other options with a quick internet search. These 60-inch panels were given to some church ladies who are handy with a sewing machine. They created a pocket for the PVC rod to slip through.
Using PVC Snap Clamps
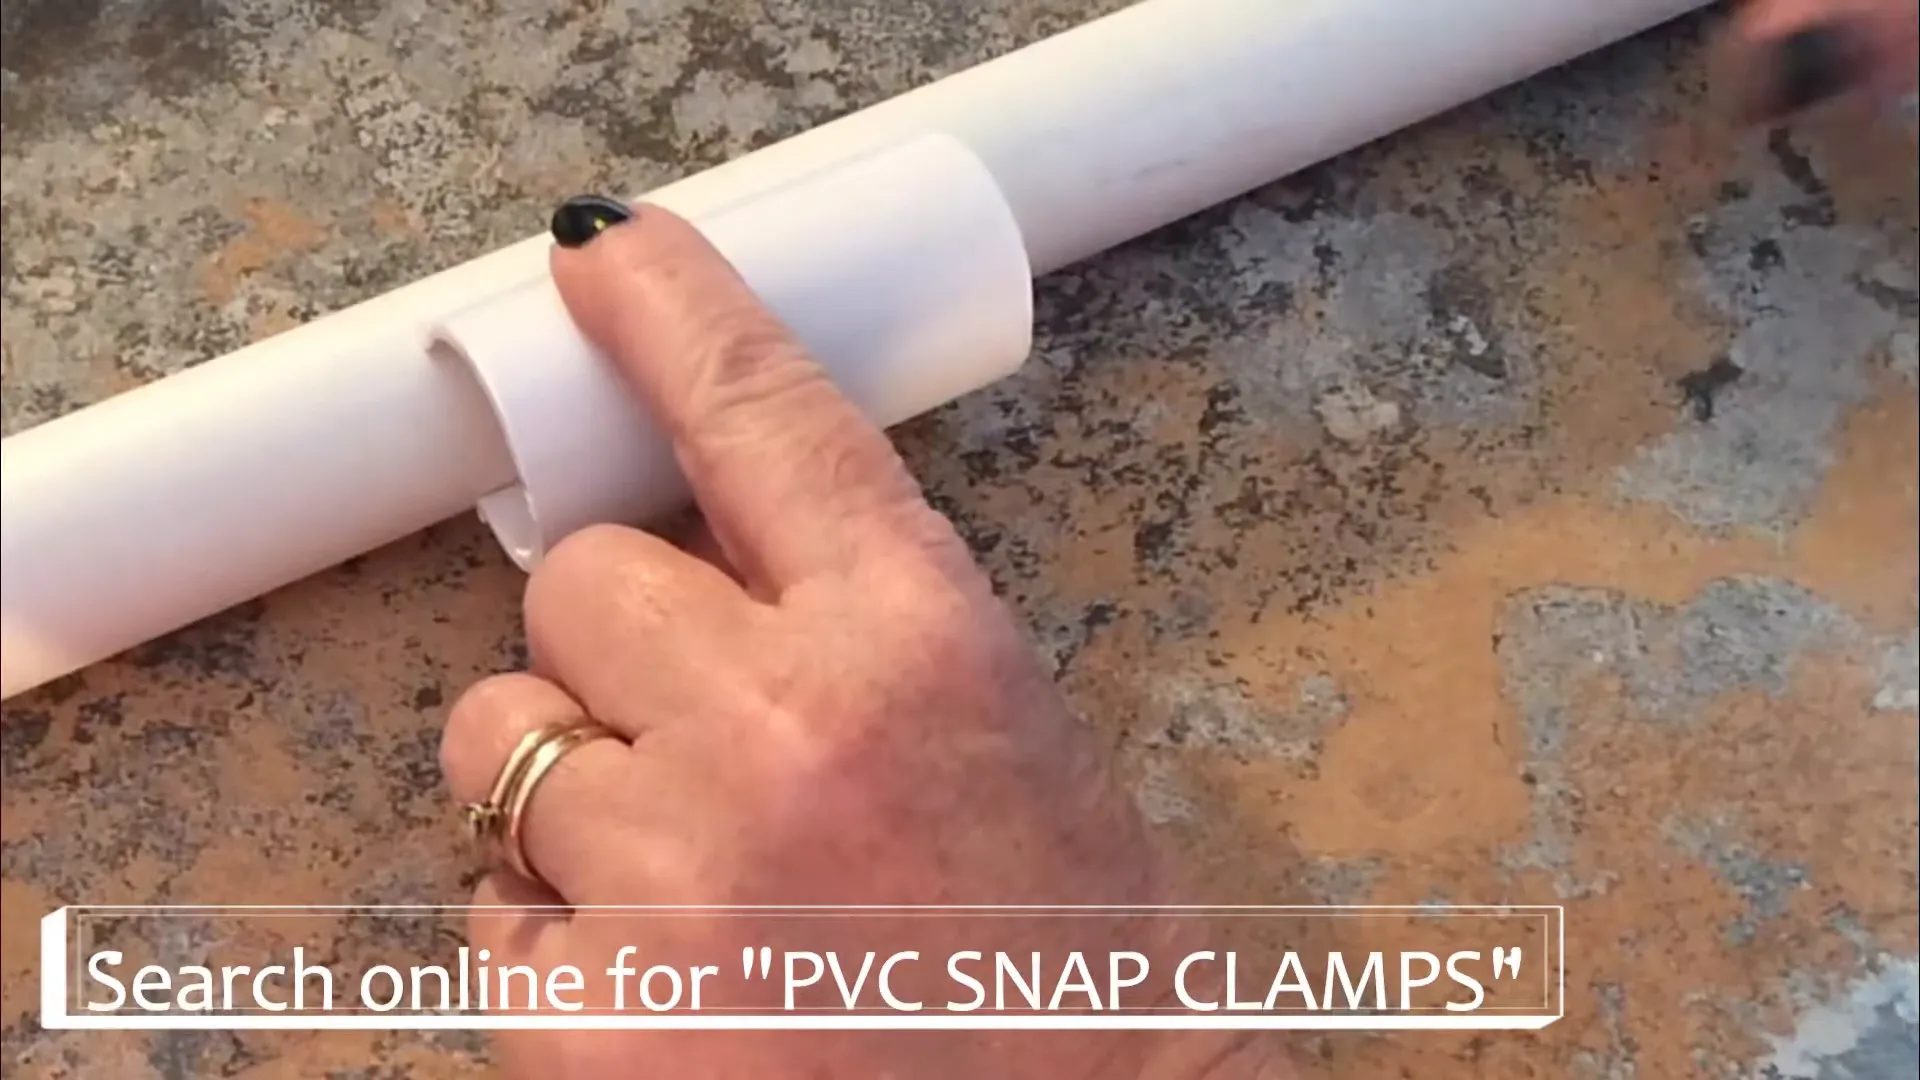
However, if you’re looking for an even quicker option, consider using PVC snap clamps. These can be purchased for pipes ranging in size from 1/2 inch all the way to 2 inches. These clamps hold the fabric on very tightly, so much so that they can even hold fishing line in place. I highly recommend them!
Final Touches
And that’s it! You can make as many panels as you need to fit your space. Just snap the fabric on, and you’re ready to go! If you’re interested in making the gate and canopy, we provide instructions in another post, so be sure to check that out!

If you want to immerse your students even further, consider renting premade props to set up your own fully immersive Tabernacle experience!
Also, for those looking for structured lessons, check out our curriculum for VBS, homeschool, Sunday School, and church for 4th-6th graders.
Remember, props are better than paper!
Rent Props for your VBS, Classroom, or Church!
Experience the Bible Creatively has props, costumes, and set pieces for rent to immerse your students in the story of the Bible.
Learn More