Make Your Own Pillar of Cloud and Fire!
Creating a visual representation of biblical stories can be an engaging way to teach students. One imaginative project is making your own pillar of cloud and fire, which not only serves as a great educational tool but also adds a touch of creativity to your lessons. This guide will walk you through the process step-by-step, using simple materials and techniques to create a stunning visual aid that lights up!
Supplies Needed
Before diving into the creation process, gather the following supplies:
- Cardboard tube (any size will work)
- Rolled batting (to create layers around your tube)
- Pillow stuffing (to give a cloud-like effect)
- Hot glue gun and glue sticks
- LED lights (with various settings)
Step 1: Choose Your Tube
The first step in this project is selecting the right cardboard tube. You can use a paper towel tube, a wrapping paper tube, or even fabric tubes. Fabric tubes tend to be thicker and sturdier, which can be helpful. The tube will serve as the base for your pillar.
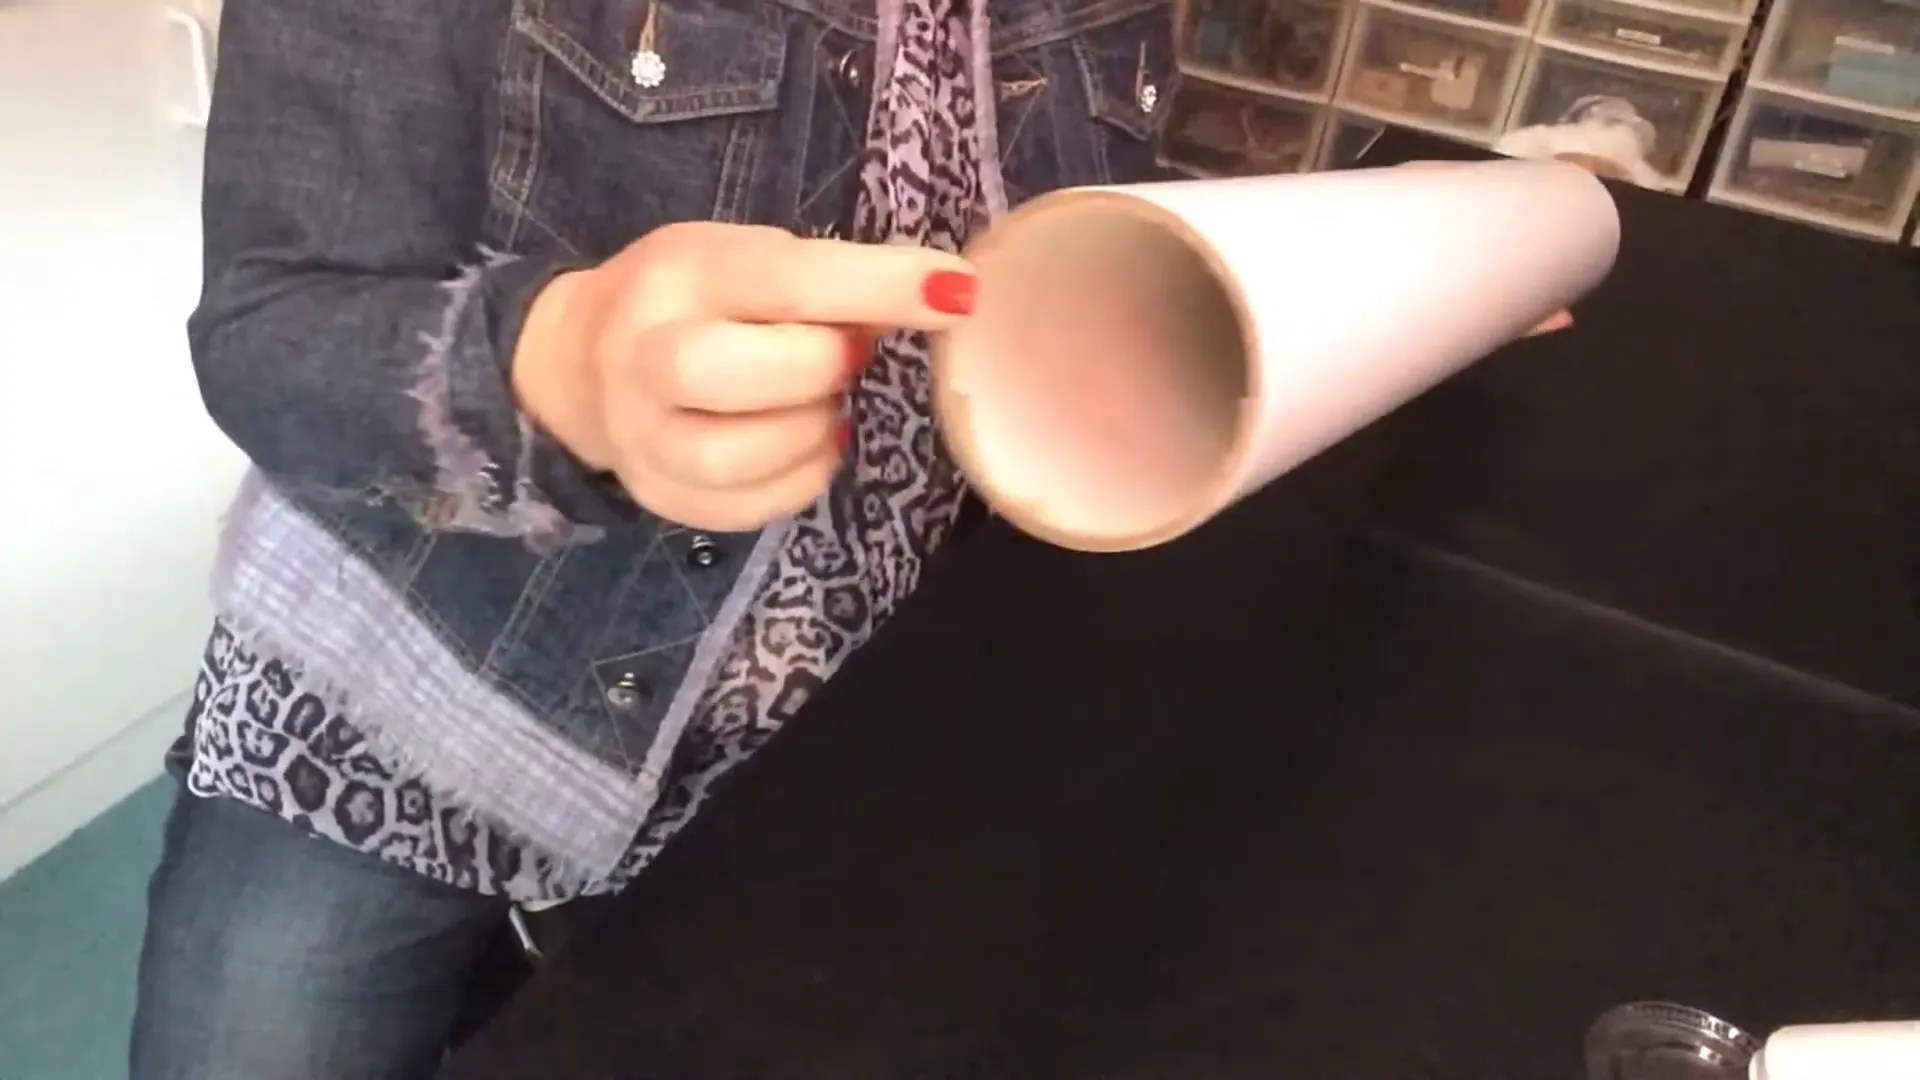
Step 2: Prepare the Batting
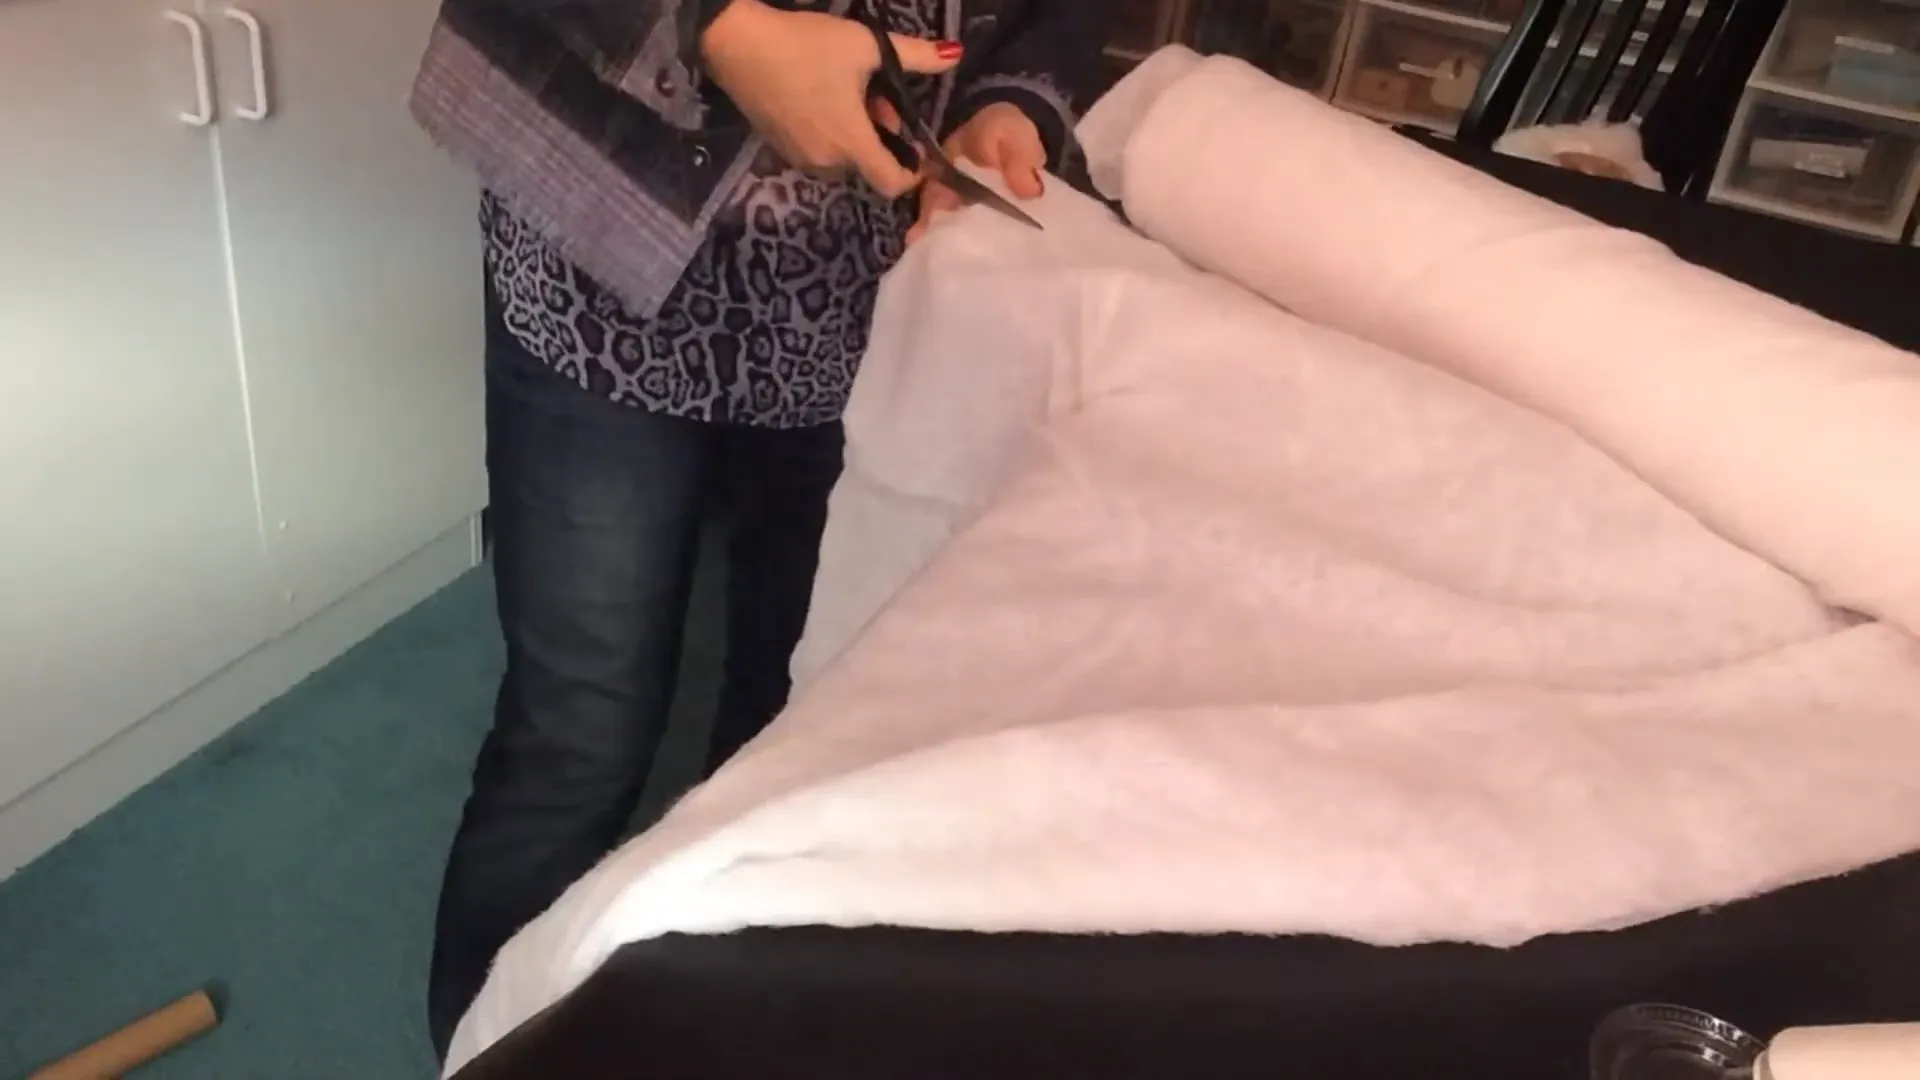
Next, take your rolled batting and lay it out next to your chosen tube. Start rolling the batting around the tube until it reaches the desired thickness. Don’t worry about achieving a perfectly straight line; it will be covered later. Once you have the thickness you want, cut the batting to size.
Step 3: Secure the Batting
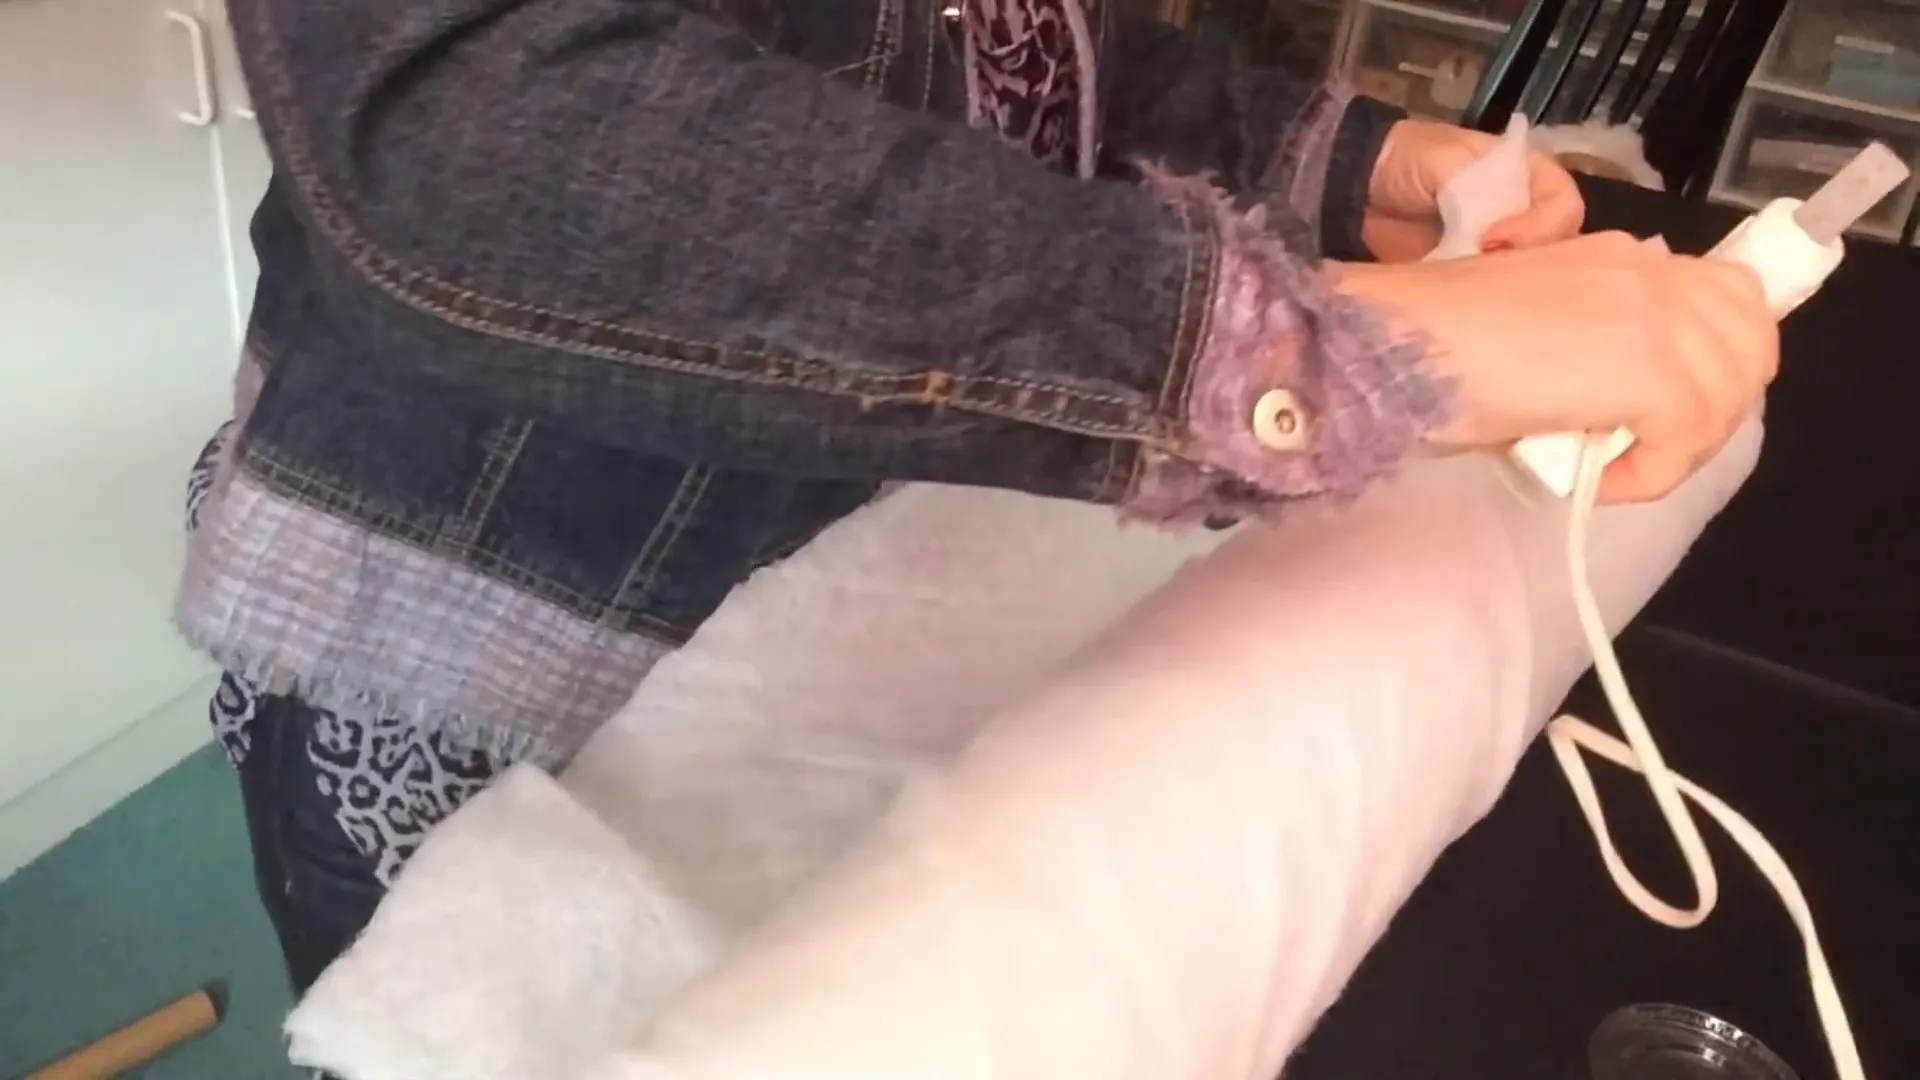
Using your hot glue gun, secure the batting to the tube. A small bead of glue should be sufficient since the materials are lightweight. If there’s extra batting, you can either tuck it in or trim it down. I personally prefer to tuck it in for a cleaner look.
Step 4: Add the Lights
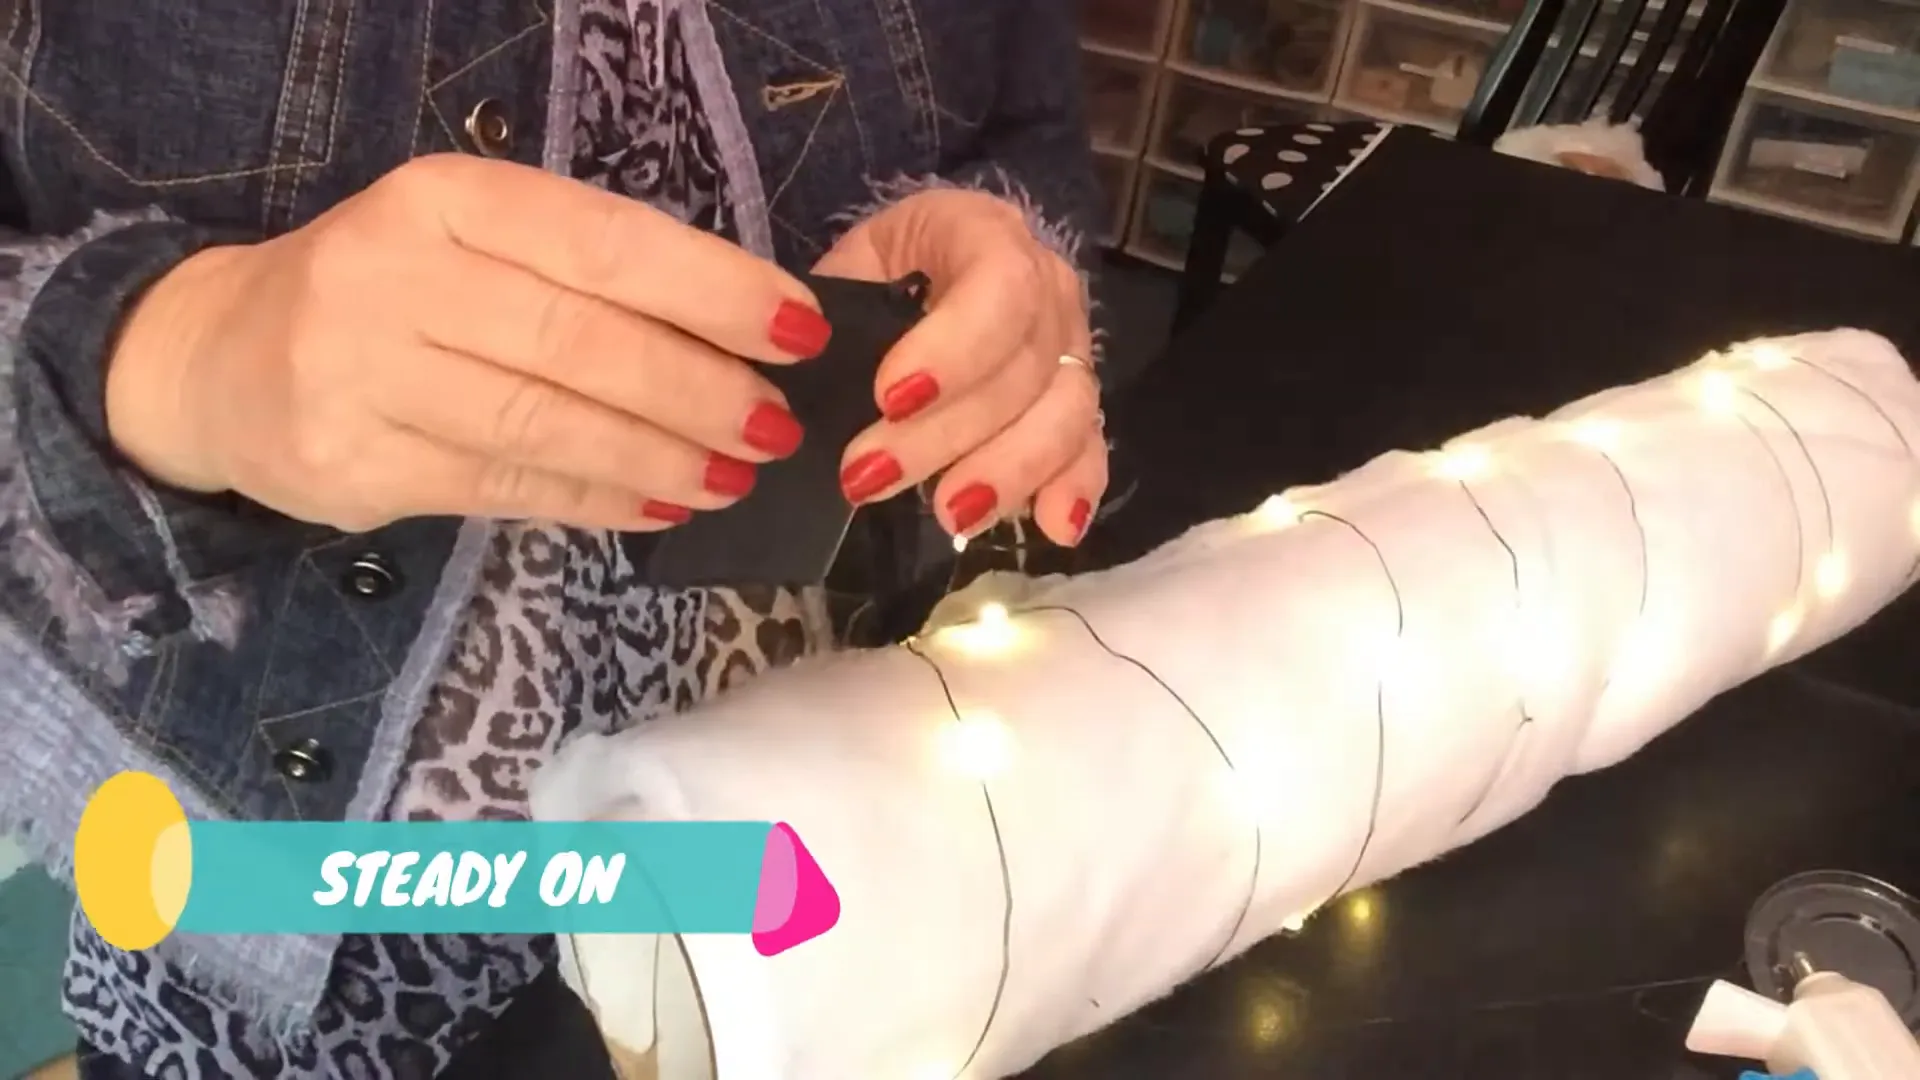
Now it’s time to add some lights! For demonstration purposes, I recommend using colored wire lights so they stand out against the white batting. However, silver wire lights can be a better choice as they blend in more seamlessly. Wrap the lights around the batting, twisting them to secure them in place. You don’t need to glue the lights; just twist and secure them in different angles for a dynamic look.
Step 5: Control Settings
Each set of lights has different settings, so be sure to read the instructions carefully. Ideally, you want lights with a fading option that mimics the flickering of fire. There are usually three settings: on, flashing, and fading. The fading option is especially effective for creating a fire-like glow.
Step 6: Create the Cloud Effect
At this point, your creation still resembles a tube with lights. To give it the cloud effect, you’ll need to use pillow stuffing. This will create a fluffy, cloud-like appearance. Carefully glue the stuffing around the lights and batting, making sure not to glue directly onto the wires. It’s important to hide the wires as much as possible, so take your time with this step.
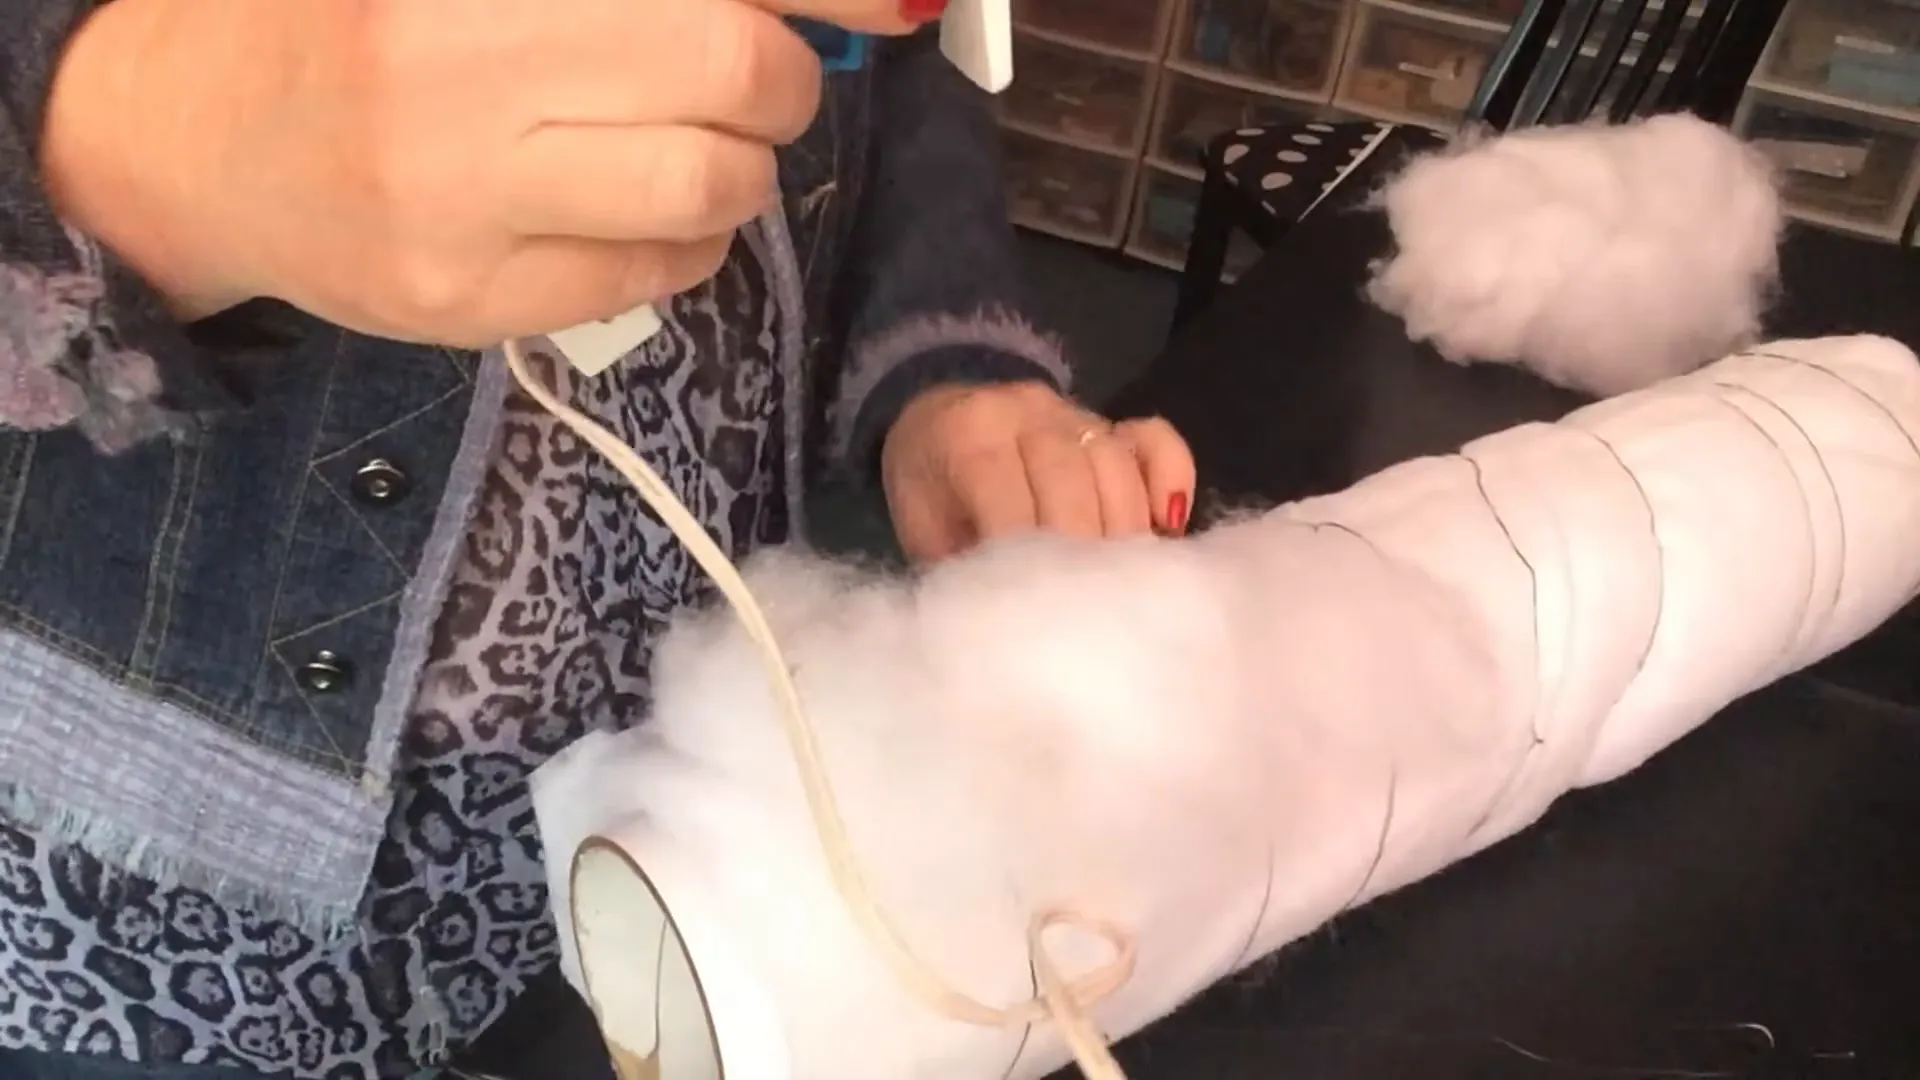
Step 7: Testing the Lights
Every so often, turn the lights on to check how they look. You want to ensure that the lights shine through the stuffing but are also well hidden. This step is crucial to achieving a convincing cloud effect.
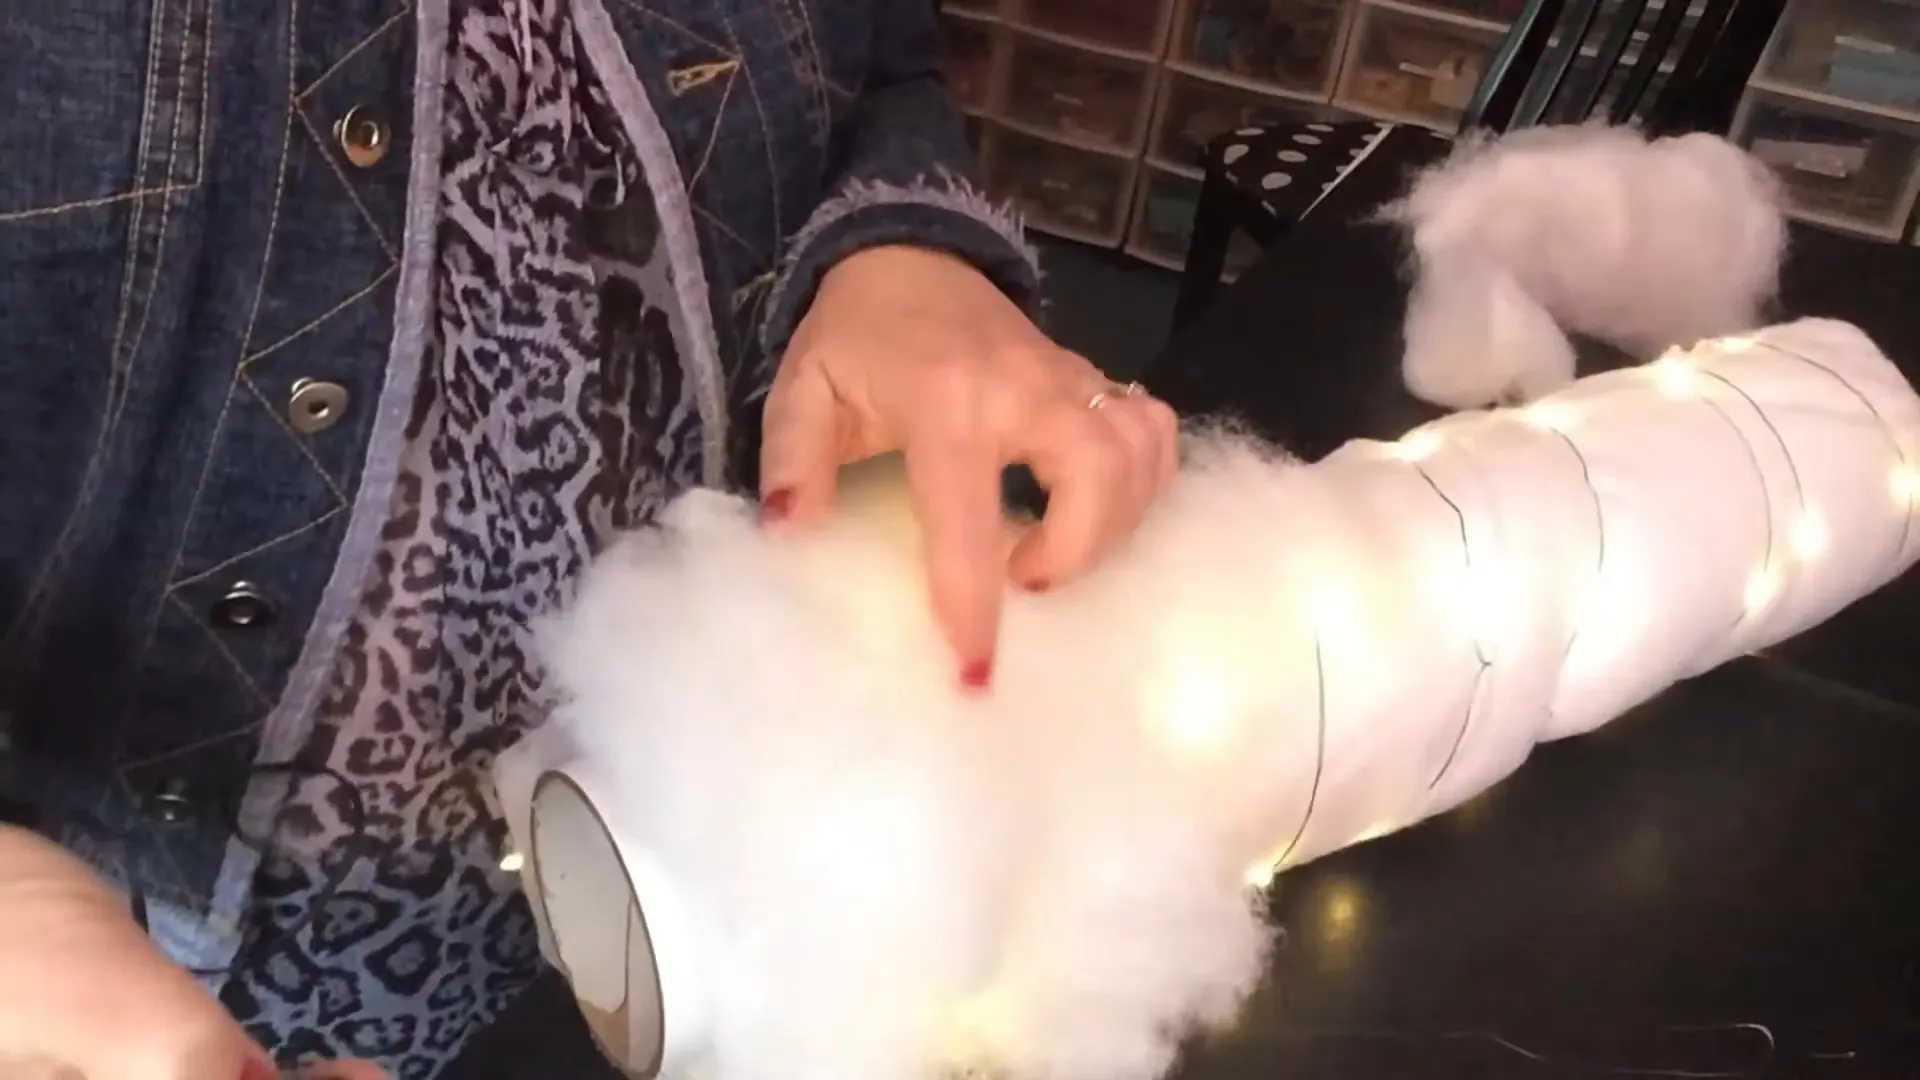
Step 8: Final Touches
Now that your pillar is starting to take shape, let’s talk about the control switch for the lights. The most straightforward option is to place it inside the tube, allowing you to pull it out when you need to turn the lights on or off. Alternatively, you can create a more elaborate setup with a remote control for added wow factor.
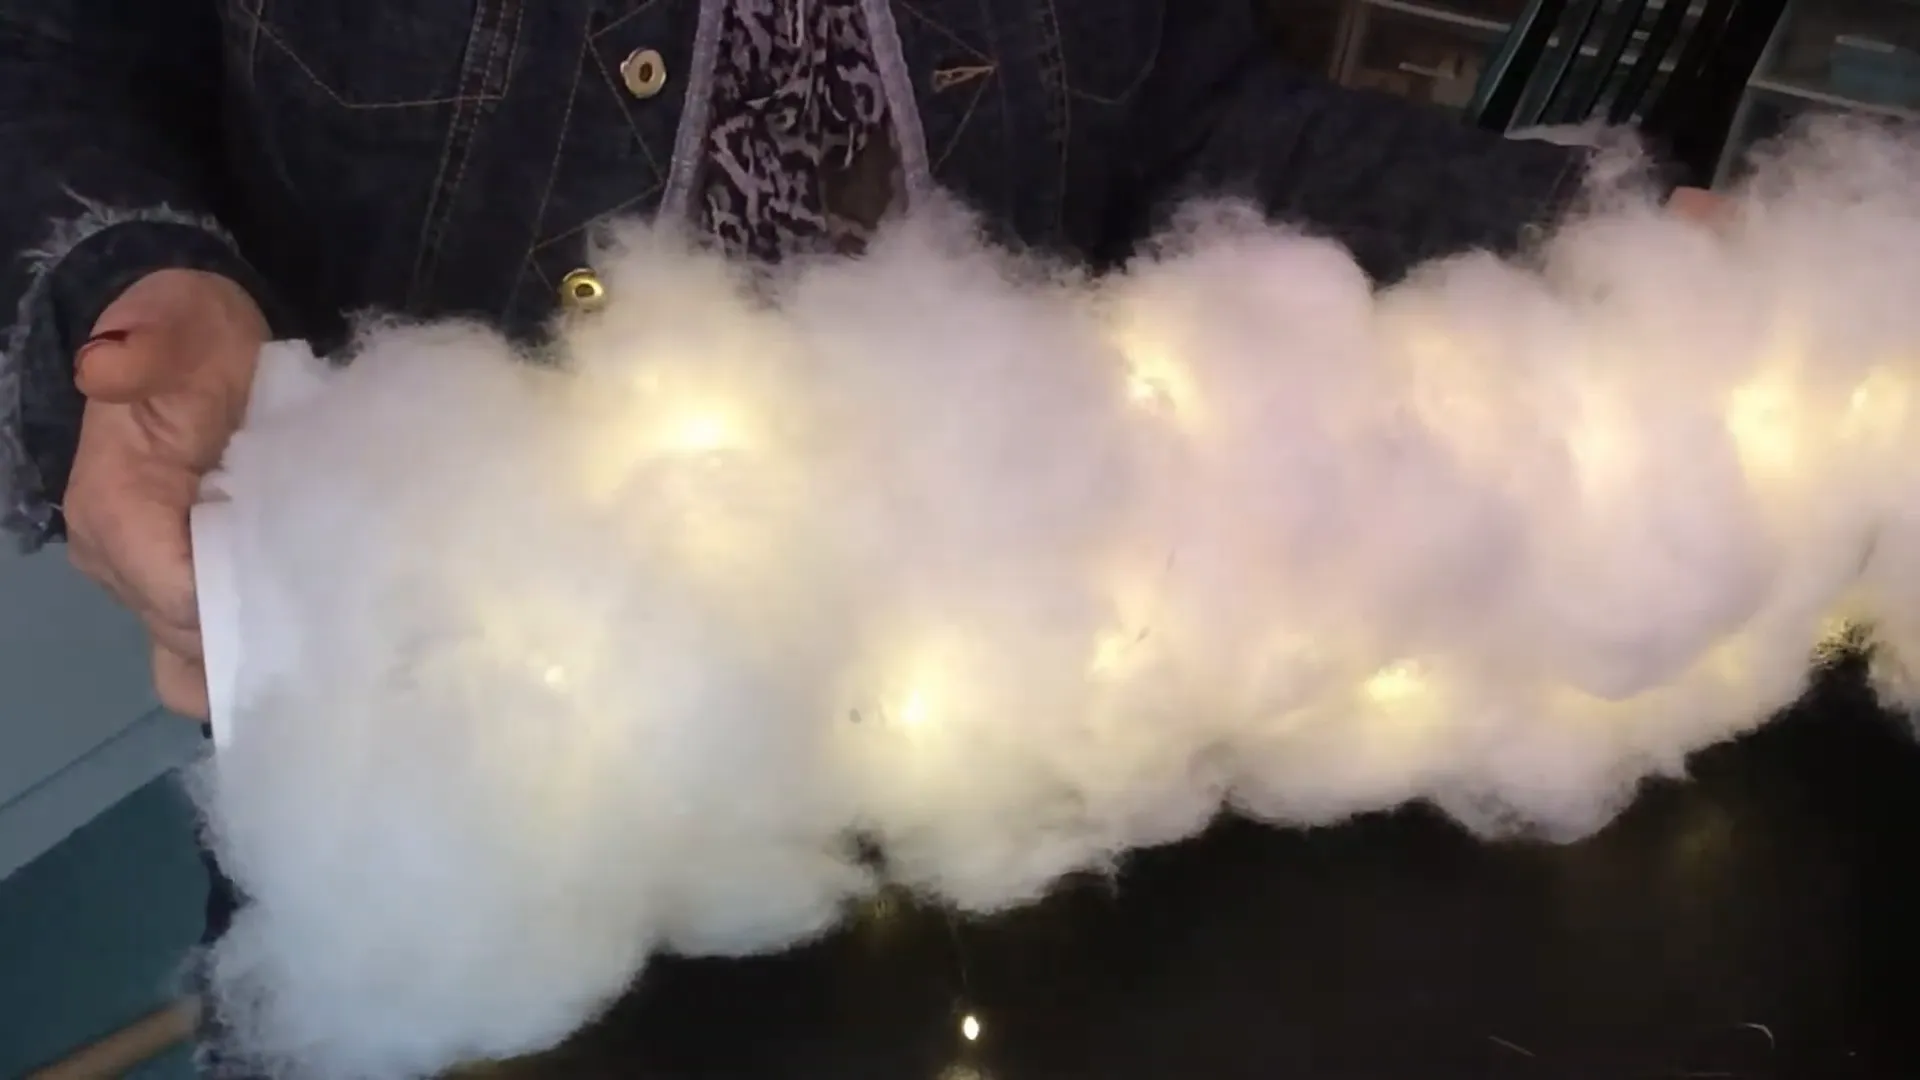
Step 9: Upgrade Your Pillar of Fire
If you want to take this project a step further, consider upgrading your pillar of fire. For instance, a longer string of lights can be used for a more dramatic effect. You can also add a remote control to turn the lights on from a distance, creating a magical moment for your students when it suddenly lights up!

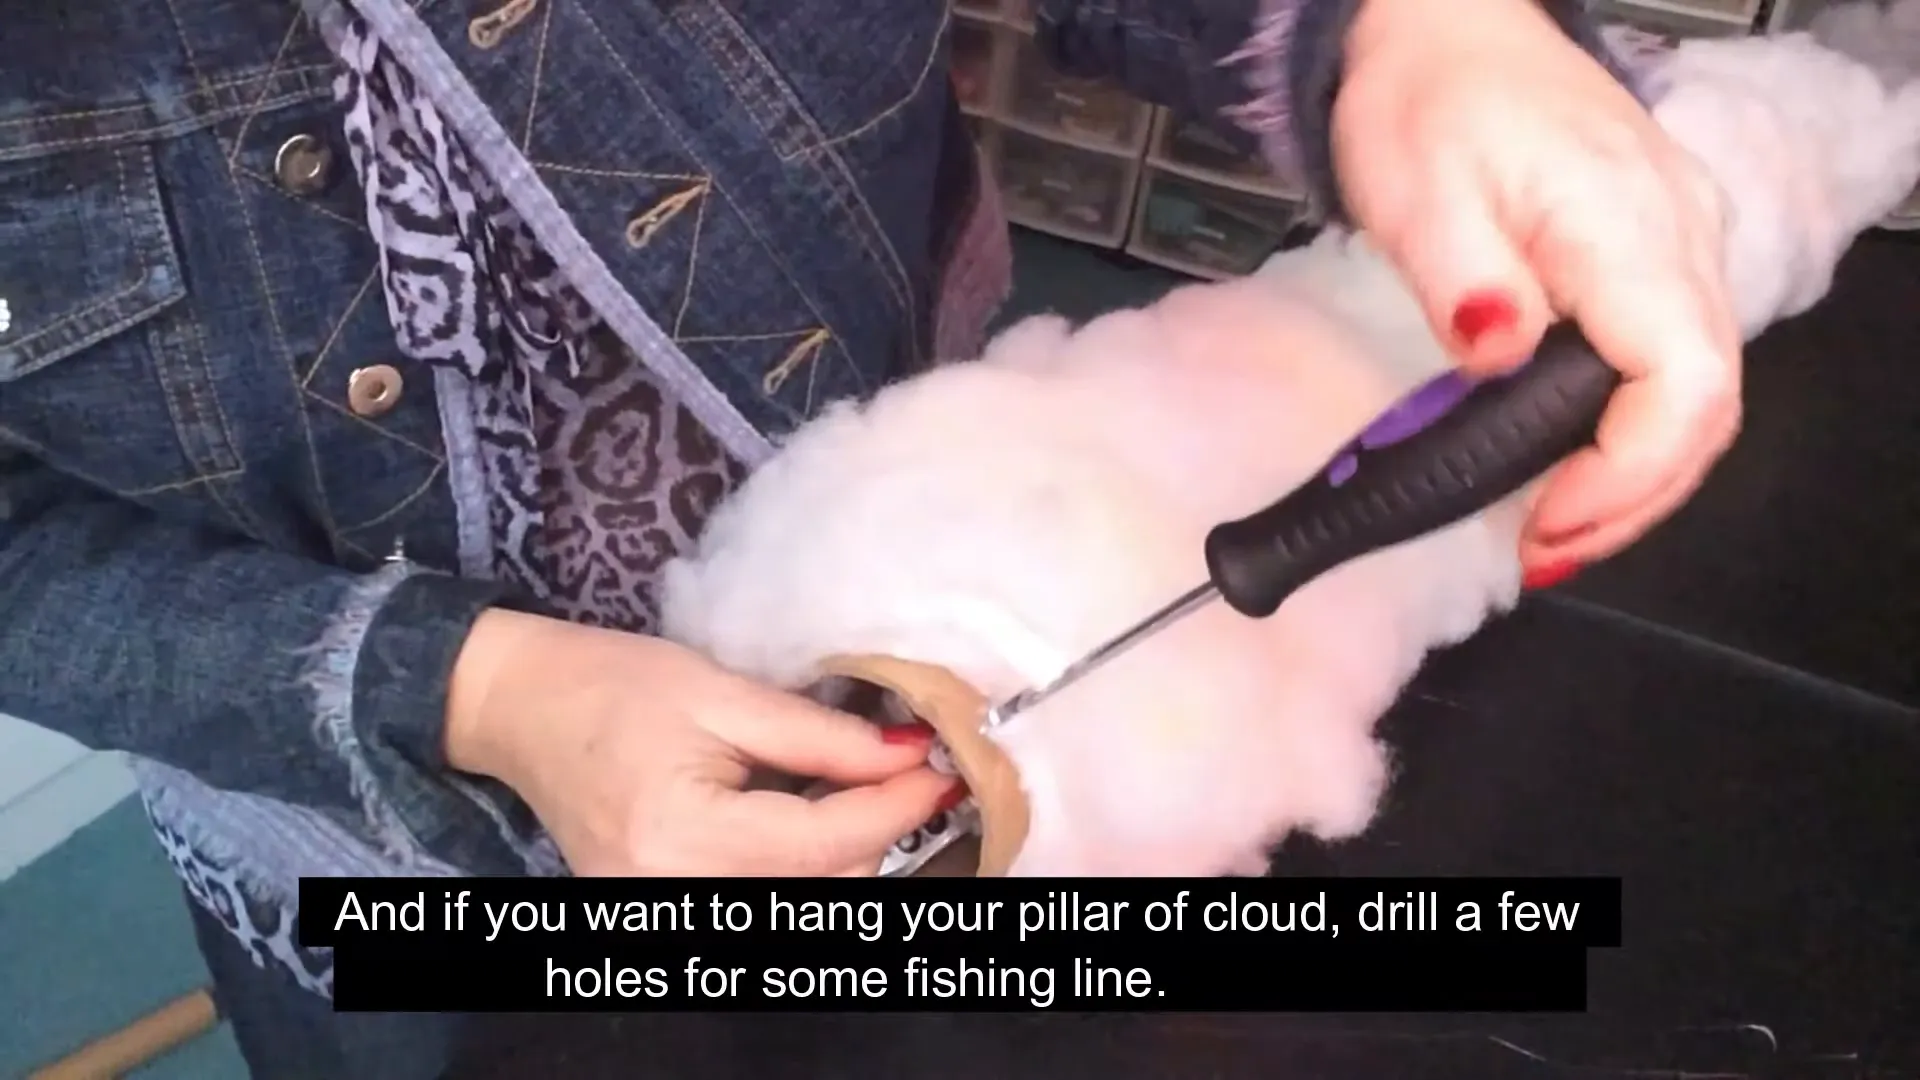
Step 10: Secure the Battery Compartment
Finally, for a more finished product, drill a hole for the battery compartment and secure it in place. This will keep everything neat and tidy. Once you’ve done this, your pillar of cloud and fire is ready to be used in your lessons!
Conclusion
With just an hour of work, you can create a fully functioning pillar of fire and cloud that will engage your students and enhance your teaching experience. This project not only serves as a visual aid but also encourages creativity and hands-on learning. Remember, props are always better than paper!
Rent Props for your VBS, Classroom, or Church!
Experience the Bible Creatively has props, costumes, and set pieces for rent to immerse your students in the story of the Bible.
Learn More